***UPDATE: The plans to this built-in cabinet are now available for free to our newsletter subscribers. If you are interested in subscribing to our free newsletter to get access to these plans, just sign up using the form in this post.***

Monday is my first day back to work after two wonderful weeks home with my amazing wife and two beautiful daughters. Fastest two weeks of my life. It’s amazing how a little time away from the hustle and bustle puts your life into perspective. Helps to prioritize what’s important.
Today is also the day we’re sharing the reveal of our completed built-in project. Last time we discussed this work, we shared the installation procedure and the door pulls. During my paternity break, Lisa and I managed to finish the trim work, paint and fill it with toys and books.
Let’s do a quick recap..
How to Make a Built-in Cabinet
We started with a couple overview drawings after brainstorming on some ideas we pinned. After some thinking, we ended up shaving the width down to 48″ from 60″ to make it fit into the space a little better.
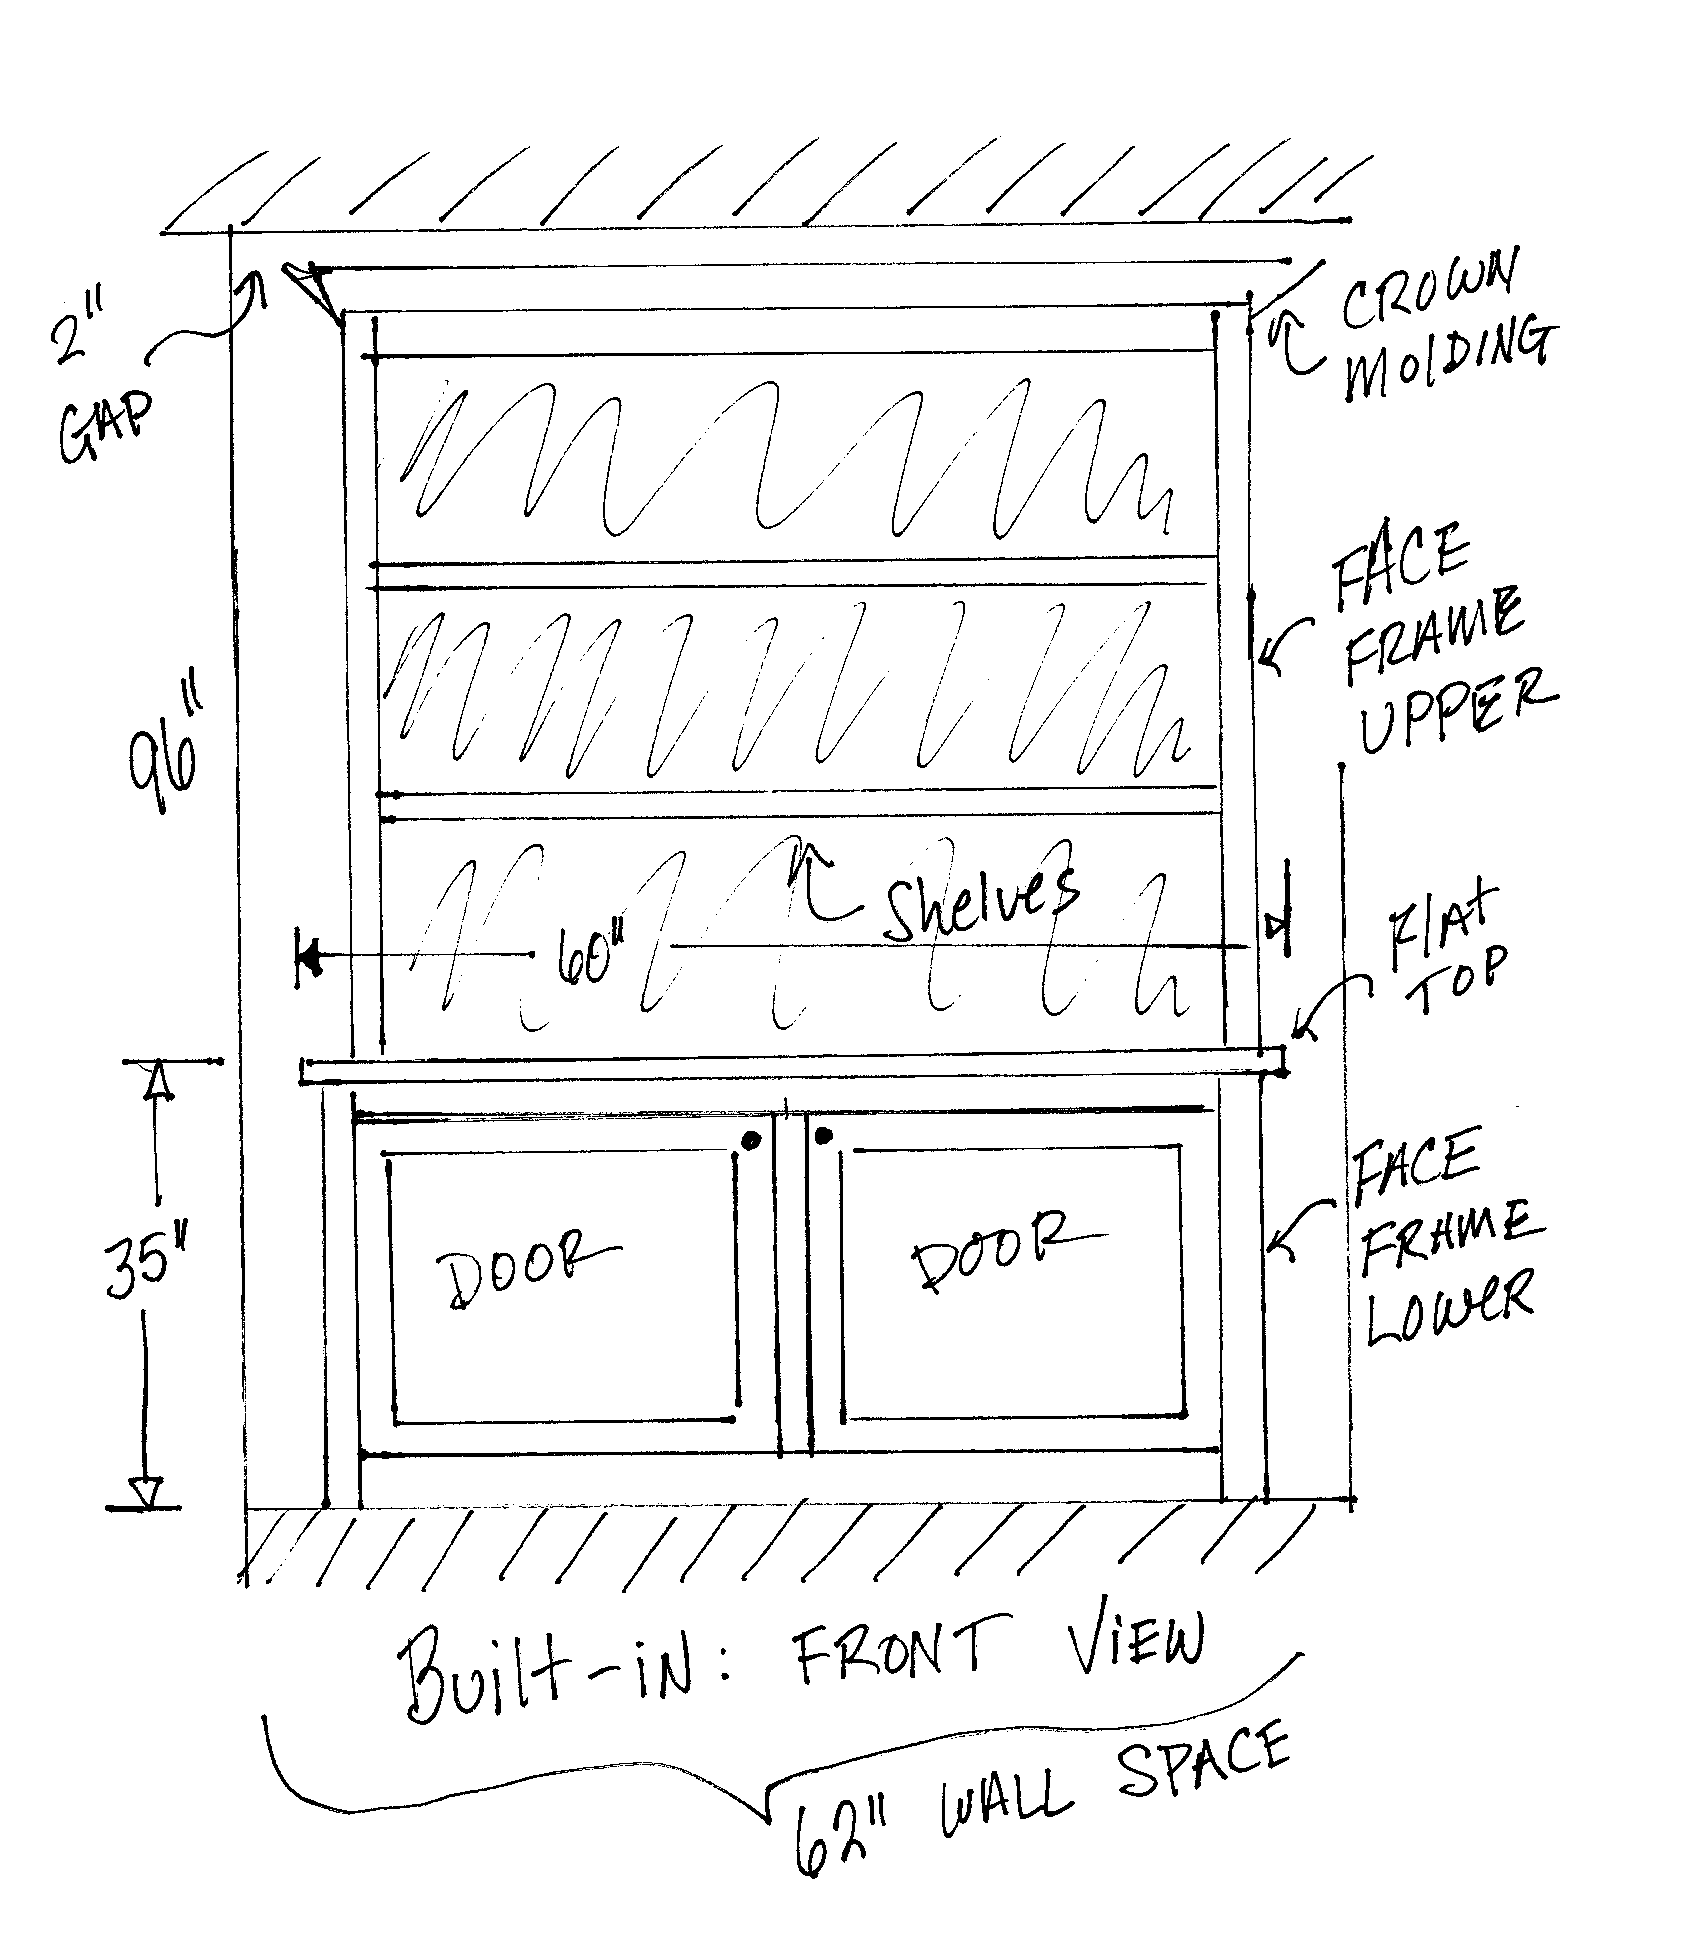
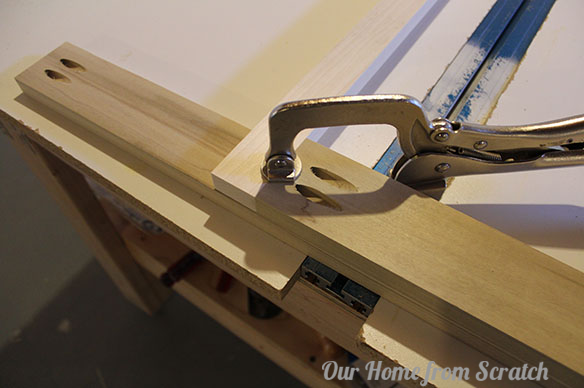
From the whole assembly drawing, we drew out the plans for the face frames and then built those using pocket screws.
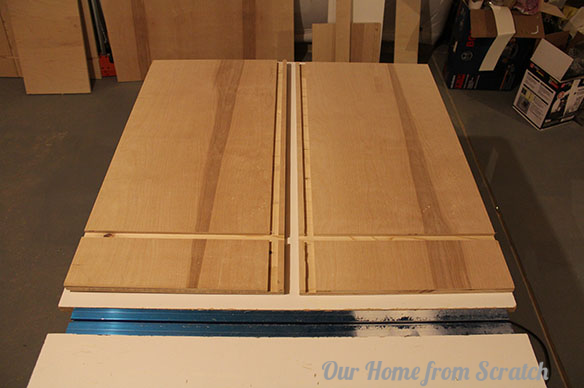
With the face frames built, we filmed a video on how to make shaker style inset doors for a unique custom look. Installing the finished doors to the frame was the trickiest part of the whole process for me. Not impossible, just annoying!
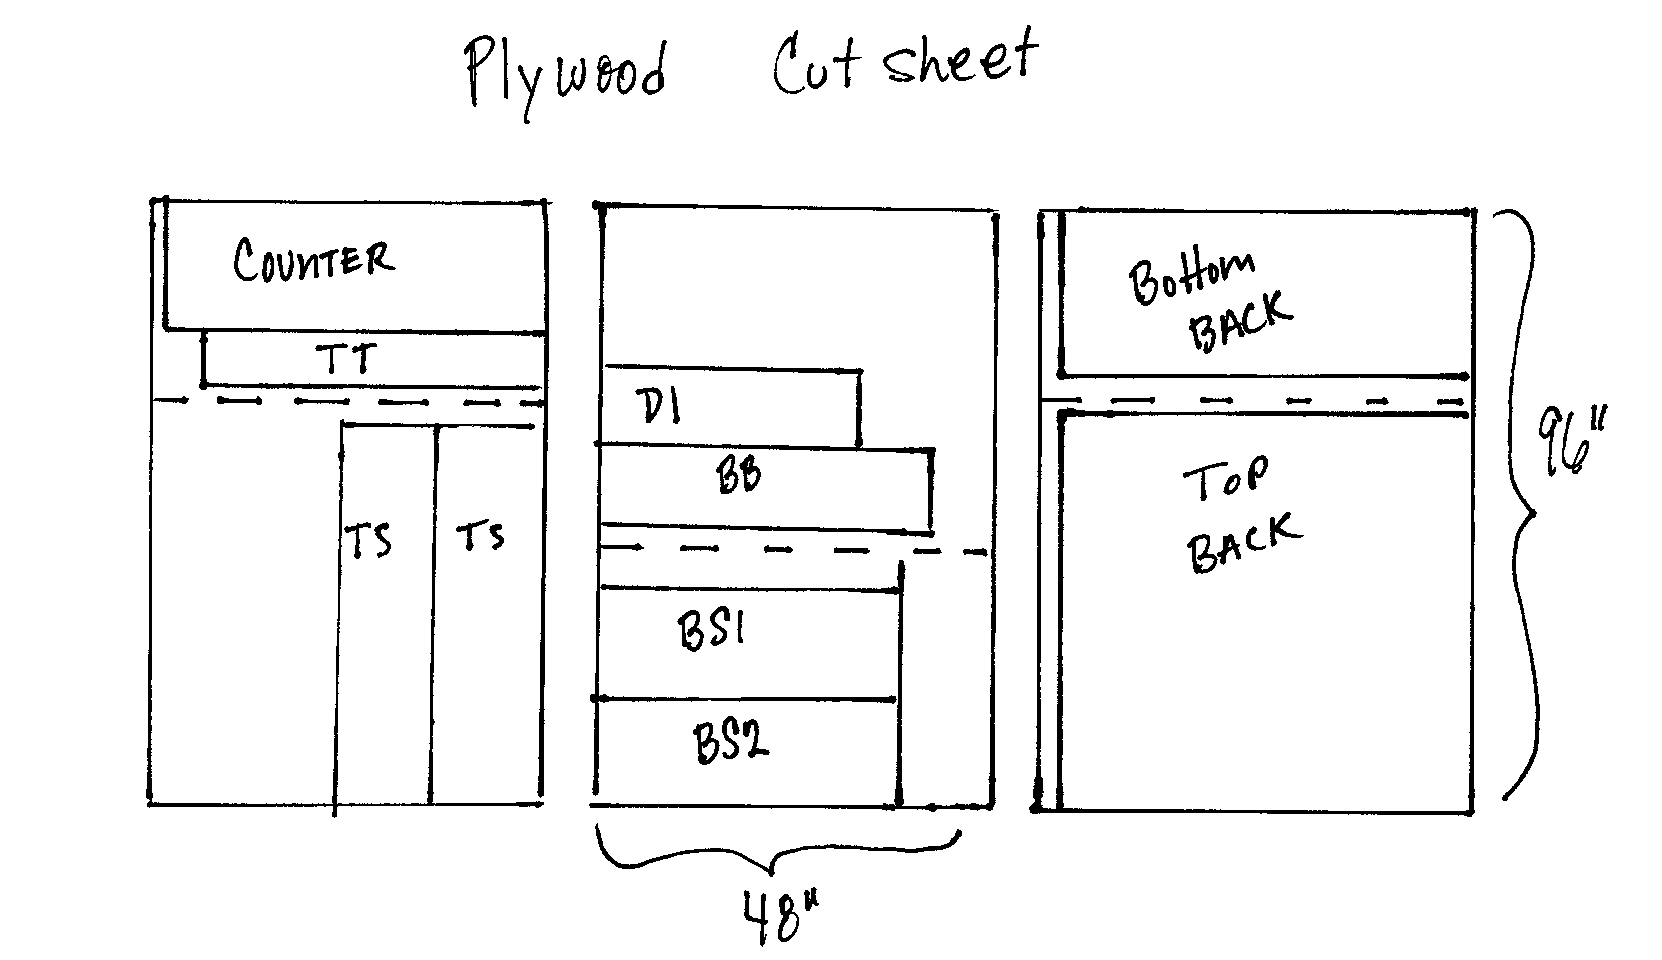
After the doors were done, we moved onto the plywood box portion of the work. We used 3/4″ Birch because it’s great for paint grade projects and 3/4″ gives us a strong, sturdy cabinet. To make the plywood cutting process easier on ourselves, we drew up cut sheets.
The cabinet boxes were assembled with dados and grooves made on my table saw. I prefer grooves over pocket screws for the box portion of cabinet work due to the strength of the joint, plus the grooves help keep everything aligned.
The cabinets were assembled with some wood glue and then clamped to the face frames. I also used a biscuit jointer to keep the fasteners completely hidden (optional).

At this point in the process, both the top and bottom cabinets were essentially done. I just needed to add a plywood countertop and throw in some shelves.
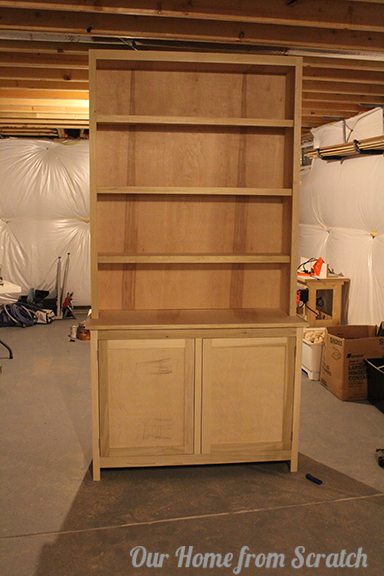
After some sanding, priming and paint, it was time to install the cabinets to the wall with the help of a neighbor and add the door hardware. The cabinets were painted with the same semi-gloss latex as the trim work in the rest of our home.

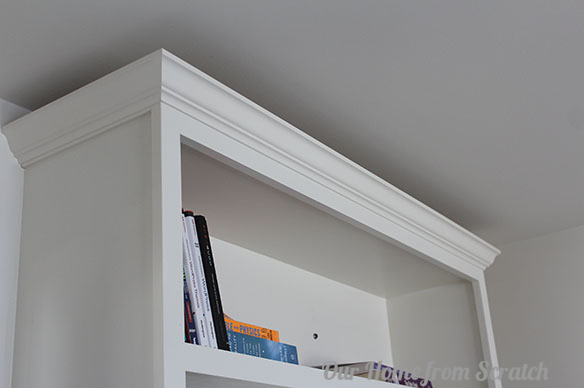
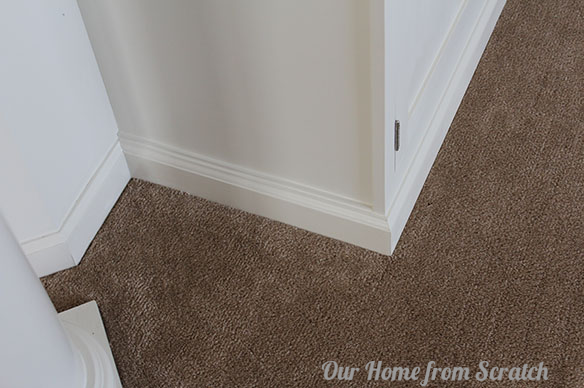
The very last thing we did was tie the cabinet to the wall with baseboard and crown molding. The molding helps to transform the look of the cabinets to something more custom and built-in. It helps if you caulk the seam where the cabinet meets the wall as well. We’ll be bringing you a how-to on trimming out cabinets later this week. We just decided to jump the gun and bring you to the finish line a bit early.
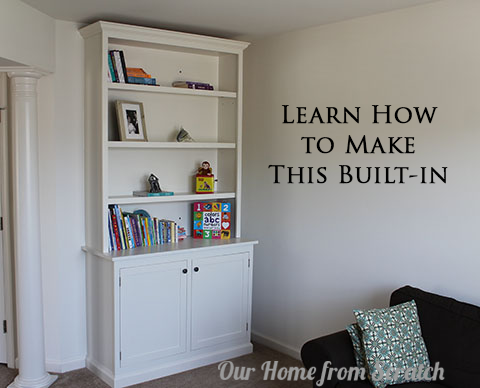
Here’s what it looks like now…
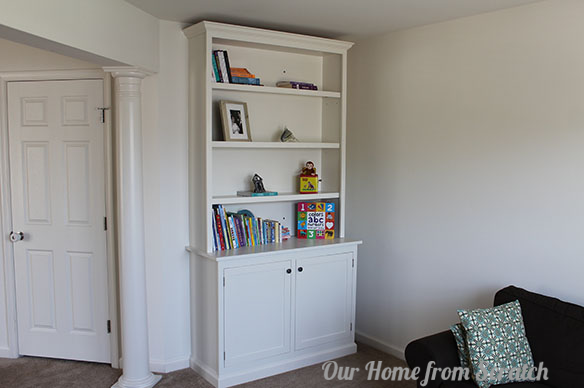
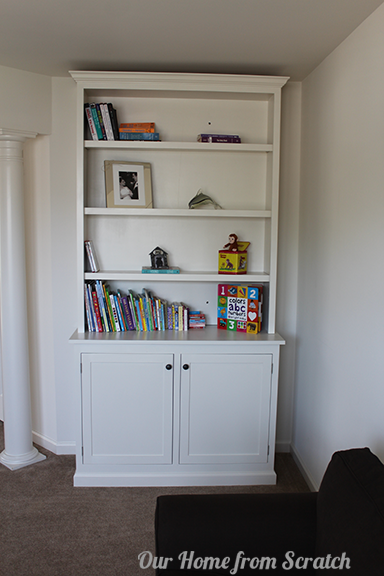
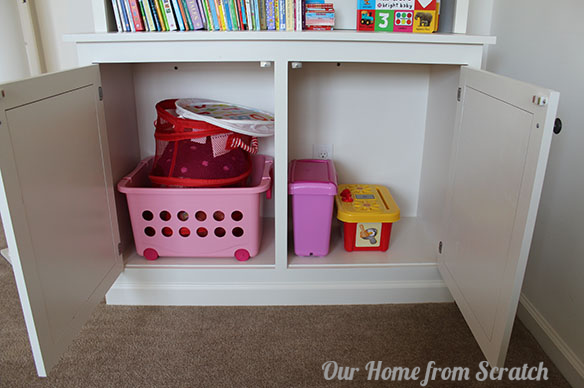
The built-in is in our sitting room and it looks like we’re going to be using it for kids books and some other… stuff.
What tools do you need? You absolutely DO need the following:
1. Miter or chop saw
2. Table saw
3. Drill
4. Pocket hole kit
5. Work table and space to build it
6. Cabinet sized clamps
7. Preferably a brad nail gun
8. Circular saw
9. Straight edge or level
How much will this project cost?
Here’s what I spent on lumber and hardware (approx):
1. Doors: $32
2. Plywood: $152
3. Frame: $30
4. Shelves: $15
5. Primer: $12
6. Hardware: $20
Total: $261
I already owned the hinges and the paint and I may have left off a purchase or two accidentally, but you get the idea. Definitely under $300.
How much would it cost to buy instead of building?
Good question. This cabinet set from Pottery Barn is somewhat comparable. It’s almost 2 feet shorter though. Costs about $1800 not including shipping. Yikes.
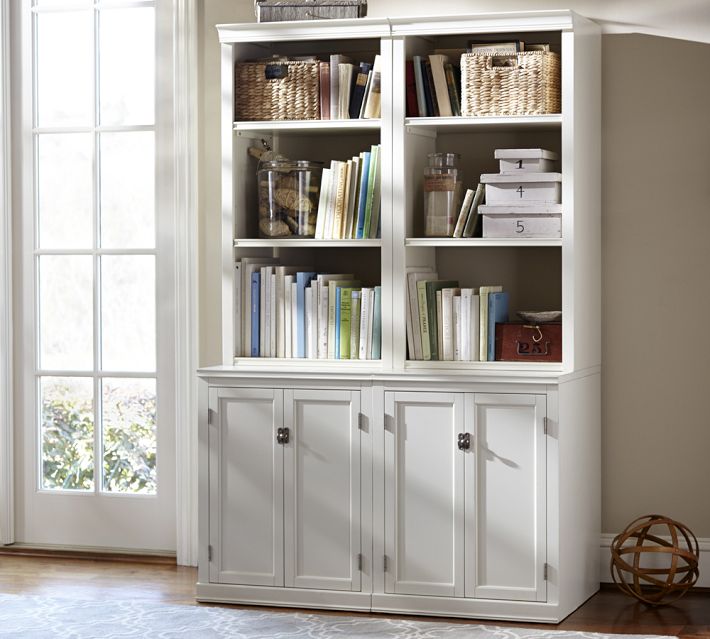
(via Pottery Barn)
So hopefully, after reading this series, you have an understanding of what it takes to make a custom built-in yourself… from scratch (pun intended). Don’t be afraid to build something from a drawing you make yourself. Yes, I’m planning on uploading the plans for this project this summer and all the projects I’ve done so far, but you don’t need those.
It does take some experience and a modest amount of carpentry skills to pull off, but at the end of the day, a built-in is just a couple of cabinet boxes. You can build a box.

