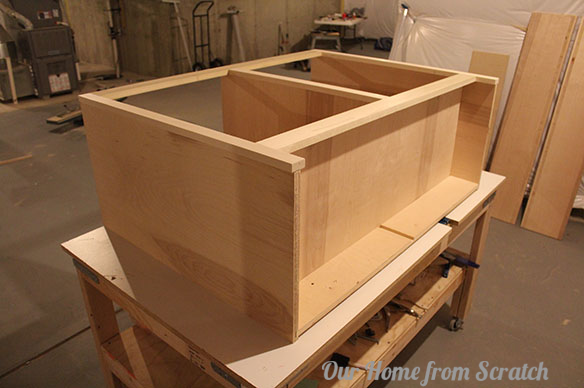
With our face frames built, the plywood all dimensioned and cut out of the 4×8 sheets, it’s time to machine and assemble the cabinets. As I mentioned, I’m using dados and grooves. Most of the pieces will receive some type of groove. Here’s what the sides of the bottom cabinet look like with their grooves.
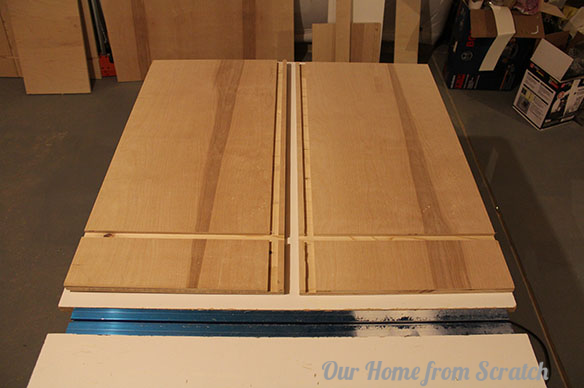
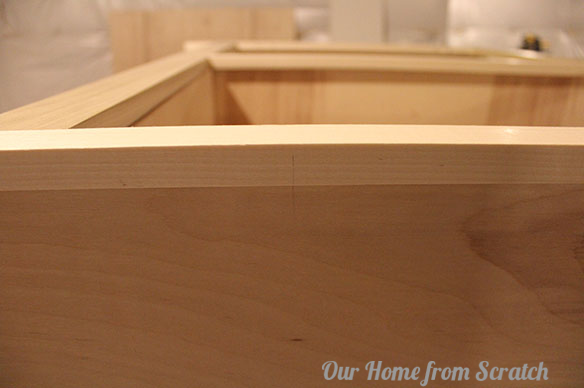
Here’s a close up of those grooves…
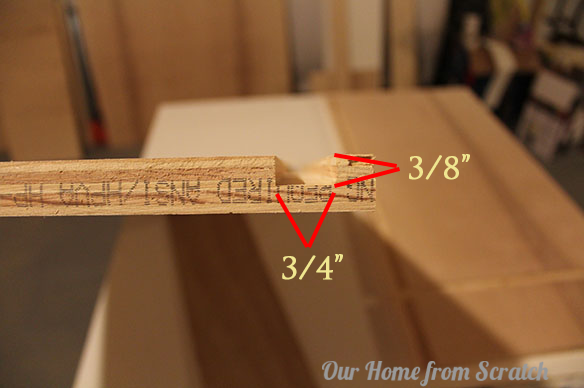
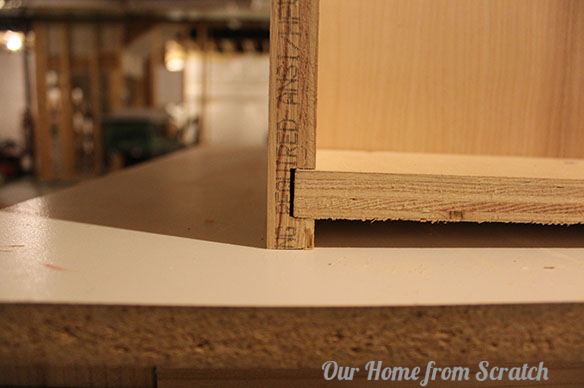
At some point, I need to make some google sketch up drawings of this cabinet with the grooves all pointed out. I think that may help if you’re trying to understand how to make one of these yourself. You don’t need to build a cabinet with grooves, you can always use pocket screws or regular butt joints, but I’m a fan of the grooves. Once they’re glued, it’s a pretty solid joint.
So, I machine the grooves into all the pieces that require it and I can start assembling everything. For this post, I’ve only got the bottom cabinet put together since I only have four quality clamps. Clamps are not cheap. First critical step with the assembly is to dry fit all the parts together without glue to make sure it goes together as planned. Any changes can be made at this point without much fuss.
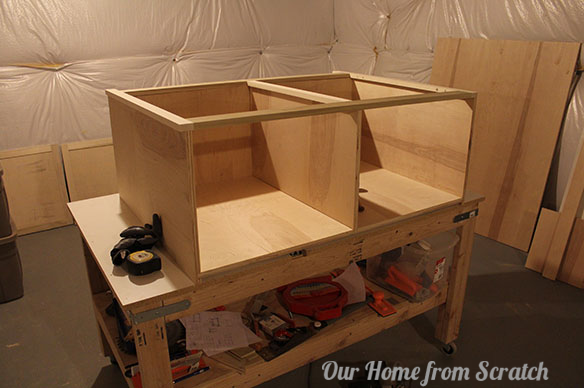
Once I’m happy with the fit, I add wood glue into all my grooves and squeeze my joints tight. You can use brad nails into those joints too if you want, but I’m also going for a hidden fastener look here, so I’m going to only use a couple nails here and there in really inconspicuous locations. You don’t need screws or nails for this cabinet, the glue alone will be plenty strong.
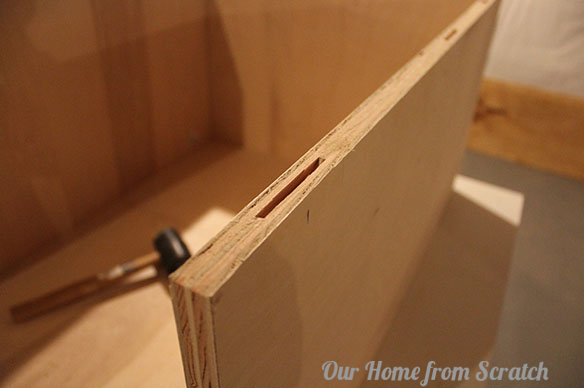
While the glue on the box is still fresh, I lay the face frame onto the box. The face frame is actually on the box already in the pictures above. To attach the face frame to the box, you could use nails or pocket screws, or even grooves, but I’m going to go with a biscuit joint. Biscuit joints are little slots that take these dry wooden biscuits. Both the face frame and the box will get slots. Once you add glue into the biscuit joint, the biscuit expands and when the glue cures, it’s a pretty strong joint. Again, I’m going with this joint since you won’t see any nail holes. You could always glue and nail the face frame to the box then fill in the holes with wood putty. Since I already own a biscuit jointer, I’m going to stick with that.
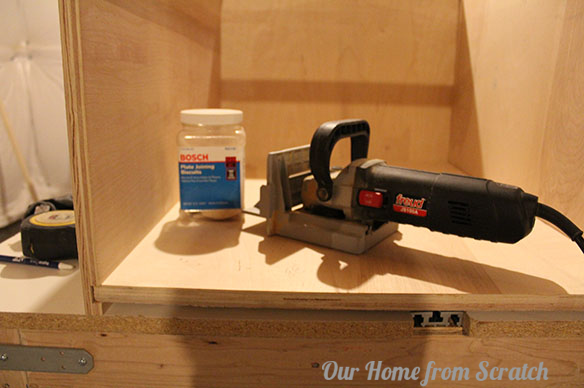
To make the biscuit joint, I put a light mark on both the face frame and the box. That mark is where the biscuit jointer tool will be applied.
I’ll only do a few biscuits for this cabinet, a couple on each side. I make sure to add glue to the whole edge of the cabinet box where it meets the face frame. I went a little overboard with the wood glue. I’ll wipe any extra that leaks out with a wet paper towel.

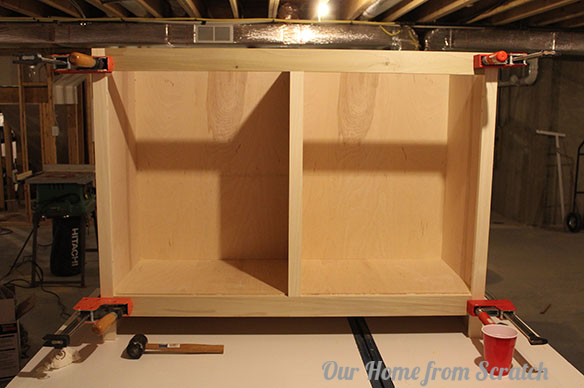
With the glue applied, I drop the face frame back onto the box and clamp it all together.
Here’s the front view of the bottom cabinet without the doors.
The view from the back…
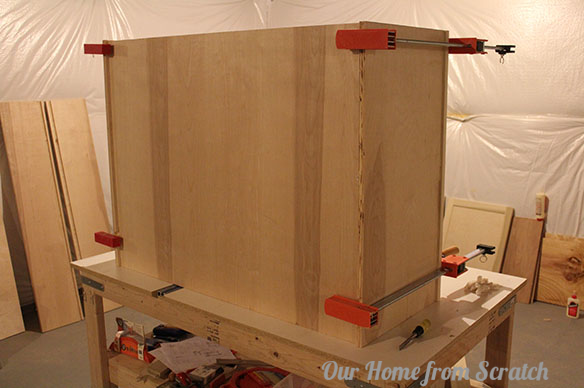
Side view…

So the bottom cabinet is done. I may be adding a shelf to this at some point, but that can be done later.
What’s left? Well, I need to assemble the top cabinet and add the counter top to the bottom cabinet. Then it’s onto painting and installation!
Anyone getting the urge to build something? Or does this seem too intimidating?


