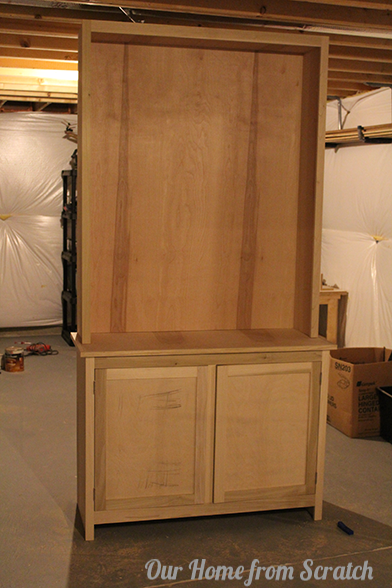
Well we’re pretty much done the major carpentry portion of the built-in project. Last time we posted about it we added the counter top and trimmed it with poplar to hide the exposed plywood edge. Today we’re going to talk about the built-in shelves.
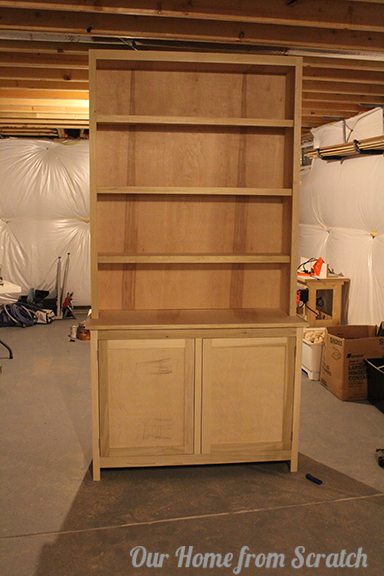
Here’s what the built-in looks like with the top cabinet added. It’s just resting on the bottom cabinet. Once we install it in the sitting room, we’ll secure it to the wall and the bottom cabinet permanently. We didn’t show the top cabinet build in any posts since it was less complicated than the bottom cabinet build, which we did show. It’s just a face frame attached to a plywood box with two sides, a top and a back.
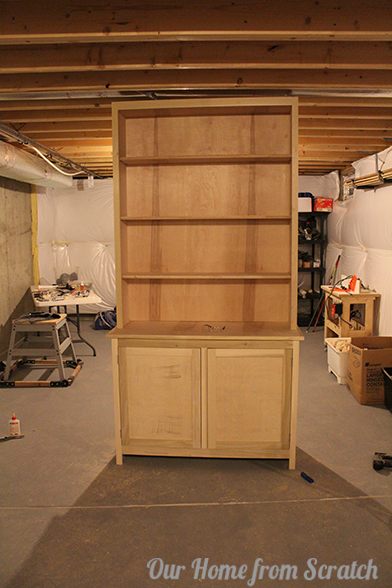
I actually thought this piece looked pretty weird without any shelves. The shelves definitely balance it out. To add the shelves, I started with a shelf pin jig I bought a while back that’s made by Rockler. It’s a clear piece of plastic with a series of holes in it and it comes with a special drill bit.
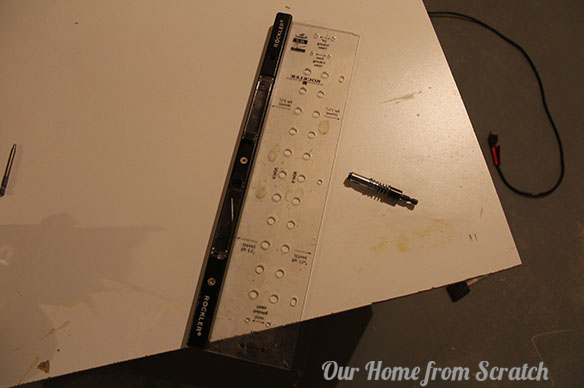
To make shelf pin holes, you just hold the jig up to the plywood and drill into the holes. The drill bit is designed to prevent you from drilling all the way through the plywood and making a mess of things.

You can add shelf pin holes the entire length up the cabinet or you can take it easy and just add a few. I opted to just add a couple on the bottom, middle and top of the cabinet. I also repeated these holes on the opposite side of the cabinet. With the holes drilled, I slip in a 1/4″ shelf pin that I bought from Amazon.
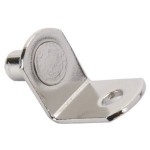
These particular shelf pins are nickel in appearance and have a little hole in them to secure them to the shelf with a screw. You don’t need to screw them to the shelf, but with a couple kids running around here soon, I don’t want the pins to slip or fall out and end up in somebody’s mouth.

With the shelf pins in place, I cut the shelves from the plywood I had leftover from when I built the cabinets. They were sized just to fit into the opening of the top cabinet. I left some space in front of the shelf too for another piece of poplar to hide the plywood edge. Here’s what the cabinet looked like with the plywood shelves and no poplar.
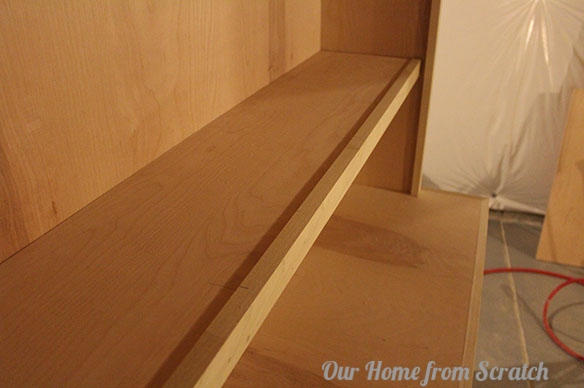
Here’s what it looks like with the poplar attached to the front of each shelf.
Looks better right? The poplar does a few things: it hides the plywood edge, it gives the shelf a beefier appearance since it’s 1 1/2″ wide and it adds some structural strength that will prevent the shelf from sagging over time (kinda like an I-beam).
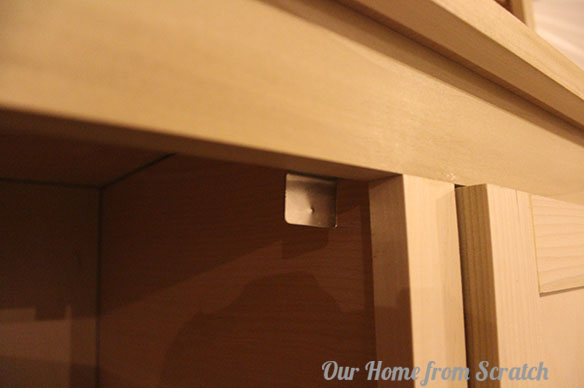
Here’s what the shelves look like up close. To attach the poplar to the plywood, I just used glue and biscuits, but you could use nails.
I also added some magnetic door catches I bought on Amazon to keep the doors closed. They’re specifically designed for inset door applications and they work great.
So here’s what’s left to do:
1. Sand and paint
2. Install the cabinets to the wall
3. Add the crown molding
4. Fill with books and other stuff
This has been a fun project and loads faster than a few of the other carpentry projects we’ve tried (wainscoting, drawers)
Anyone want to help me paint this? I hate painting.


