Very happy to be building face frames back in the workshop, aka my basement! To bring you up to speed, so far we picked an overall look of the design we want. We then dimensioned the design based on where we’d like it and discussed the whole build process. Next we designed the face frames and now, we’re set to build them.
Quick update first: We made a small design change. The built-in was going to be too wide so we shrank the width down by a foot. The height stays the same. No big deal. I’ll explain why when we’re all done. Hopefully it will be obvious in the end. If you were following along, the only changes were to the horizontal boards. Instead of being 55″, now they’re 43″, a foot shorter.
From the face frame design drawings, I made a shopping and cut list (all thicknesses below are 3/4″).
Bottom face frame:
1.5″ wide x 34.25″ long -2 of them
2″ wide x 43″ long -1 of them
2.5″ wide x 43″ long -1 of them
Top Face Frame:
1.5″ wide x 57 3/8″ long -2 of them
2.5″ wide x 43″ long -1 of them
I bought all the lumber at Lowes. Poplar is very common and you should be able to get it just about anywhere. I tried to be economical here and bought the lowest price boards I could. The longer and wider, the more expensive. Also, to eliminate the need to use the table saw, I chose and bought boards that are already at the necessary widths (1.5″ and 2.5″). The 2″ wide board needed to be trimmed down from 2.5″, which is one quick pass on the table saw.
Now onto the real cutting!
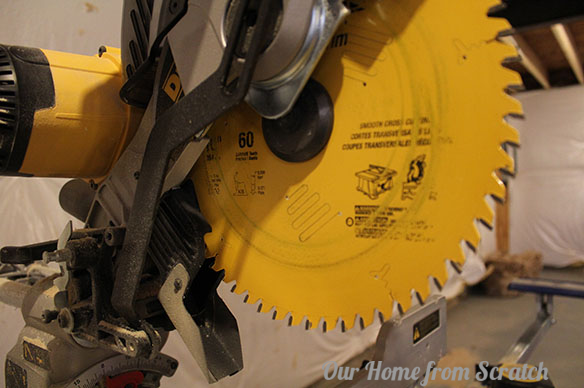
First thing. You’ll need at least a basic miter saw. Can you do this sort of thing with a hand held circular saw? Maybe. But it’d be really hard. The saw blade is also important. You want a saw blade with at least 40 teeth. The higher the tooth count, the better. Don’t use a saw blade with 24 teeth. They’re great for cutting 2x4s for framing walls, but they cause major tear outs in hardwood. Higher teeth count blades give you cleaner, crisper cuts. They’re not much more $$ than the basic blades either, maybe $20-$30. Worth the investment.
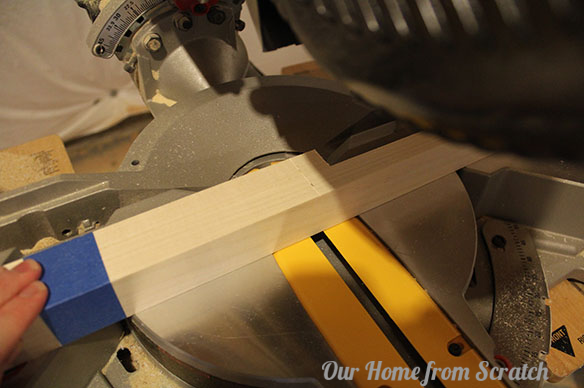
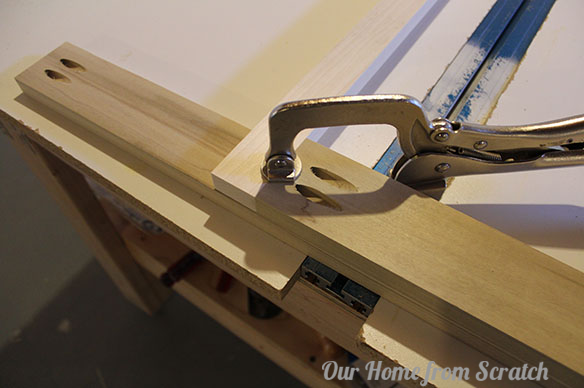
So, in both our top face frame and our bottom face frame, we have two vertical pieces that are exactly the same length. To make sure we cut them to the same length, we’re going to cut them together. How do I do that? I clamp them together. And I tape them.

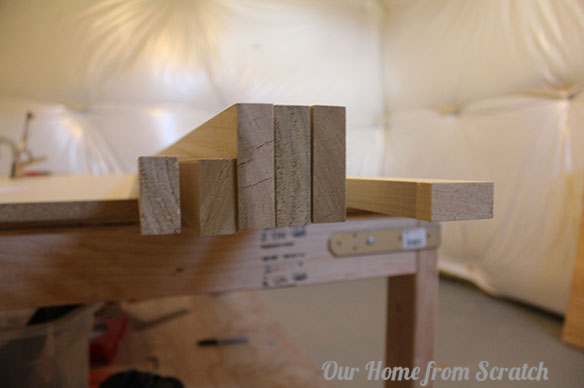
The first cut is to clean up one of the ends. I like to take just a hair off one side because the ends of the pieces are a bit tattered and split from transit and hanging out in the store for months or weeks at a time. The next photo is a picture of what they look like before the clean up cut so you can see what I mean. They don’t look too bad in the photo, but they look waaaayyy better after that first trim.
Now that one end is clamped up, clean up and cut together, I can measure, mark and make the second cut. I use a regular tape measure and make a small pencil mark on the length I need (ignore the fact that 35″ isn’t an actual required cut).

With the pencil marks down, I use a speed square, flush it up to the edge of the board and line up the other edge of the square with the pencil marks. Then I use a box cutter to go over the pencil marks, essentially making a super thin line.
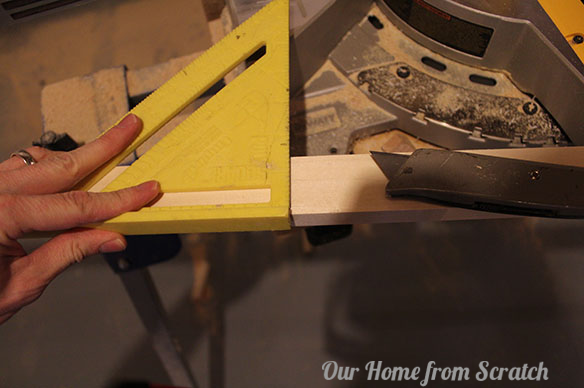
I prefer this sharp line for this type of work because it’s thin and well defined. A fat pen or pencil mark can be deceiving. This one is dead on.
Now I line up the edge of the saw blade with the cut mark I just made. You don’t want to cut through the middle of the mark, you want to cut just next to it. You want that box cutter mark to be whisker thin after you make your miter cut.
Lining up the box cutter line with the edge of the saw blade can take a few seconds and requires some patience to get it right, but it’s worth it. Your cut will be dead accurate. Now I just repeat this process for the remaining cuts. Again, keep boards clamped together that have the same length and you’ll get a perfect match.
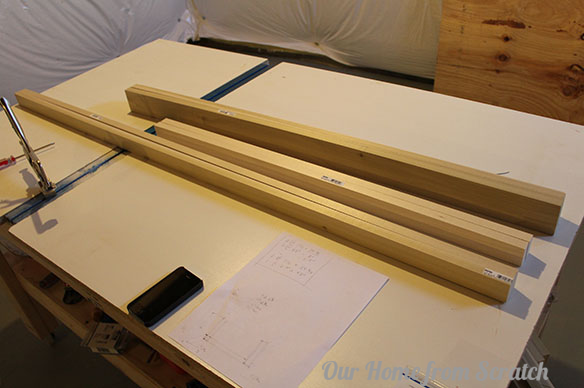
With all the boards cut to length, I pick out the boards for the bottom face frame and lay them out on the work table how they’ll be assembled.
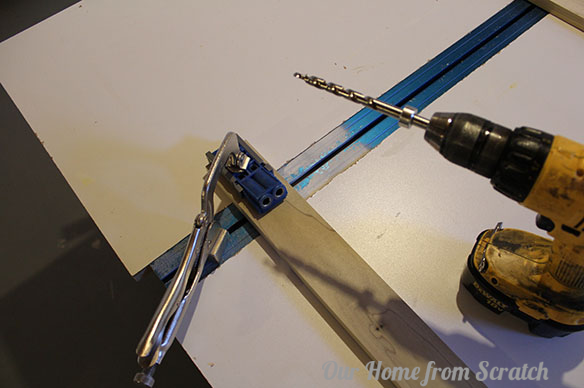
I inspect each board superficially for defects. I want the better side to be facing forward when this piece is done. The better side gets turned over and I drill my pocket screw holes in the back of the two horizontal rail pieces.
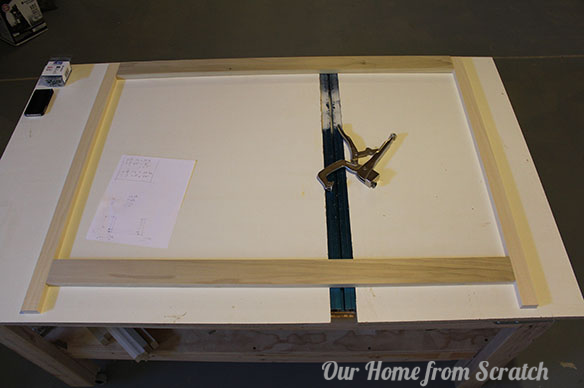
After both boards are drilled, I add a little wood glue on the end of the horizontal rails and screw the rails to the stiles. I placed a board underneath the two I’m joining just to make sure the table is flat while clamped. My table top tends to move a little (oops).
I repeat this joint in three other locations and the bottom face frame is assembled.

The top went together fairly easy as well.
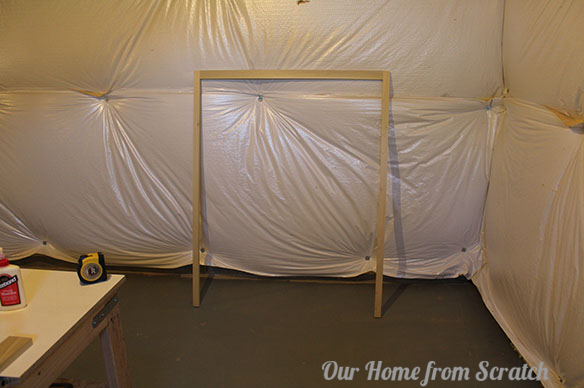
Not too bad. It took me about an hour to throw these together.
Next up will be the doors. I’ll need to add a center divider in the bottom face frame too. Definitely going to try to make a video for the doors. Any questions?


