Hey guys! We are slowly, but surely making progress on our sitting room built-in project. The bottom cabinet is pretty much finished with the exception of a couple shelves I may add. The top cabinet is built, but will definitely require a few shelves. In this post, I’m going to show you how I added the built-in counter top and trimmed it out. I’ll throw in a sneak peek of the bottom cabinet for good measure.
Last time we left off, we had attached the face frame to the bottom cabinet. Once the glue set up, I rested the cabinet on the basement floor for the counter top installation.
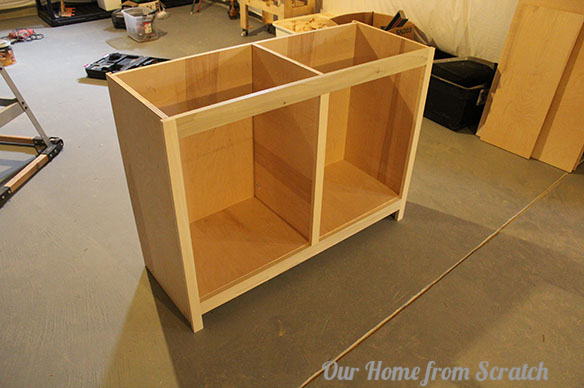
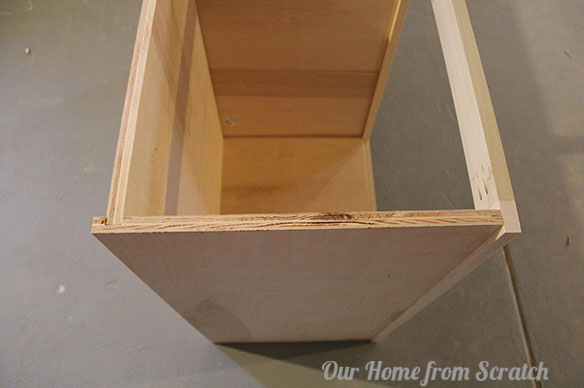
The counter is just a piece of 3/4″ thick birch plywood. It hangs over the front and two sides by a 1/4″ at each location. To it I’m adding a 3/4″ thick piece of poplar to hide the ugly plywood edge, which will bump the counter top overhang to a full 1″. I use a ruler to verify I sized the counter properly, checking the 1/4″ overhang in a few spots. The back of the counter will be flush with the back of the bottom cabinet.
To permanently attach the counter to the bottom cabinet, I’m using a couple pocket screw joints strategically hidden so as not to be seen (unless you really look hard). These will be on the inside of the cabinet and only on the top front board. I don’t want any fastener holes from nails, screws or otherwise to be seen if I can help it.
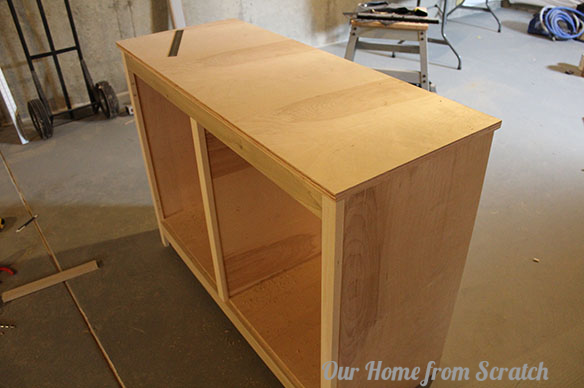
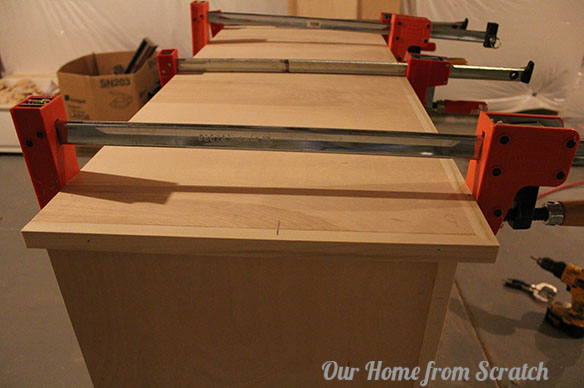
With the pocket hole screws drilled, I add a thin bead of glue and then drop the counter onto the cabinet.

With a couple screws in the pocket screw joints, this counter isn’t going anywhere.
Now for the edge banding…. btw, this is the same basic procedure I followed when I wrapped our garage shoe organizer shelves in poplar.
I cut a piece of poplar board down to 3/4″ thick by about 7/8″ wide and multiple feet long. These pieces will be cut to length and attached to the exposed edge of the plywood. The poplar will have mitered joints at the counter top corners for a clean look. To make these joints more accurate, I cut a small piece of poplar to around 3″-4″ and put a 45 degree cut on both ends. This little piece of wood will serve as a handy guide to help me line up the corners.
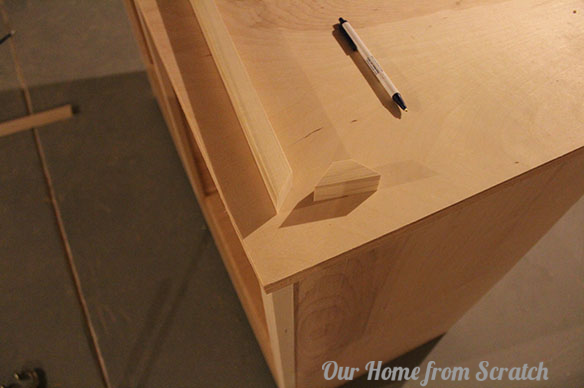
To begin, I take a long piece of my edge board and miter a 45 degree angle on it. I’ll let the other end be long and will work this joint one end at a time. Then I place my edge board up against the counter and line it up with my small scrap piece I cut earlier.

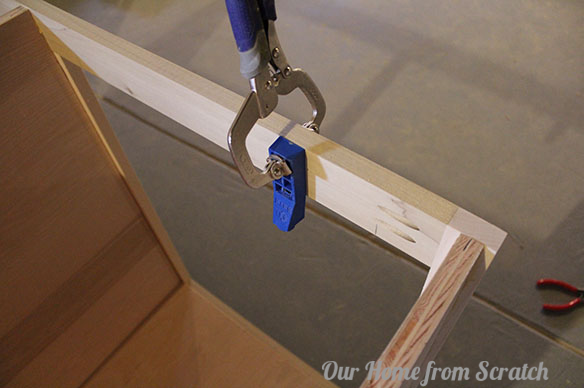
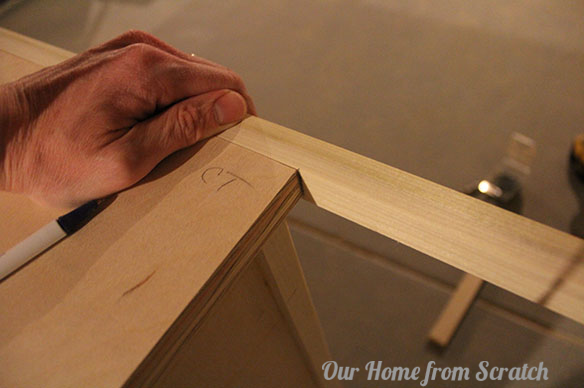
With this first corner lined up, I clamp the board to the counter being careful not to move it and I mark the OTHER end of the board where it meets the edge of the cabinet. That mark is where I’ll cut the other miter joint. With both cuts made, I can glue and clamp the front edge piece to the counter using the small scrap piece to again check the alignment before clamping it down permanently.
The two side pieces are now a snap to do since you can just miter one end, butt it up against the existing miter for the front edge and mark the board where it meets the back of the cabinet for a straight cut. I used a brad nailer to add a couple nails on the side pieces to hold it in place. The front edge won’t have any.
With all three edge pieces installed, the counter looks much better.
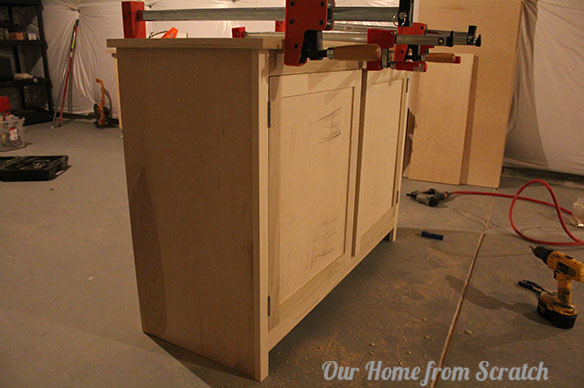
Here’s a sneak peek of the bottom cabinet with the doors on it… The doors are hanging slightly open. I’ll be adding some type of door catch to keep them closed.
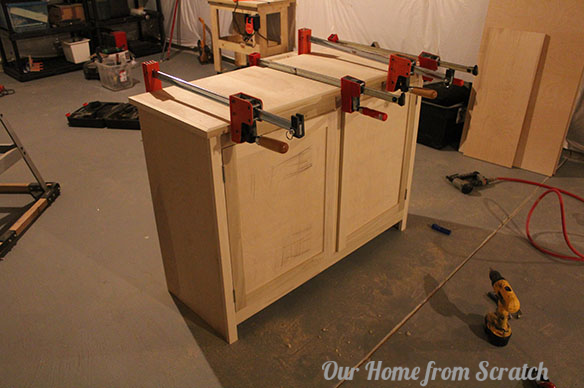
Not much left to do now! Actually looking forward to sanding and painting.


