Major dining room progress this week! It’s actually starting to look sorta close to done! This past weekend I was able to start and mostly finish installing the MDF raised panels onto the walls. I only have the two sections remaining under the window to wrap up and then I’ll be ready to finish up the trim and start painting. The goal is to be done everything (paneling wise) sometime next week. Keep your fingers crossed.
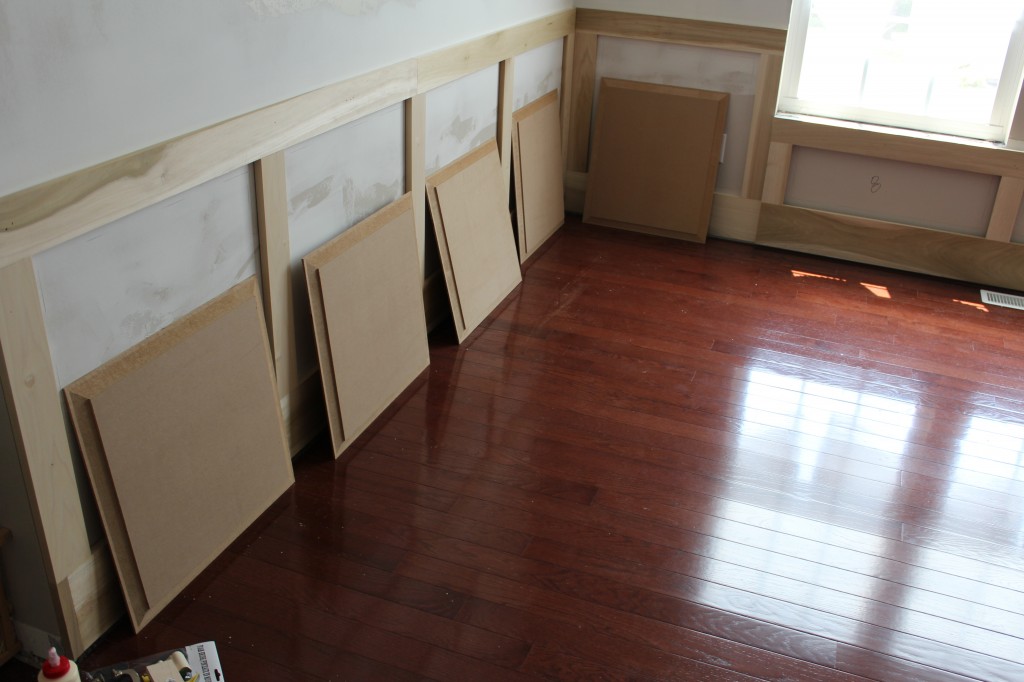
So, last time we talked about this project we had cut out and were routing the raised panel sections on the router table. Btw, if you’re interested in seeing how the router table was built, check our guest post at One Project Close here. Once all the panel were routed, I brought them all in and staged them in the room.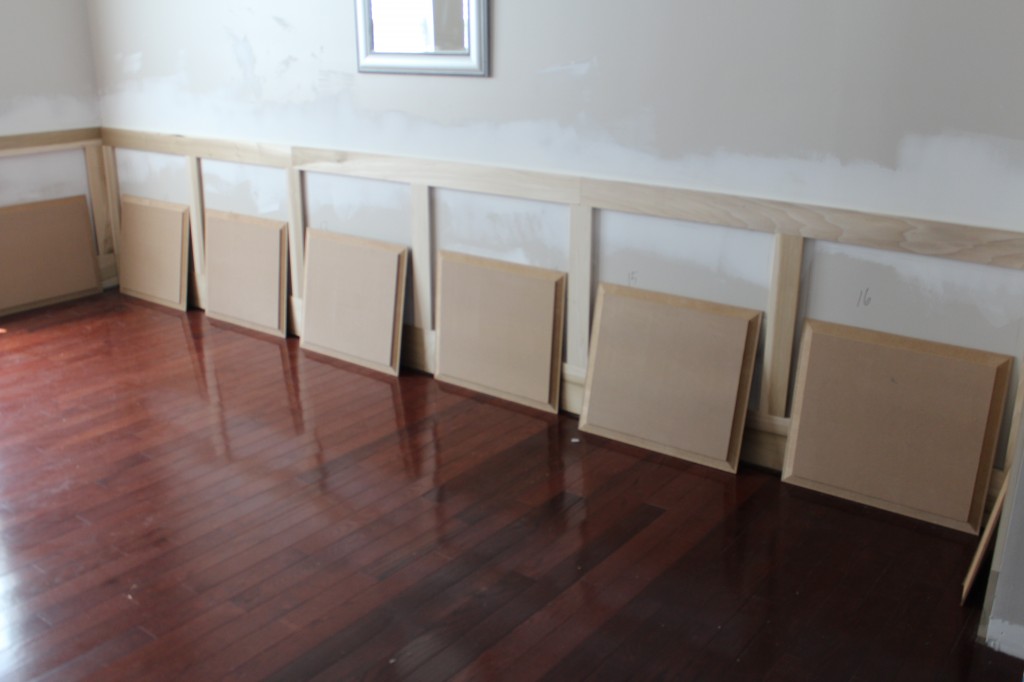
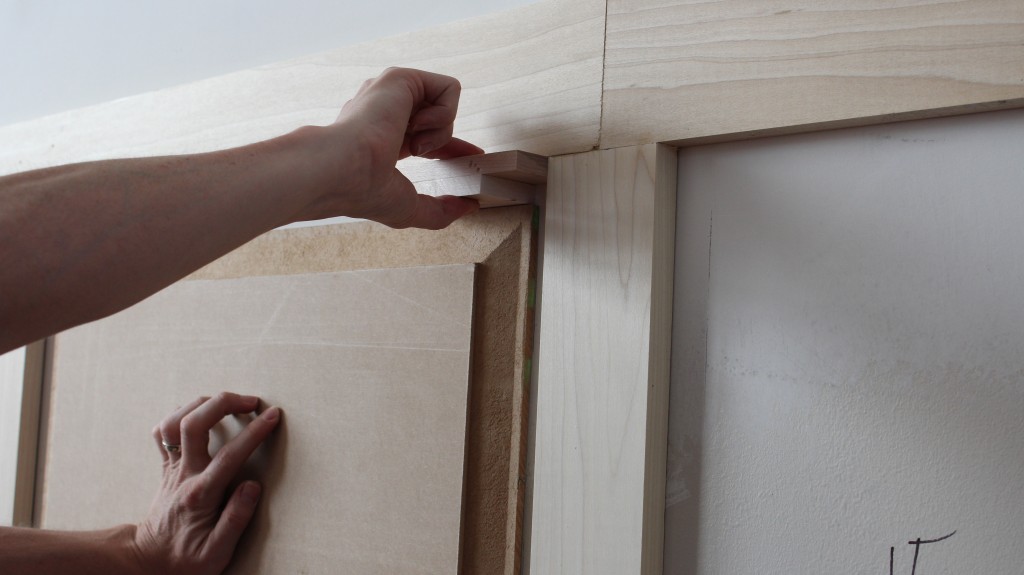
Installing them took some patience. I went easy on myself at first and installed the panels without any electrical outlets in them. I just sat the panel on some shims and tried to center it in the square. All of these panels have an outline in them that I can line the panel up to. The panels are a touch smaller than I would have liked so they don’t line up exactly with these outlines, but they are close. My primary goal with these MDF sections is to make absolutely sure the top of the panel is level and square to the top of the frame. I’ll get more into that once I start trimming out the panels, but for now, just concentrating on that made it a little easier. If the the sides aren’t perfect, you’ll never notice. Once the panel is lined up, it’s glued using Liquid Nail adhesive and then nailed into place using a finish nailer.
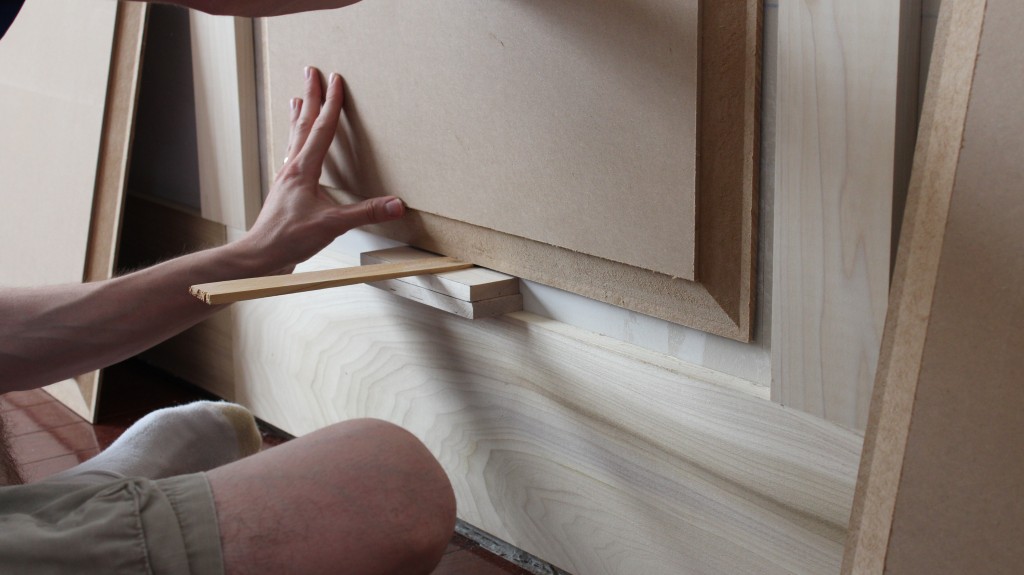
I’d love to hit a stud with my nails, but to be honest, once the glue dries it’s not coming off. Really, the nails just keep it in place until the glue sets up anyway. The longer nails of the finish nailer are crucial here. I wouldn’t be able to use a brad nailer, since MY brad nailer only allows 1 1/4″ as the longest nails. I need to go through 3/4″ thick MDF and then 1/2″ of drywall… that adds up to 1 1/4″, but in practice it needs to be longer. The finish nails are around 2″-2 1/2.”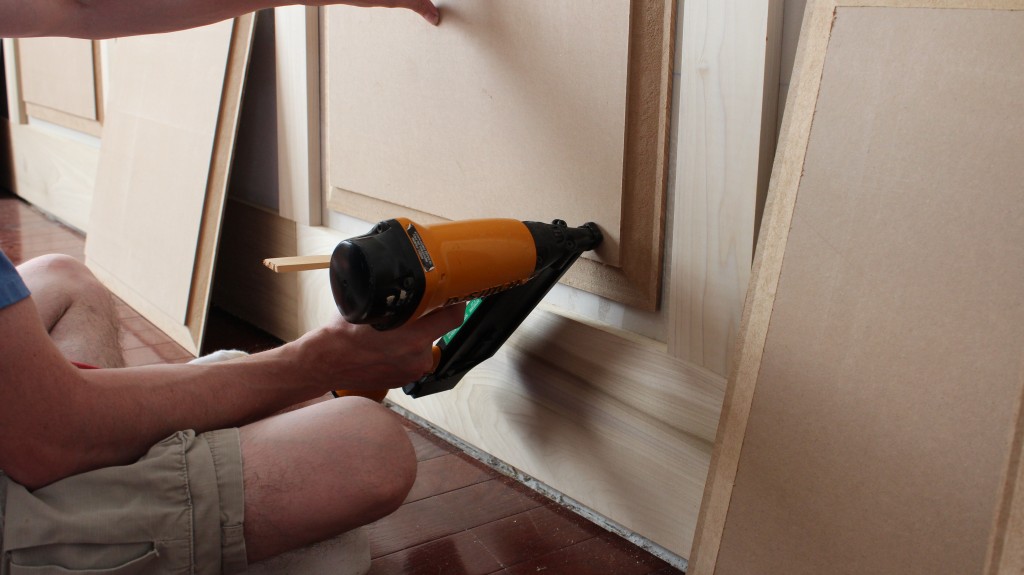
Here’s one of the installed panels sans outlet…
After going around the room with the outlet-less panels. It was time to go back and finish up the more challenging panel sections. Each panel that falls on a section of wall with an outlet needs to be marked and cut to remove a small box for the outlet. To help make this process really easy, I used a long, straight scrap board I had lying around, but you could also use a long level if you have one.
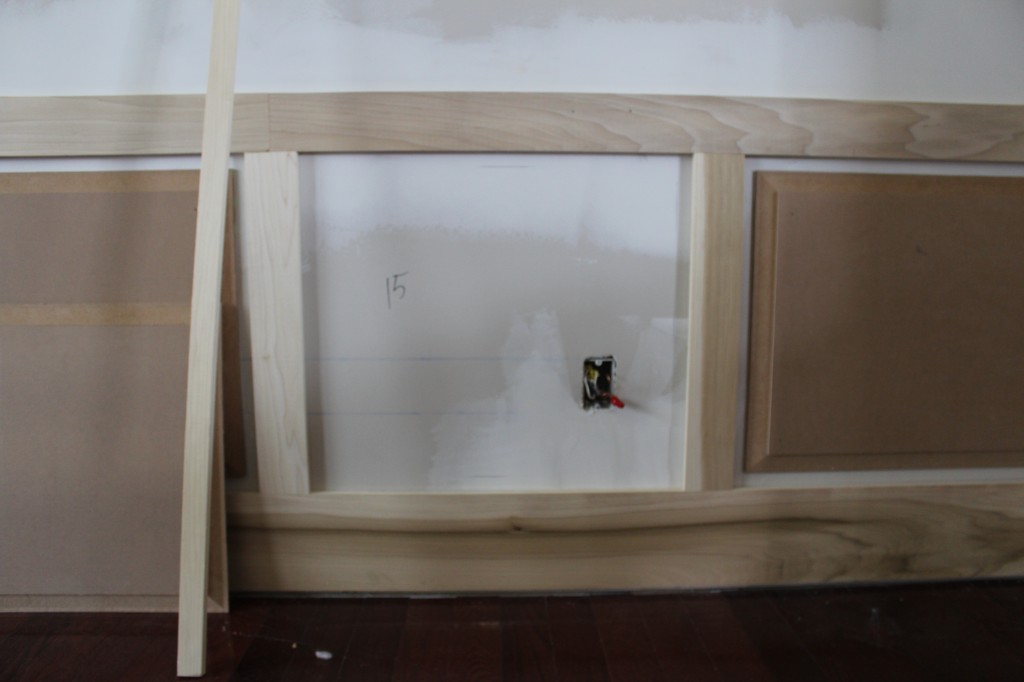
I begin by lining up the board with the edges of the outlet opening. Then I mark the frame above, below and to the sides of the outlet box. Make sure you mark both sides of the outlet and both the bottom and the top. This extra step will allow you to transfer those marks more accurately.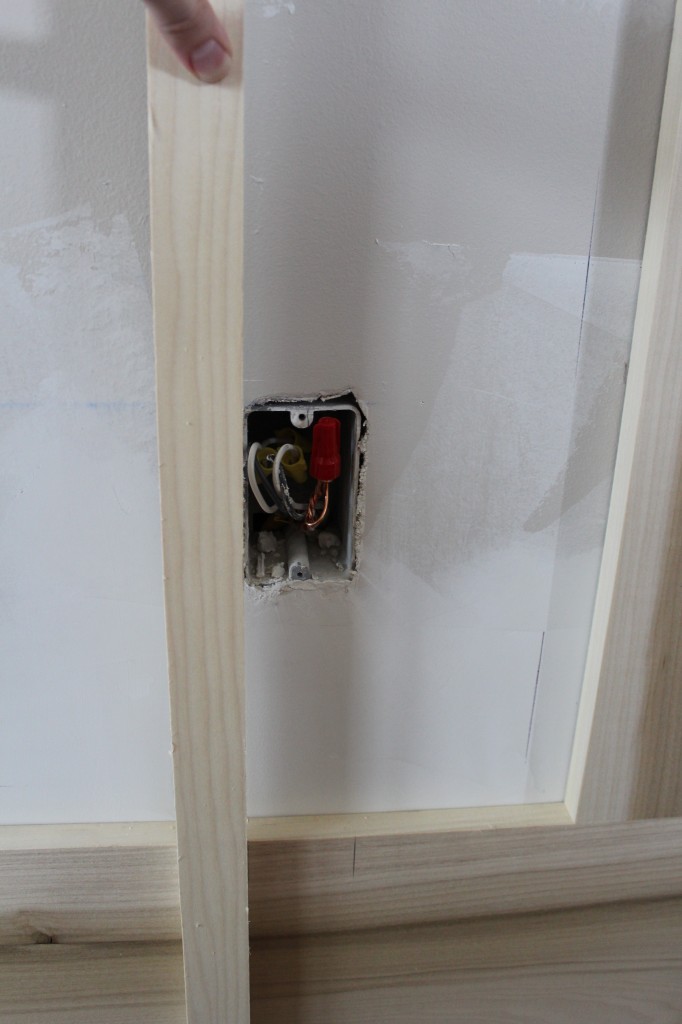
With the frame around the opening marked, I temporarily install the MDF panel. I’ll use a couple shorter brad nails to do this part since it only needs to hold it for a couple minutes. With the panel up, I’ll mark it by using the same long board to transfer my marks from the frame to the panel. This is where marks on both sides of the frame pay dividends. I can line up the board with both sides and I know I’m dead nuts on target.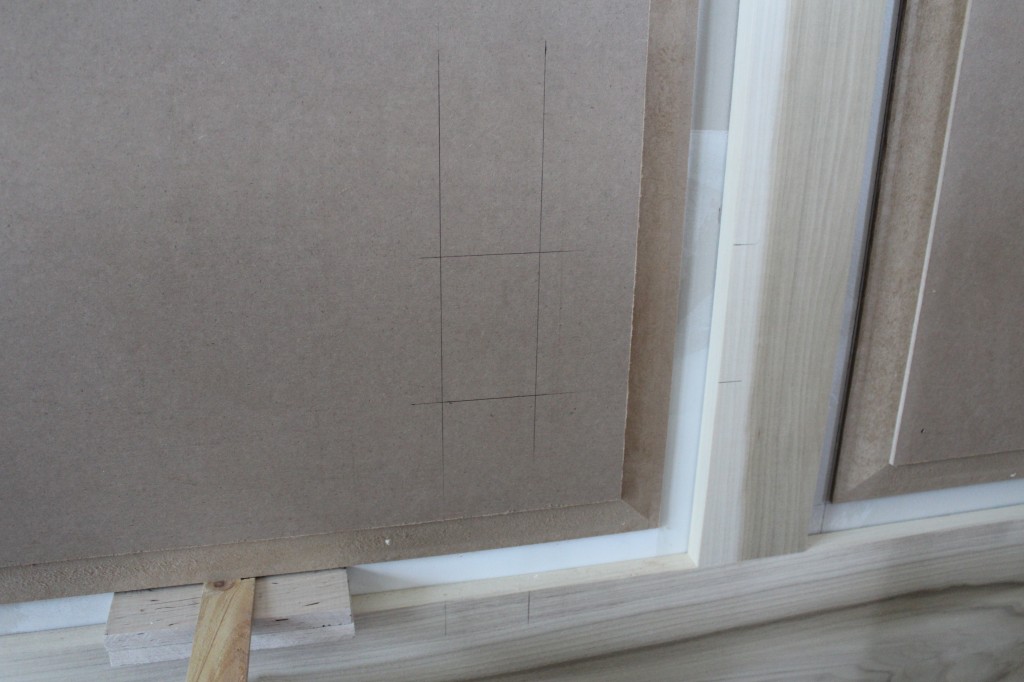
With the outlet box marked, I’ll take the panel down and cut out the hole using a drill to start the corners and then cutting the straight sections with a handheld jigsaw. Then the panel is just reinstalled like all the rest.

Even though I could put in the receptacle at this point, it won’t go in until the very end of the project. Gotta say this room is really coming together nicely. Still have little ways to go, but we’re getting there!
What are your plans for the 4th? Do you spend time with family and friends or are you hanging out at home?


