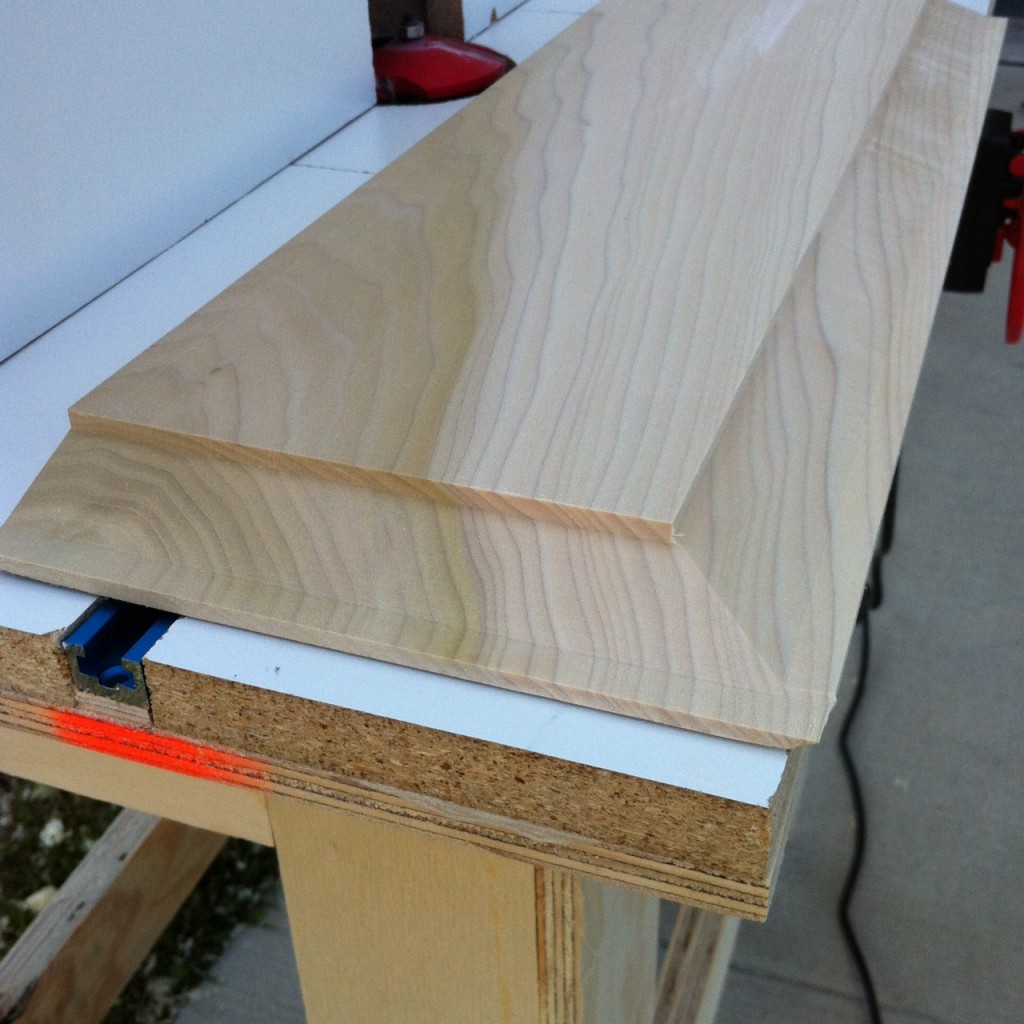
What a weekend! Got a lot done in the past few days. I was able to finish up my router table (more on that later this week) and finally get cracking on the getting those center panels cut and routed. We were also able to squeeze in some much needed R&R.
The first thing I did once the router table was setup was to move it outside. If you’ve never used one before, they are extremely loud. Plus, they remove a ton of material when they cut, so there is a crap load of sawdust. If you follow me on instagram (john_ohfs) then you may have seen a sneak peak of the router table and the results from its trial run.
 Sweeeeeet. That trial run was done on a scrap piece of poplar. It’s gorgeous. I would love to make the center panels out of that stuff instead of the MDF, but using hardwood in large sections like that means dealing with it stretching and shrinking from the humidity and seasonal changes. That means paint and caulk lines cracking… extra work on a regular basis. No thanks. MDF is stable. No expansion. No contraction. No worries. Moreover, MDF is cheaper. Plus the panels are so wide that I’d have to glue them together… on and on… You convinced yet?
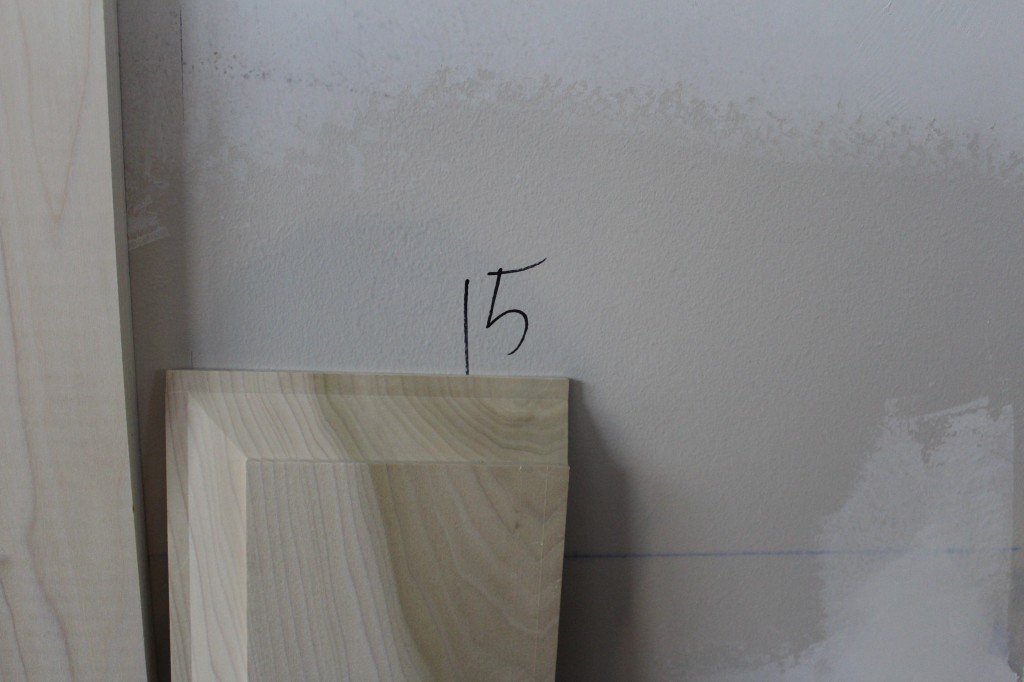
So, with the router table standing by it was time to start cutting the center panels out. I bought a couple 4×8 sheets of MDF way back when and they’ve been gathering sawdust in the basement for a while now. To make things a little more organized, I numbered every panel section on the wall. Then when the MDF pieces were cut from the sheets, they got a matching number. Although the heights are the same for almost all of them, the widths are subtly different. Keeping them numbered, keeps me from ripping the hair out of my head when we go to install them.
 Another little treat was to getting to see how the raised panel sits next to the bolection molding. I sat that little poplar scrap piece inside one of the panel sections and used a small molding piece to help with dimensioning the gap. Looks good! Like Ron Burgundy good.
If you’re confused by the photo, don’t be. That little molding will be wrapping around the perimeter of the opening. The raised panel piece will have that profile around the entire perimeter of itself as well. The gap between the raised panel and the frame will be the same all the way around. If you can’t visualize it, just trust me. It’s gonna work.
I think I’m going to need to sit in this room at some point and drink some scotch on a leather sofa. It’s gonna happen. Is Merlin Olsen still around? No? Crap.
Any small victories in your world this weekend?