Our home office remodel is going really well. We just finished the joint compound work, the ceiling has been primed and painted and just this evening I finished installing the ceiling lights. I just realized I owe you a complete list of every task we’ve completed and have planned for this space, that way you […]
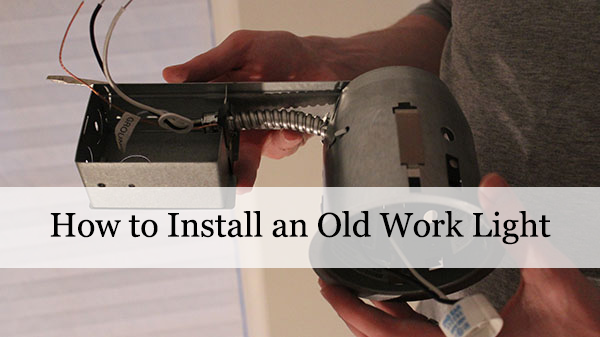
In this post, you’ll learn – How to use chalk lines to mark for center – How a compass and a drywall saw are used for ceiling light holes Late last week, I got a call from our local township that our electrical permit was approved. Right after I picked it up, I got started. […]
Hope everyone had an outstanding holiday weekend. We spent the last few days hanging out with family and hit up the shore for a little while. Other than some sunburn, we couldn’t have asked for a better time. Since we finished the built-in in our sitting room a few months ago, we’ve been spending a […]
For the past couple years since we’ve lived in our current house we’ve had some issues with our exterior garage lights. The fixtures themselves aren’t really the problem, it’s the bulbs. I’m not sure if it’s the changing temperatures between the seasons or what, but they never seem to last longer than a few weeks […]

So last time we worked on our landscape lighting project, we were able to get the transformer installed and the four flood lights connected. After a brief test with an extension cord, we still have some adjustments to make. It’s always a good idea when doing a project like this to stop and see how […]
Thanks for stopping back. To continue our landscape lighting project, we’re going to install the 300 Watt transformer. If in the future we decide to add more lighting fixtures, we are limited to 300 Watts worth of total lights or we’ll either need to replace it or add a second transformer. We purchased our transformer from www.landscapelightingworld.com. […]
For our first actual work-in-progress post, we’re going to be showing the landscape lighting we’ve installed. Adding landscape lighting is extremely easy and can be done in a couple of hours. It definitely has a big impact on the appearance of your home for the relatively small amount of effort. We’re still a few days away from […]

