Summer is in full swing around here, which means just about every weekend we have some sort of family activity. Certainly not complaining. Given the choice between spending time with family or working on my house, I’ll choose hanging out with my family 100 times out of 100. Consequently, our DIY projects have been relegated […]
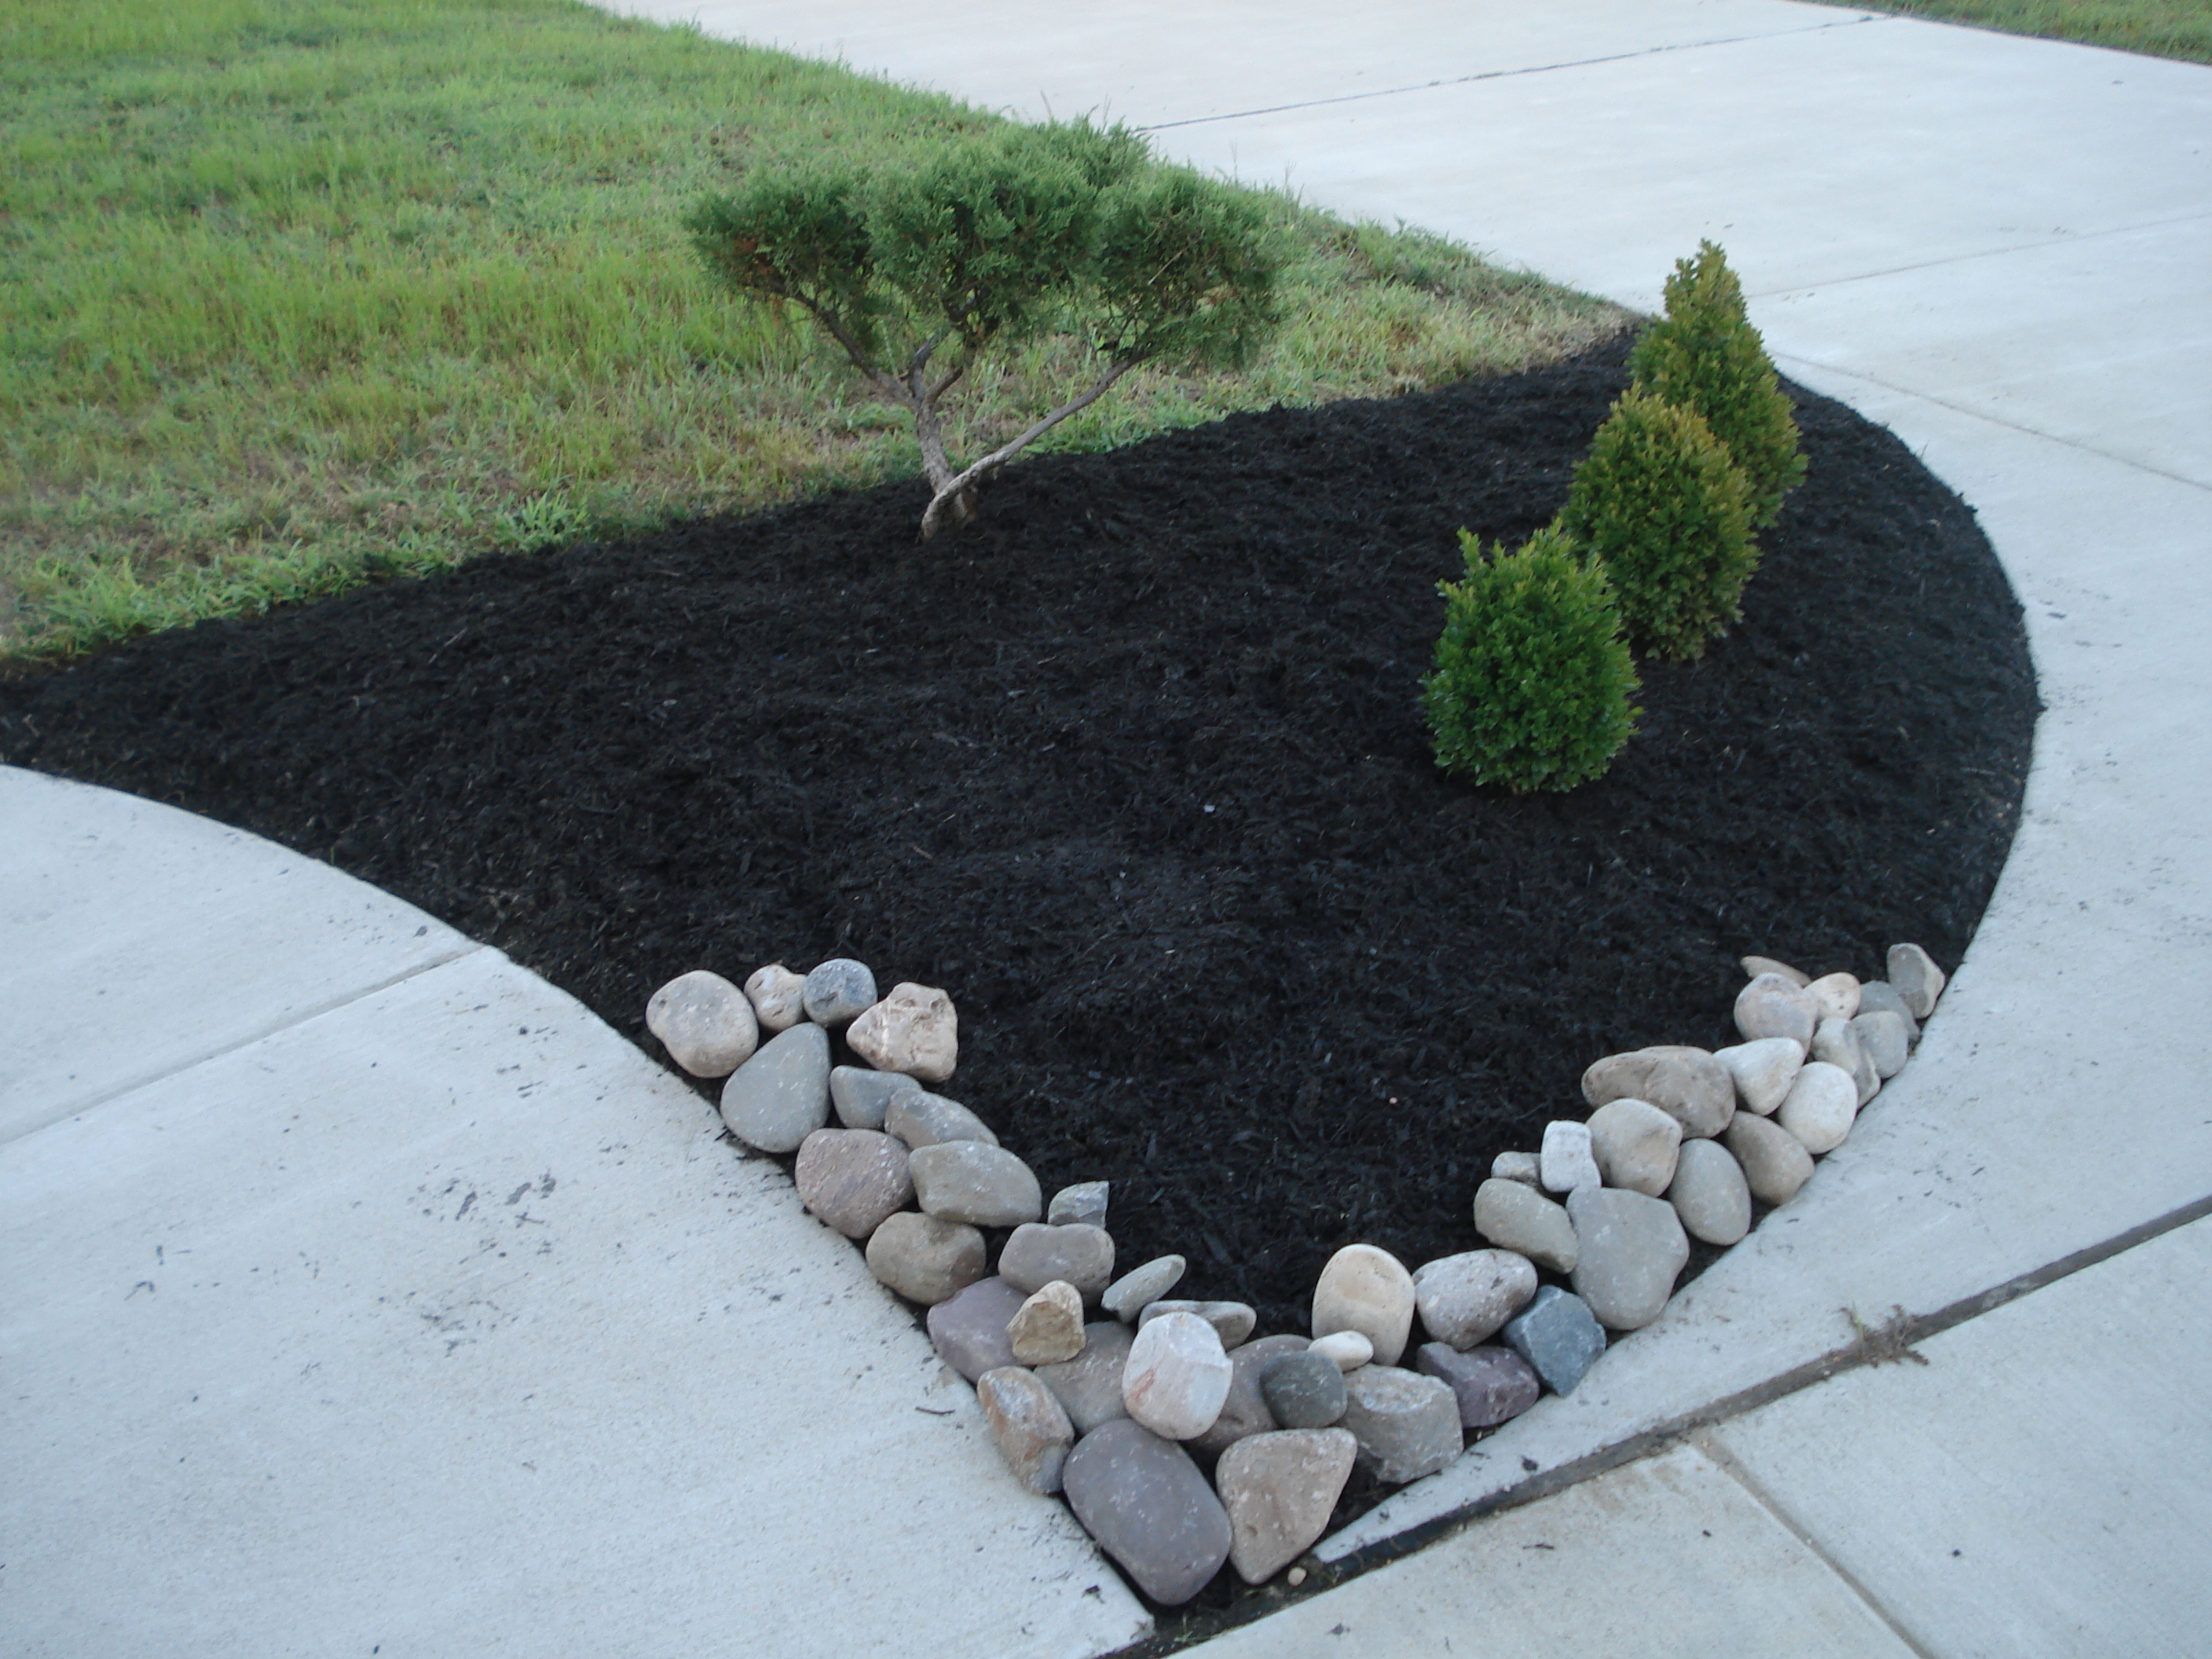
So even though we haven’t officially hit the summer season yet, we’ve already managed to finish one of the projects on our Summer To-Do List. Our mailbox flowerbed overhaul is all done. Only thing left to do is water it everyday for the rest of my natural life. Yay! Last week we showed you how […]
Hope everyone had a happy and safe Memorial Day! Thanks always to those who gave their lives in defense of the freedoms we hold dear. This past weekend we had a small family get together for our daughter’s Christening. Good times. We also managed to squeeze in some gardening and DIYing, of course. As much […]
We don’t have green thumbs. Our lawn probably is never going to be the nicest on the block. But, that doesn’t mean we can’t try right? It’s April and while we should probably be thinking about some outdoor projects soon, we’re still going to be working on some indoor stuff for a while. Late last […]
Just got back from a long work trip and found myself with some rare free time and decided to wrap up the mulch on the last flower bed I added. It had been a couple weeks or more since the last time i had been over on that side of the house and right away […]
Ever have one of those weekends where you plan to do a couple simple, well planned chores and despite all your efforts, you don’t finish either one? Well, I had one of those weekends. I planned to start and finish two projects, the first one, which I’m writing about in this post is the flower […]
With August winding down it’s time to put our landscaping work into high gear. I sure don’t want a frozen 3 foot high pile of mulch on my lawn come December. With grad school night classes starting up again for me this week and the Flyer’s season starting soon (I try to watch every single […]
Now to finish up our drip irrigation system installation… We just got more 1/2″ supply line a few days ago, so I’m going to finally get back to work on it. I actually bought another 200 ft of hose just in case, because I’m not interested in running out again. Irrigationdirect.com sells the supply line […]
Back to work on our drip irrigation installation… To see Part 1, click here. So today I got an early start on the front flower beds with the goal of finishing up as much as I could until more drip irrigation hose arrives next week. I’ll leave a small bare batch un-mulched so I can […]
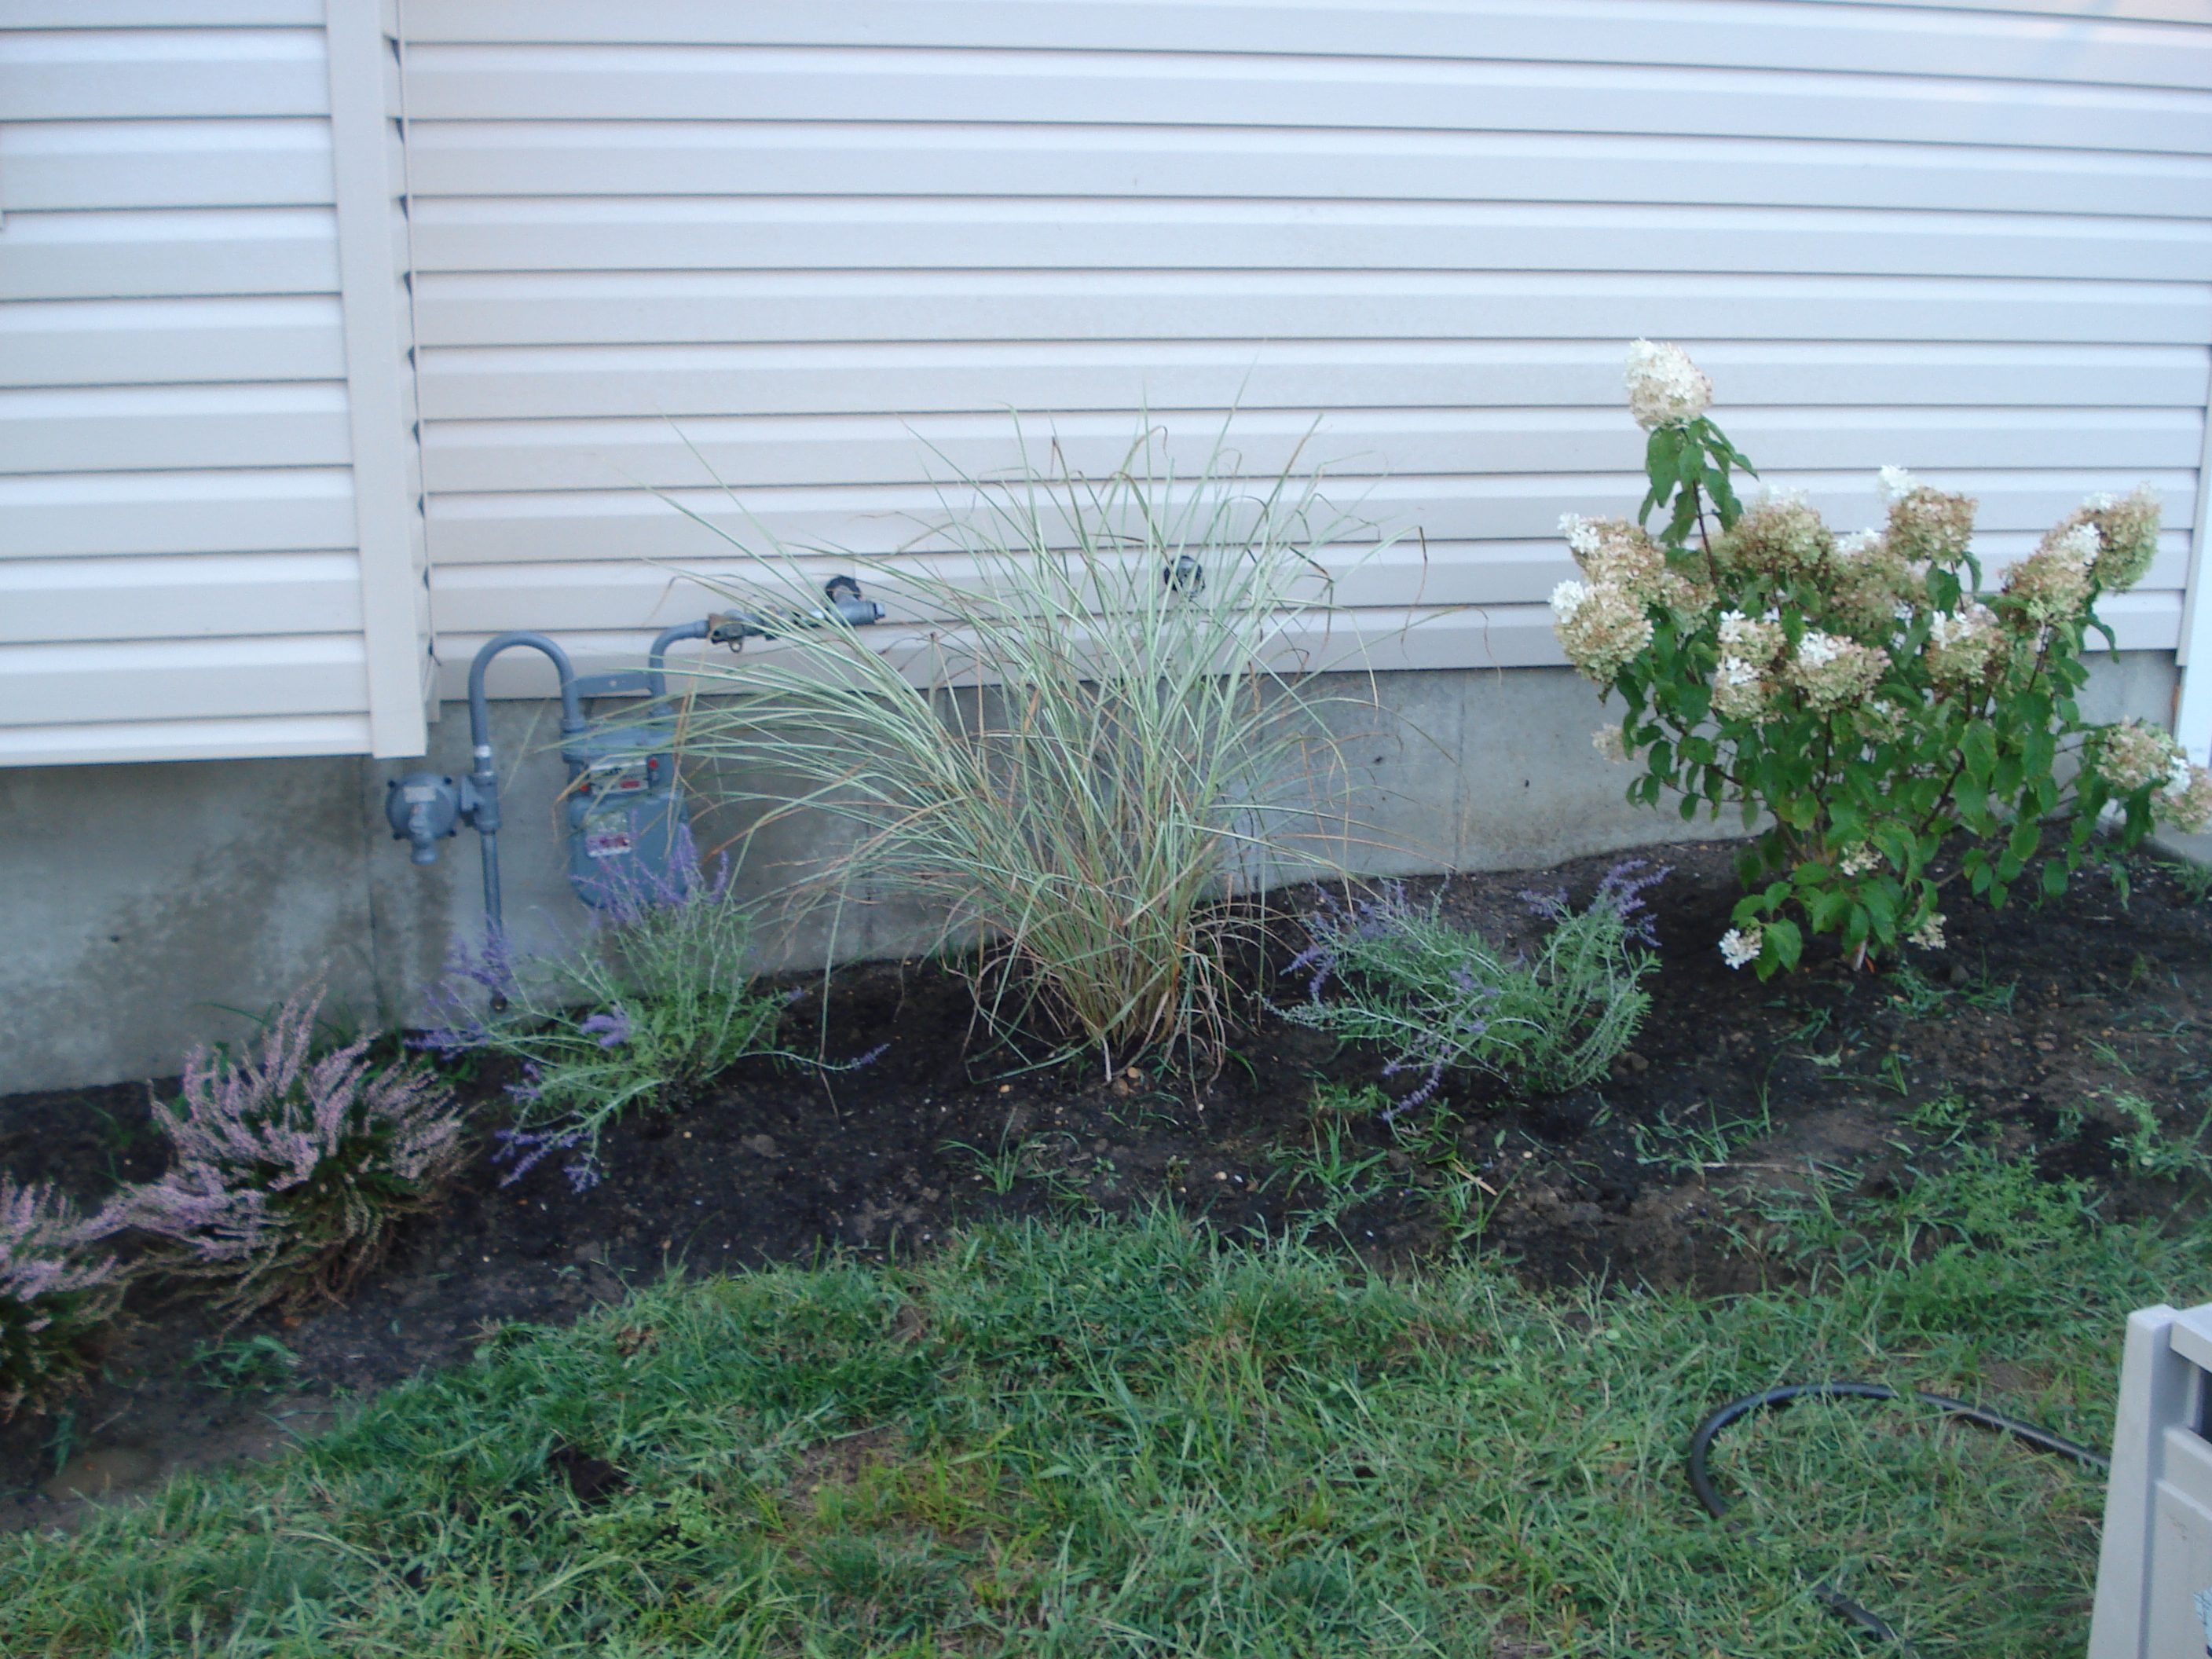
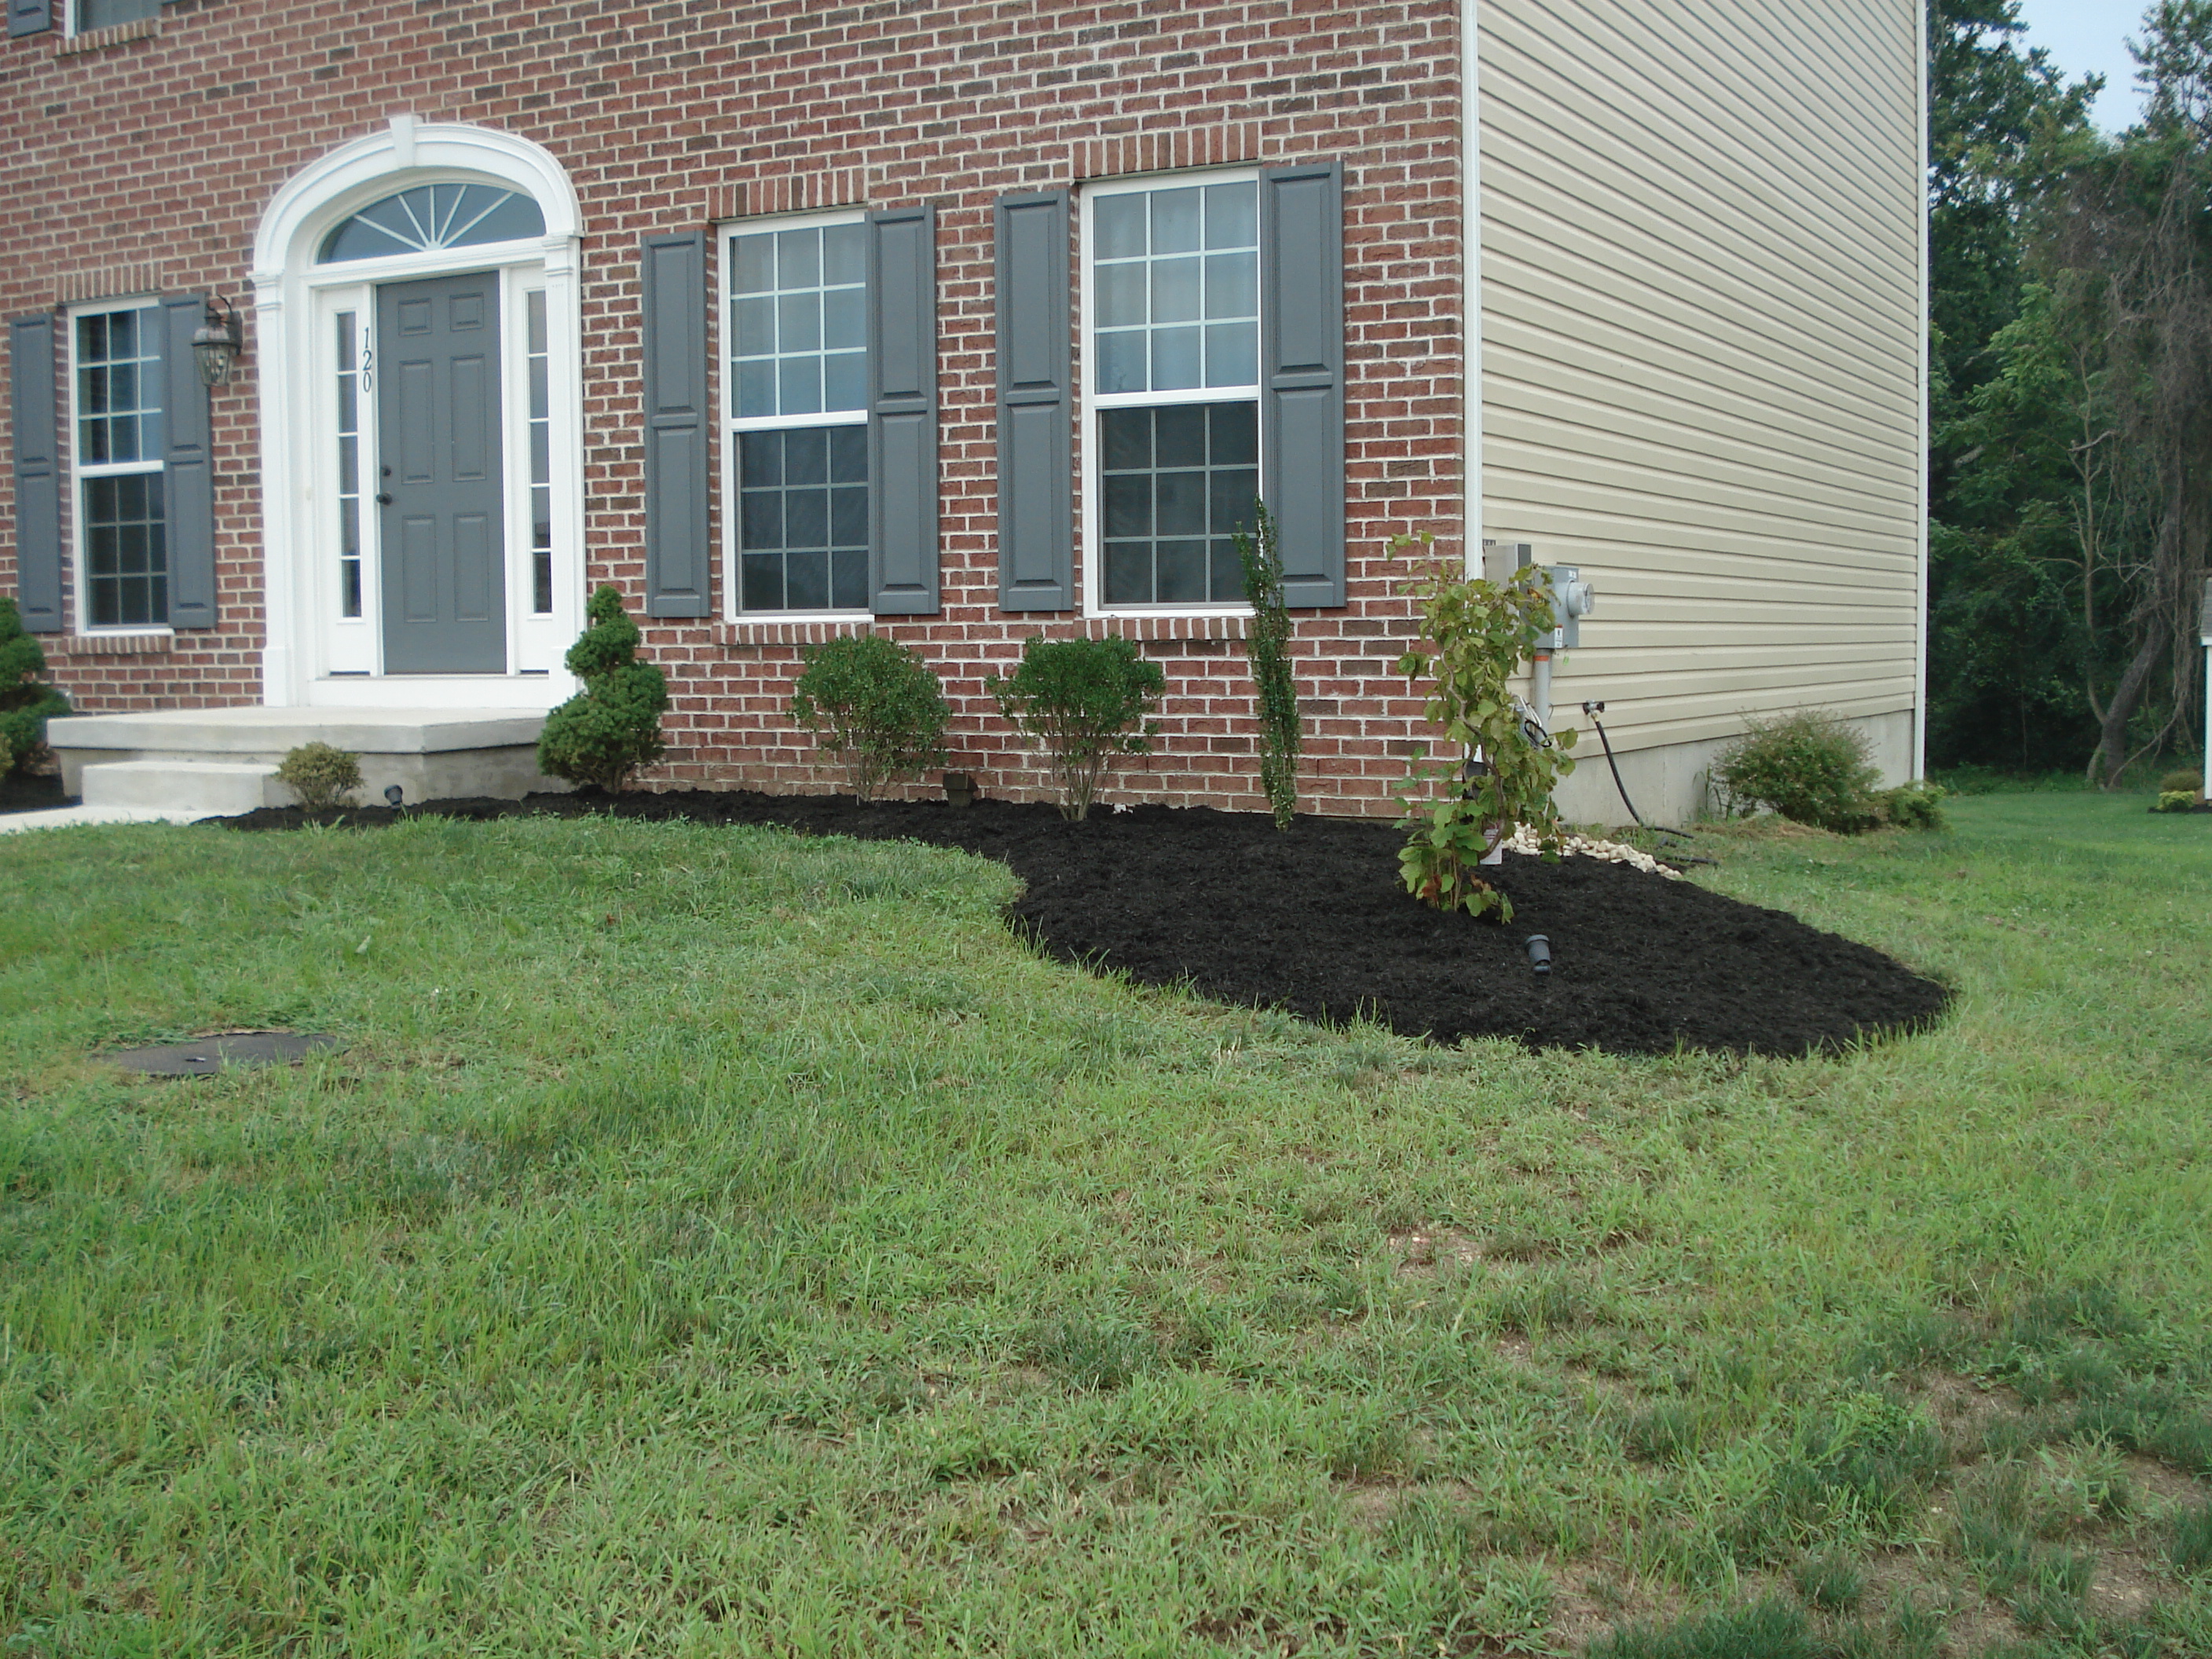
Lots to do this week!! We got 3 cubic yards of black mulch and four flower beds to go! There are a couple of landscaping lessons we’ve learned since we moved into our new house. The first and arguably the most important is the necessity of landscaping fabric on flower beds. Unless you enjoy weeding, they are […]

