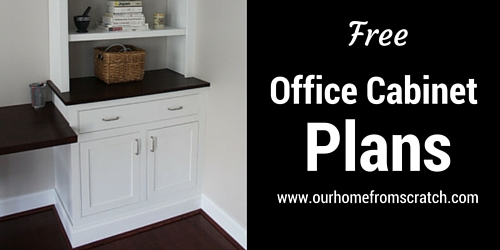
In today’s post, I’m finally releasing the plans for my home office cabinets. Unlike some of the other cabinet plans I’ve released before, these plans are fully adjustable and will allow you to modify the dimensions to fit your space. The plans are actually an MS Excel file that you can download. The file allows […]
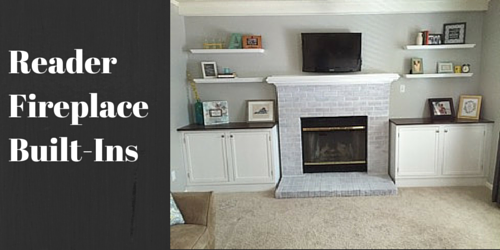
In today’s post, we’re talking to one of readers, Matt from Virginia. Matt recently finished his own fireplace built-ins using our Large Built-in Plans and we’re talking to him about his experience. There’s a few nuggets of wisdom here. Matt ended up taking our free plans and making some modifications to the dimensions to accommodate […]
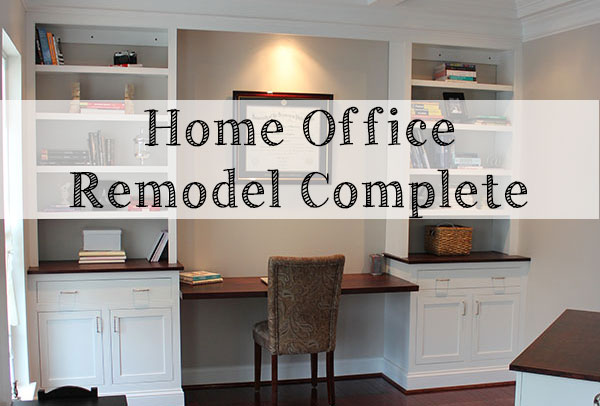
**UPDATE: The free woodworking plans for these office cabinets are now available to download. Check them out by clicking here.*** Well, the time has finally arrived. We’ve crossed the finish line and are now ready to give you a tour of our home office. It’s been nearly a year since we first started and boy […]
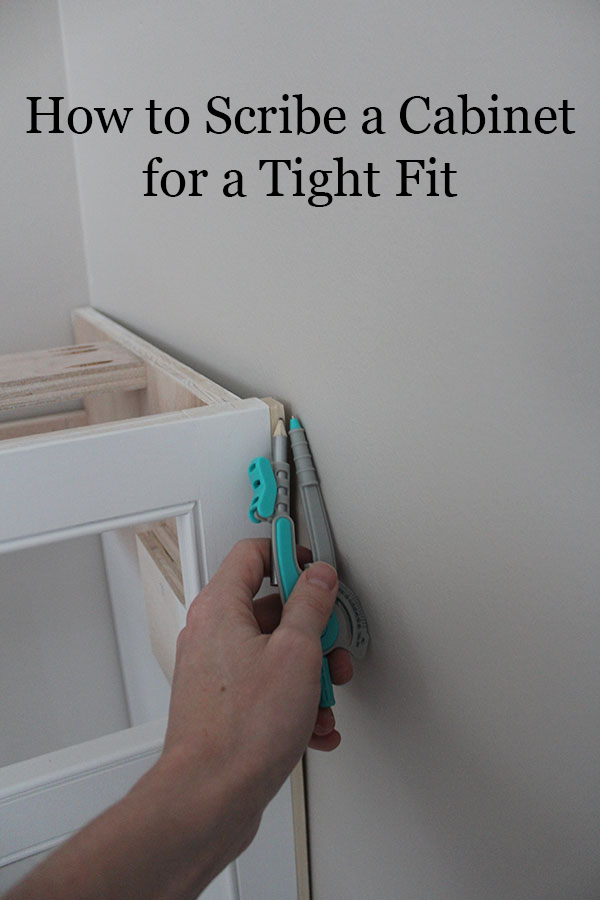
In today’s post you’ll learn: – How to Scribe a Cabinet In an ideal world, all walls and floors would be square and true (and all mortgages paid off). Since that never seems to be the case, you need to know how to modify your cabinets or built-ins to account for uneven walls. If you […]
If you’ve been following along with out blog lately, you know that we’re knee deep into our home office renovation. This project has taken us the better part of nine months and we’re finally a couple weeks away from putting it to bed. I’m in the middle of assembling our new built-in cabinets that we […]
Well, we’ve had another busy week. Fortunately for you, we’ve been busy working on our next set of free woodworking plans. These plans took FOREVER! I kinda went a little overboard too. They’re more like an ebook than plans. Complete with a material and tool list, step by step instructions, etc. It’s more than 30 […]
So I was going to make another video of the cabinet installation, since we were already at that point. Then I realized, I’d be showing a 30 second long clip of me screwing the cabinet to the wall. (I just secured the cabinet to the wall with a couple of 2″ drywall screws. The screws […]
So our Custom Media Cabinet is nearly complete. I’m hoping to get it painted and then assembled this weekend. Instead of putting it together and then painting it, I’m going to try painting most of it first and then gluing it up. It was a major PIA to paint our built-in once it was finished. […]
During my three day weekend, I managed to finally get some woodworking done. I built the face frame for our custom media cabinet. As promised, I whipped up a tutorial video. Let me know if you have any questions. You’ll see it’s not all that difficult to cut the pieces to their finished length and […]
Happy Columbus Day! Or as my Italian wife refers to it… “Better than St. Patrick’s Day.” We hope you all had a great weekend. We made some solid progress on our media cabinet. The face frame is built and I’ll be starting on the cabinet boxes shortly. I filmed almost all of the face frame […]

