John Viercinski is a mechanical engineer from New Jersey. John has been blogging and making home improvement videos since 2011. He bought and renovated his first home in Philly in 2003 and hasn't looked back since.

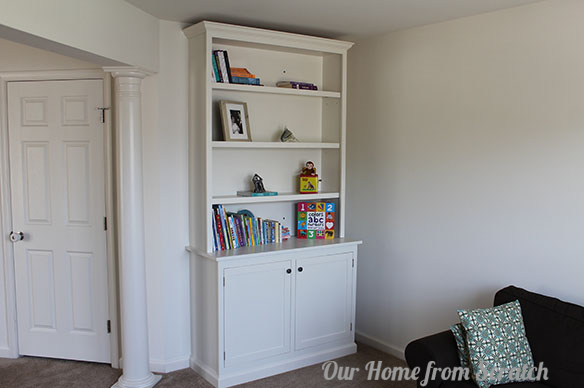
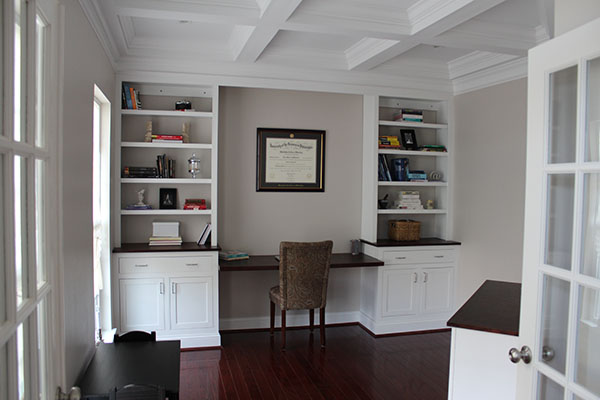
Learn how to build custom shelving, built-ins, and kitchen cabinets all while using tools you probably already own.
Purchase step-by-step plans to build the projects featured on this site and on YouTube.
Check out our extensive video library on YouTube.
In this post, you’ll learn how to join one of the most valuable resources you can use in your next home improvement or DIY project: the DIY Home Squad Facebook Group. One of the main objectives of this home improvement blog is to help others get through their challenging home remodeling or DIY projects. To […]
In this blog post, you’ll learn how to design a finished basement prior to a remodel and how to use Home Designer software to help you come up with a great design. Whether you’re planning to remodel your basement yourself or to hire a contractor to do it for you, you’re going to need a design […]
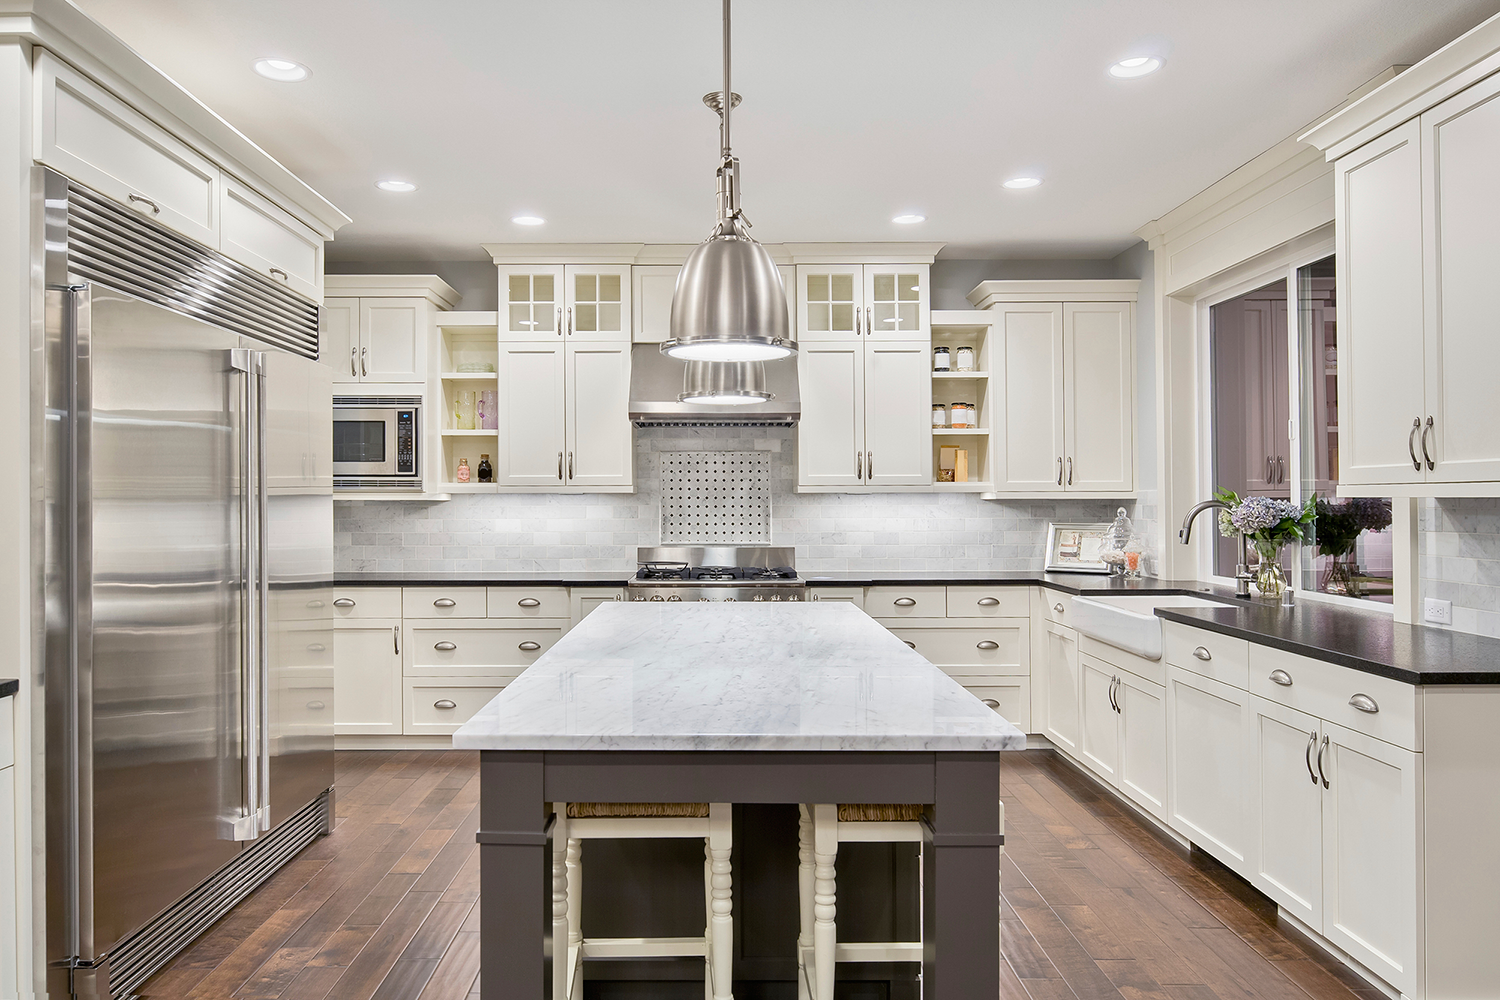
In today’s post, I’m going to tell you how you can get free kitchen cabinet plans to download. Last year I started a new video course to help DIYers design and build their own kitchen cabinets and custom built-in projects. That video course is called “Cabinets from Scratch” and you can check it out at […]

