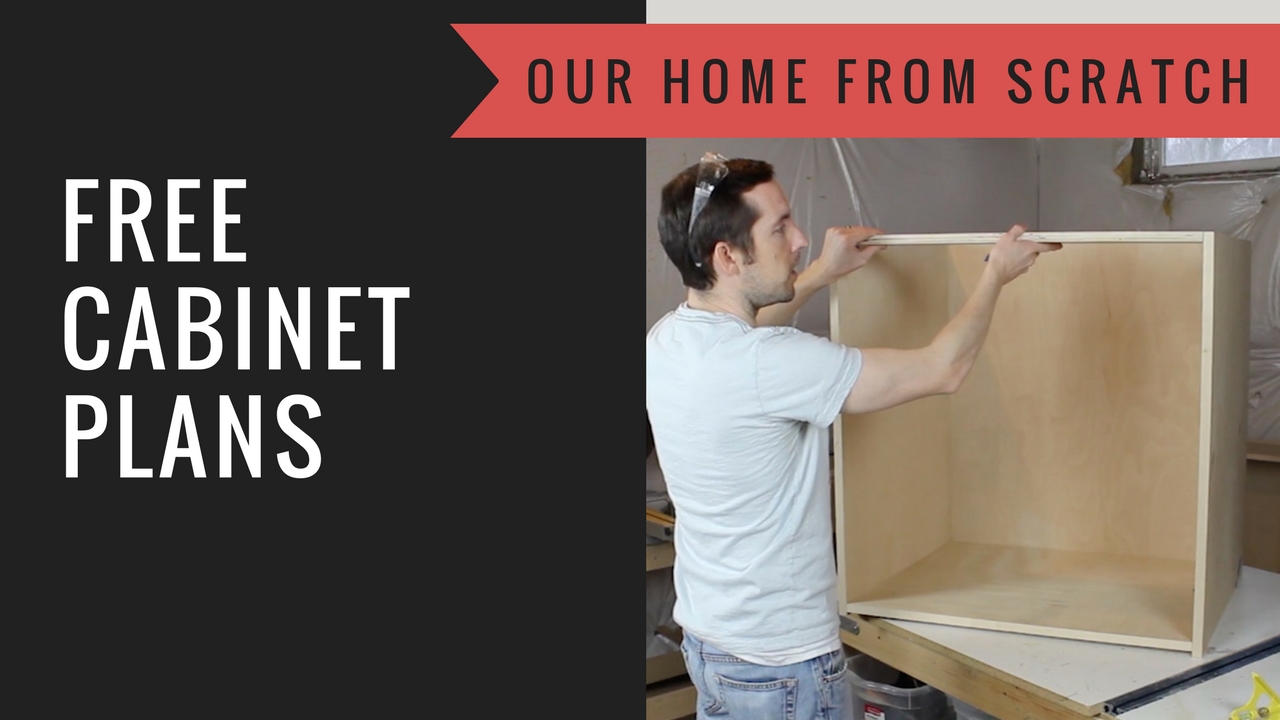
In today’s post, I’m going to tell you how you can get free kitchen cabinet plans to download. Last year I started a new video course to help DIYers design and build their own kitchen cabinets and custom built-in projects. That video course is called “Cabinets from Scratch” and you can check it out at […]

One of my favorite home improvement projects over the past few years has been our raised panel wainscoting we added to our dining room. While this project was fairly challenging, it was well worth the effort. It dramatically improved the look of this space and I think it’s safe to say it probable added some […]
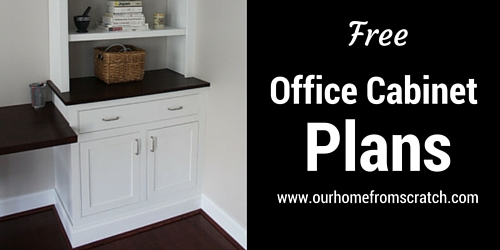
In today’s post, I’m finally releasing the plans for my home office cabinets. Unlike some of the other cabinet plans I’ve released before, these plans are fully adjustable and will allow you to modify the dimensions to fit your space. The plans are actually an MS Excel file that you can download. The file allows […]

If you’re into DIY and woodworking like I am and you have an Instagram account, then you’ve probably seen some pretty amazing projects in this app. In today’s post and throughout the rest of the year, I’m going to spotlight some of my favorite Instagram accounts so you can check out their impressive work. We […]
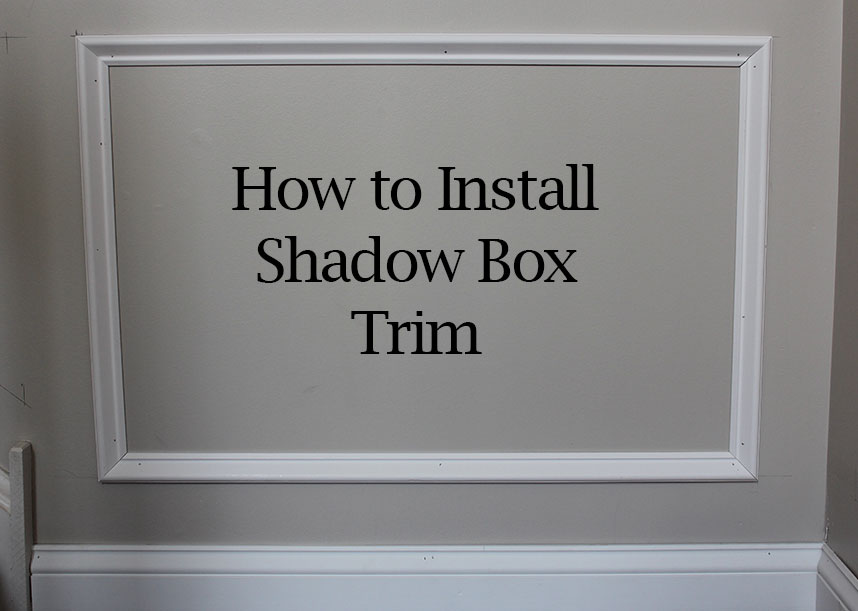
In today’s post, you’ll learn – How to Install Shadow Box Trim It’s been a while since we’ve finished any home improvement projects and although, this latest one is pretty quick and simple, it feels great to wrap up another project nonetheless. Lisa and I had been planning on adding some sort of decor or […]
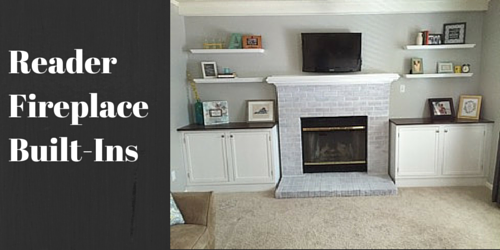
In today’s post, we’re talking to one of readers, Matt from Virginia. Matt recently finished his own fireplace built-ins using our Large Built-in Plans and we’re talking to him about his experience. There’s a few nuggets of wisdom here. Matt ended up taking our free plans and making some modifications to the dimensions to accommodate […]
In today’s post, I wanted to let you know about a new, free tool I’ve added to our Plans page, a Cabinet Door Calculator. It allows you to input the dimensions of a cabinet door opening and it outputs the dimensions of the individual parts to make that door. If you’re thinking about replacing your current […]
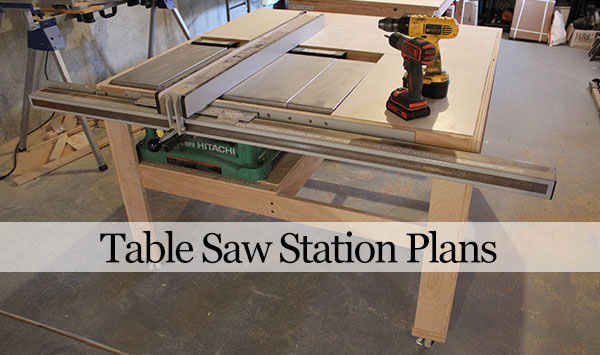
It’s been a while, but I’ve finally finished the Customizable Table Saw Station Plans. To get access to these free woodworking plans, you simply need to click the button below and sign-up. Click Here to Get the Plans This workstation has made using my table saw considerably easier. Building it was a […]
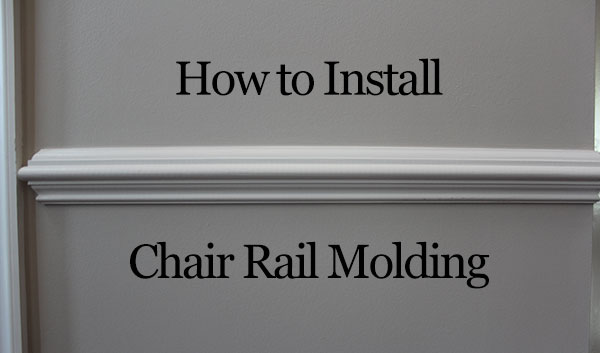
In this video and post, you’ll learn – How to install chair rail molding – How to install molding on a stairway – How to add end caps to your trim work – How to use two basic tools to figure out what angle to cut your trim pieces to Happy weekend everybody! This past […]
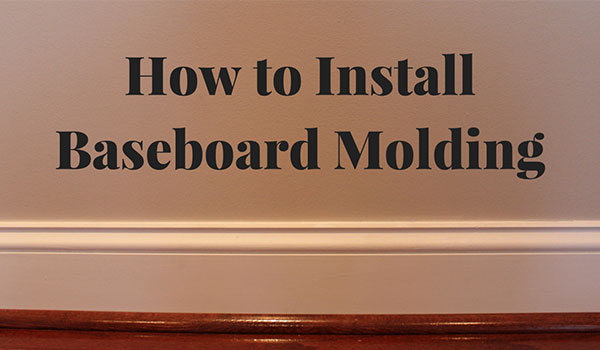
In this video, you’ll learn: – How to remove baseboard molding – How to install new baseboard molding – How to work without a tape measure Well, we finally started our latest home improvement project. As we mentioned a few weeks ago, we’re working towards adding some character in our vestibule with taller baseboard molding, […]

