
In this blog post, you’ll learn how to design a finished basement prior to a remodel and how to use Home Designer software to help you come up with a great design. Whether you’re planning to remodel your basement yourself or to hire a contractor to do it for you, you’re going to need a design […]

In this post, you’ll learn how to join one of the most valuable resources you can use in your next home improvement or DIY project: the DIY Home Squad Facebook Group. One of the main objectives of this home improvement blog is to help others get through their challenging home remodeling or DIY projects. To […]
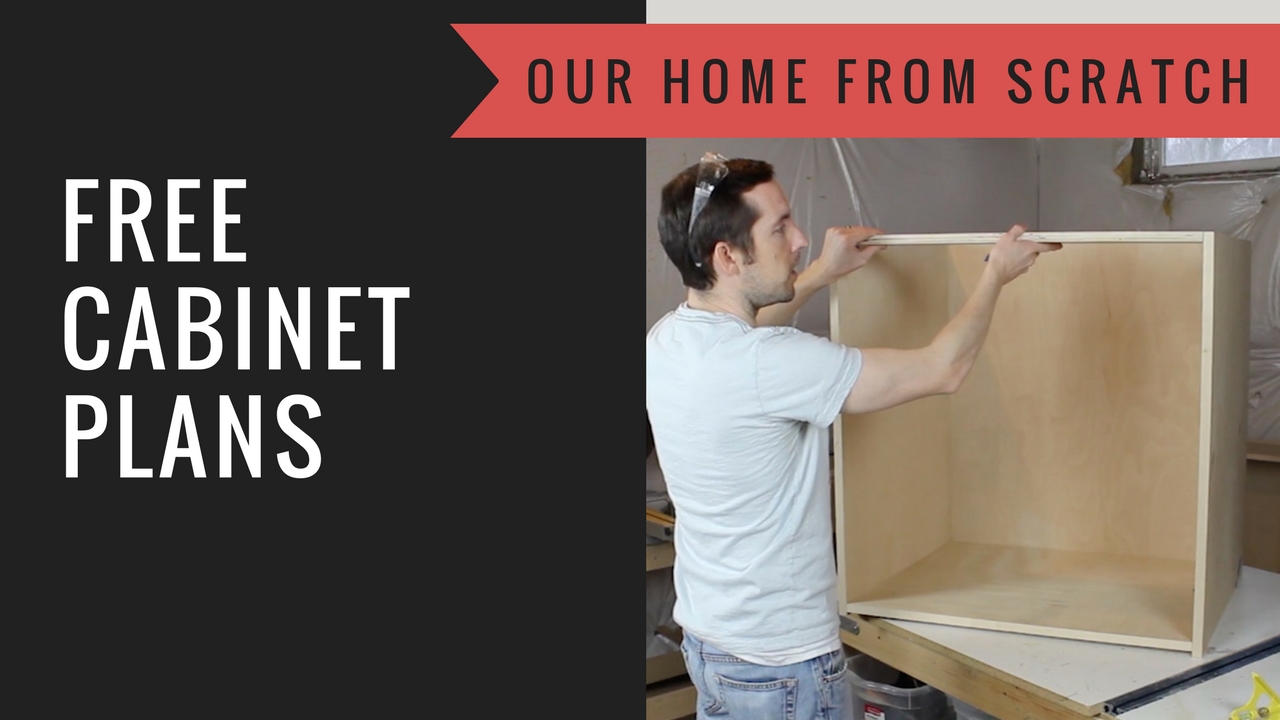
In today’s post, I’m going to tell you how you can get free kitchen cabinet plans to download. Last year I started a new video course to help DIYers design and build their own kitchen cabinets and custom built-in projects. That video course is called “Cabinets from Scratch” and you can check it out at […]
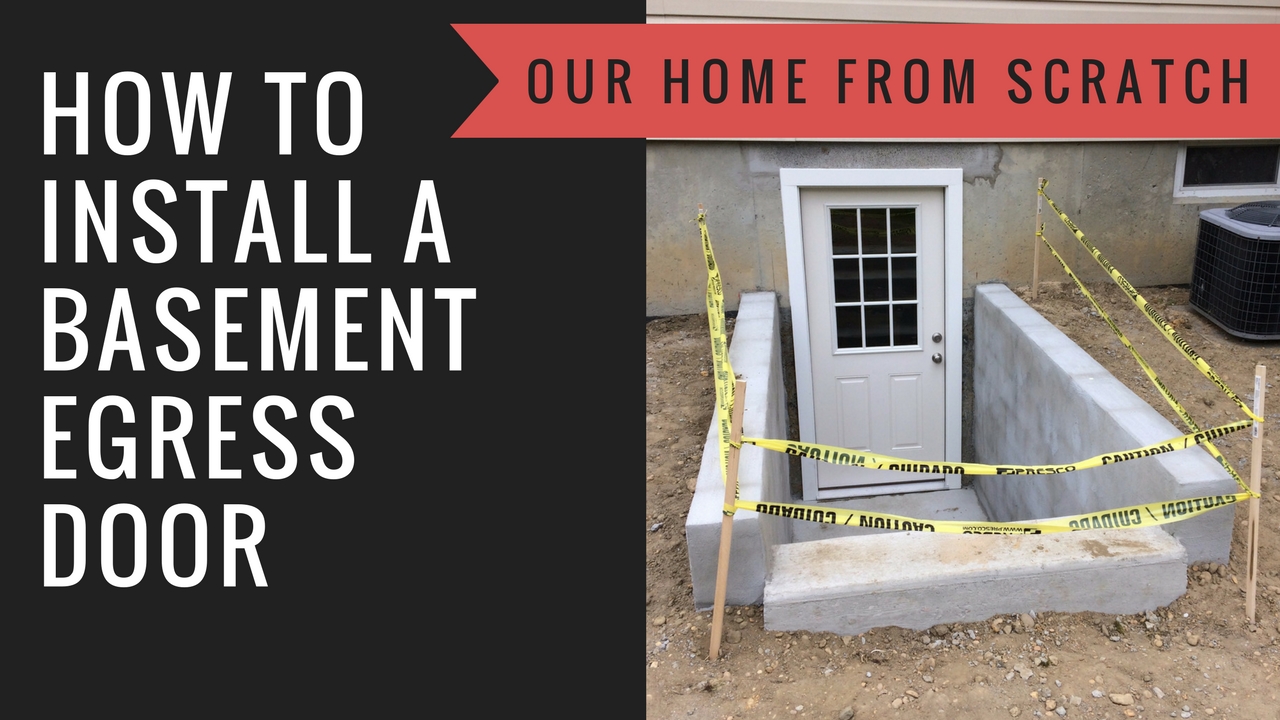
A few weeks ago, our home received a major upgrade. We had an egress door installed in our basement wall. Now we have direct access from our basement to the backyard. In this post, I’m going to share with your some of the details of this project so you’ll know how to install a basement […]
Miss me? It’s been several months since my last blog post and while I haven’t been too busy working on our home, I have been super busy with some other online projects. Just a few months ago, I launched a subscription-based video course that teaches people how to design and build their own cabinets. With […]
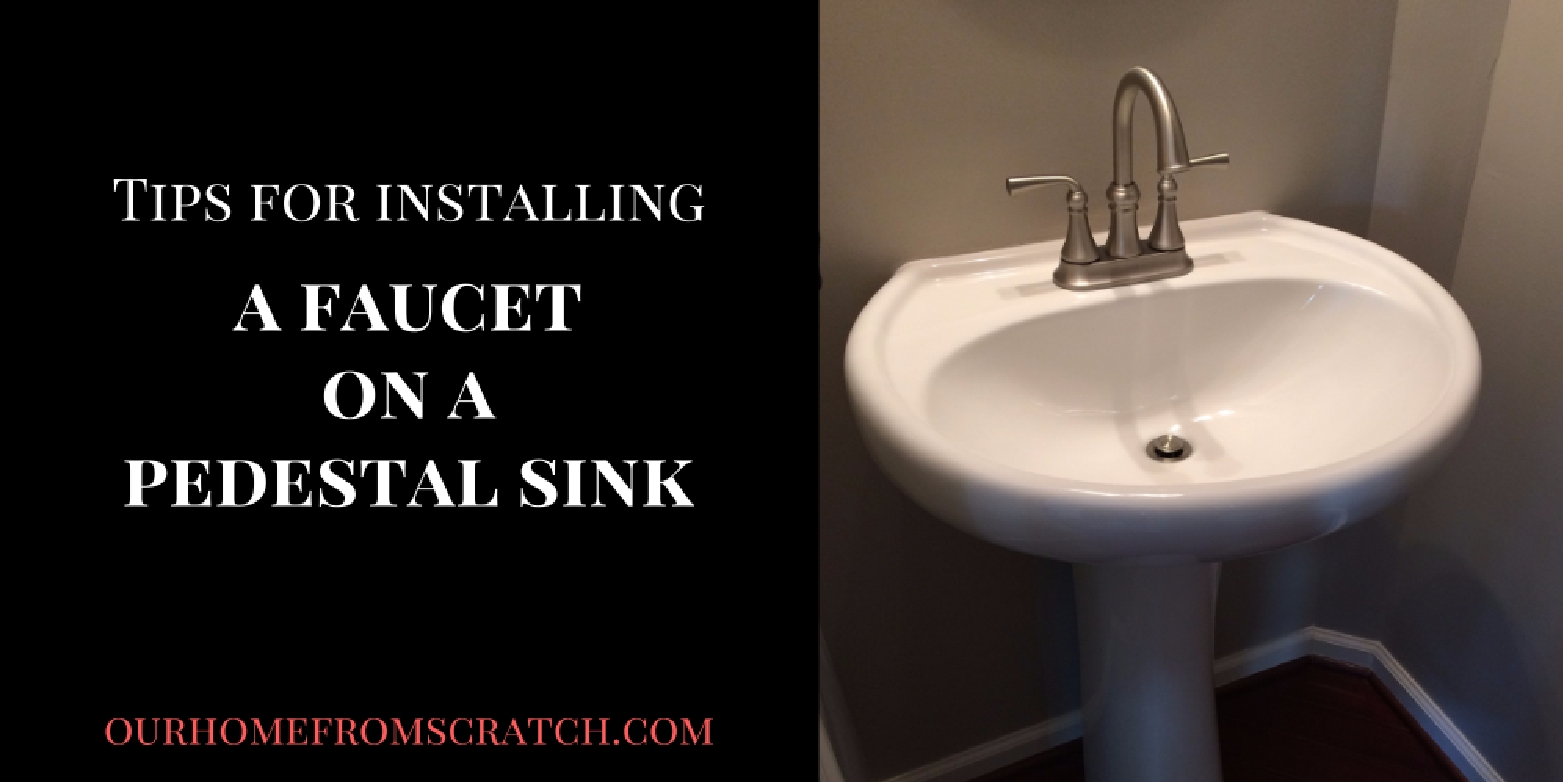
In today’s post, I’m going to share with you some lessons learned about changing a faucet on a pedestal sink. This project should’ve been much easier and frankly, I should have finished it much sooner than I planned, but I made a big rookie mistake. In this post, I’m going to share that mistake with you […]

(This post is sponsored by BLACK+DECKER, but the content and the opinions expressed here are my own) So it’s been a while since my last blog post, mostly because I’ve been hard at work on CabinetsfromScratch.com. If I’m not writing blog posts, it usually means I’m not working on the house. Consequently, my honey-do list […]

One of my favorite home improvement projects over the past few years has been our raised panel wainscoting we added to our dining room. While this project was fairly challenging, it was well worth the effort. It dramatically improved the look of this space and I think it’s safe to say it probable added some […]
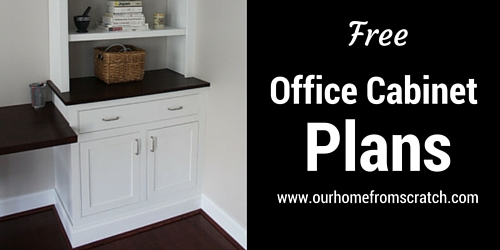
In today’s post, I’m finally releasing the plans for my home office cabinets. Unlike some of the other cabinet plans I’ve released before, these plans are fully adjustable and will allow you to modify the dimensions to fit your space. The plans are actually an MS Excel file that you can download. The file allows […]
Well it’s been nearly a month since my last post. Did you miss me? With three little kids, a pretty demanding full-time job and the hustle and bustle of the holidays, I haven’t have much time to work on any home improvement projects lately. Add to that pile, I’m using all of my free time […]

