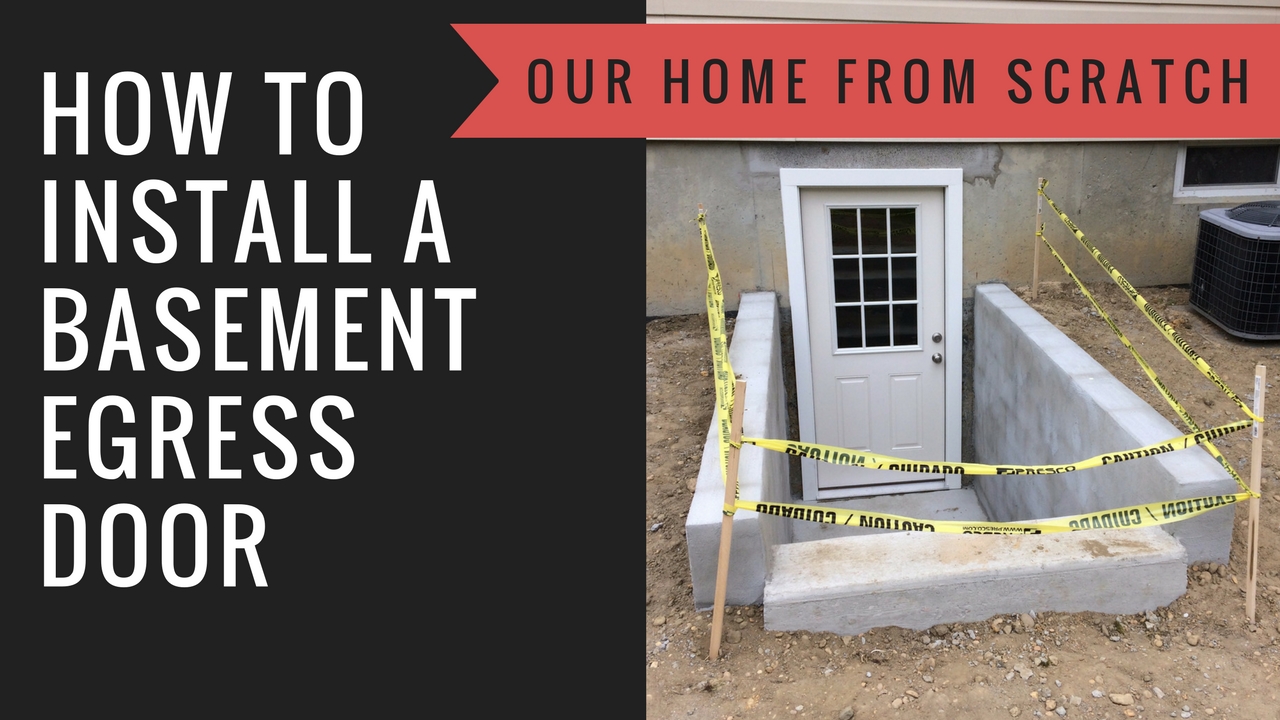
A few weeks ago, our home received a major upgrade. We had an egress door installed in our basement wall. Now we have direct access from our basement to the backyard. In this post, I’m going to share with your some of the details of this project so you’ll know how to install a basement egress door yourself or what you can expect if you decide to hire a contractor to install one like we did.
First, you can watch this tutorial video we filmed while the work was in process. Click here to watch the video on YouTube.
There were a couple of reasons why we installed this egress door. For starters, we wanted our upcoming basement remodel to go smoothly and we didn’t want to mess up our main floor while the work was being done. The existing stairwell to our basement from our first floor takes a hard, ninety-degree turn halfway down the steps and it’s a real challenge to bring something very long or wide into the basement. By having a direct shot into the basement from the outside, we can bring in all of our lumber, drywall and plywood we need to finish that space. When the basement is done, we’ll also be able to bring in furniture or an air hockey table or pool table.
The other big reason for adding an egress is the safety factor. Once the basement is finished, we can put a bedroom down there and not have to worry about someone getting trapped there in the event of a fire or other emergency.
We considered installing an egress window instead of a door. The window would work really well as an escape route, but it won’t help us bring in larger items. The big advantage of an egress window over a full-size entry door is the cost. We got quotes as low as $3,000 for a simple 4′ x 4′ egress window. If we added in a low-point drain and a decorative well, the cost was closer to $6,000.
When we first started calling contractors to get quotes for this project, we were talking to basement specialists. If you google “basement egress contractors,” you’re going to get a list of companies that specialize in egress windows and basement waterproofing. The ones that also provide door installation services tend to only install Bilco style doors. While Bilco doors are useful, we wanted something larger and more integrated into the house without a cover. For basement contractors that install Bilco doors, that work tends to be on the expensive end of their services.
After getting four or five quotes for egress windows and doors from basement and egress specialists, we switched strategies and started calling contractors that specialize in concrete and foundation work. It was a bit counterintuitive at first, but every concrete contractor we talked to had experience with egress work. Eventually, we picked a contractor that had both the best price, understood what we wanted and was interested in getting it finished sooner rather than later.
With our contractor selected, we filed the permit applications with our local township and two weeks later we were rolling.
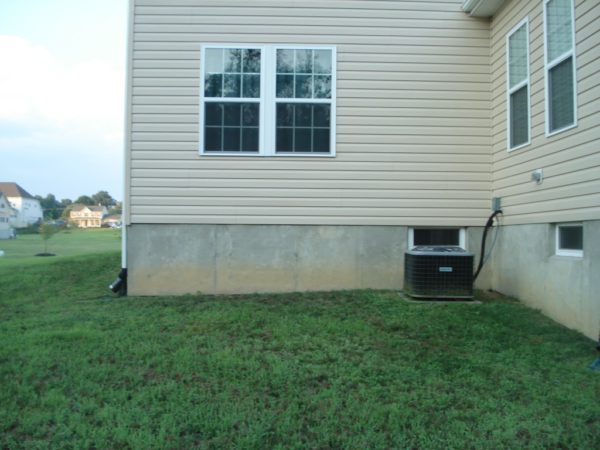
We picked the side of the house opposite of where our patio door is located. We want to make sure that the egress doesn’t interfere with any future deck or patio work.
The work started on a Monday and on that first day the bulk of the work was performed.
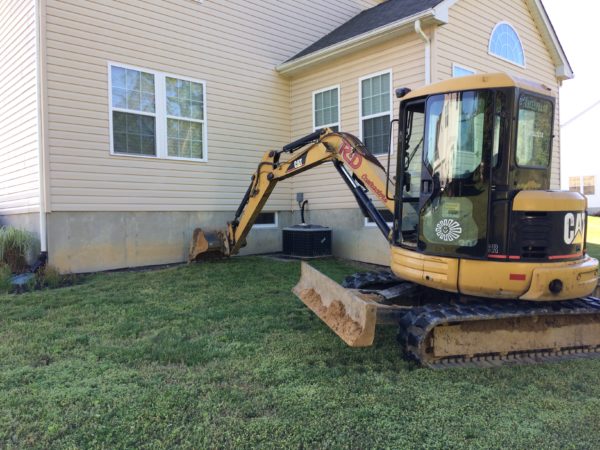
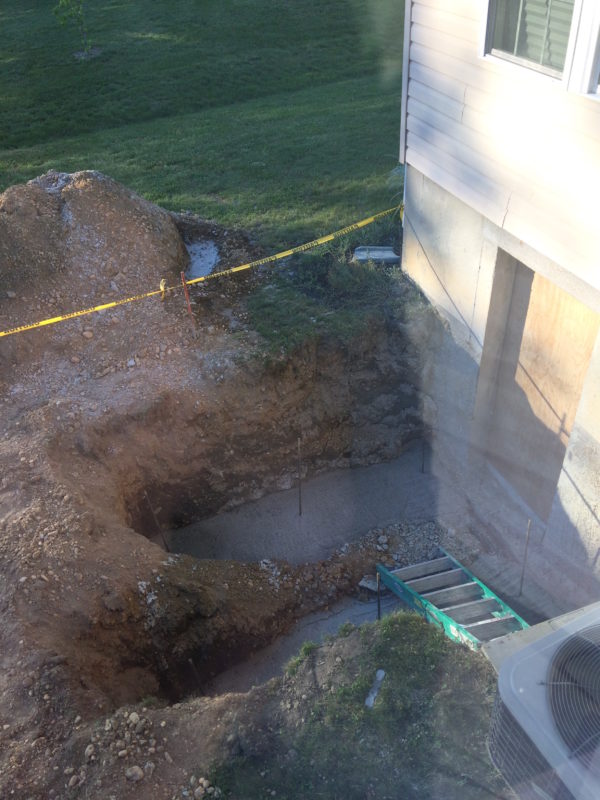
The contractor excavated the dirt away from the foundation wall. We were able to save money by keeping all of the excavated dirt on our property so we didn’t have to pay for removing it.
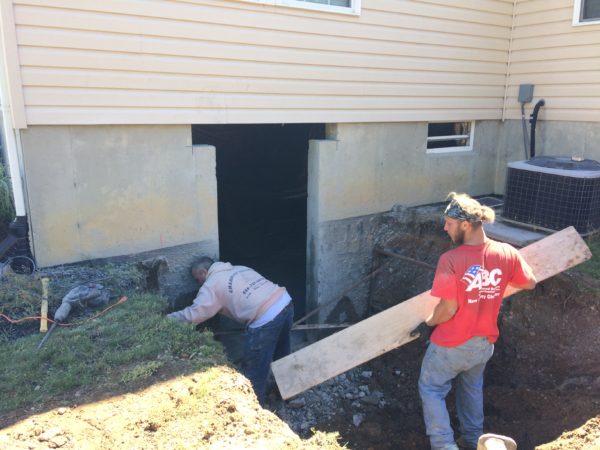
With the dirt removed, the cut for the doorway could be made. We centered the doorway under the dining room window. The door we picked is a 36″ x 80″ pre-hung entry door. That’s a pretty standard entry door size. We were able to buy it from our local Lowes and had it delivered along with the pressure treated lumber for the frame. The rough opening for the door needed to be 38.25″ x 82″ to accommodate the door. We then needed to add a few inches for the 2x framing lumber. The final cut dimensions were 41.25″ x 83.5,” which doesn’t include the lintel.
The cut was made using a gas-powered concrete saw. Because the thickness of the walls is over 7″ thick, they needed to make a cut from both the inside and the outside. We hung up plastic in the basement to keep the dust down and used a fan blowing out of one of the windows to help keep the air in the house clean. After the cuts were made, the concrete wall needed to be chiseled out in pieces with a jackhammer.
By the end of the first day, the footer areas were excavated, the rebar was positioned and we were ready for our footer inspection. The footer inspection was performed by the local township inspector and on the afternoon of day two, we had the concrete in the footers poured.
On day three, with the footers squared away, the block walls were installed. We also had a low-point drain added that directs rainwater into the yard. Better into the yard than into the basement!

On day four the stairs were poured and the hole was backfilled.
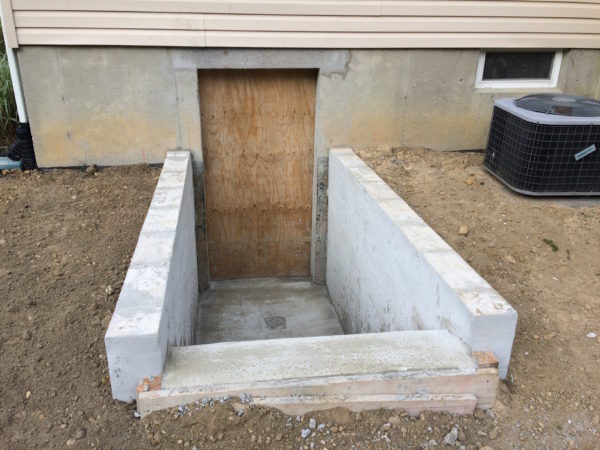
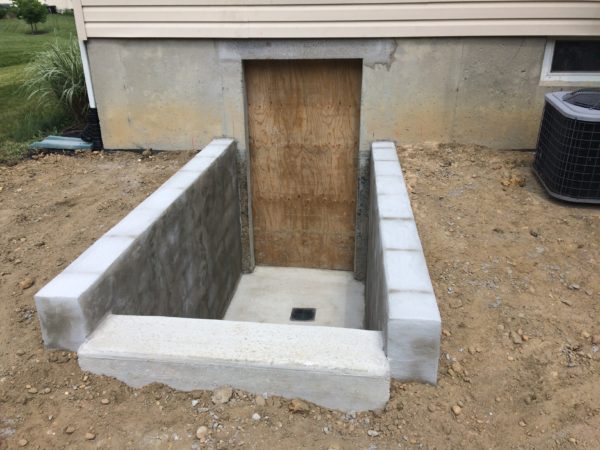
On the fifth day of the job, the block walls were parged and our contractor was done. All that was left was to frame out the doorframe and install the door.
We framed the doorway out using 2′ x 12′ pressure treated lumber. The lumber is intentionally wider than the thickness of the basement walls to account for the future interior framing we’ll add when we finish the basement. The inside surface of the door will need to be flush with the inside wall once the room is finished. By using a wider piece of lumber now, we’ll make that job easier once it’s time to frame the interior.
The pressure treated lumber got fastened to the basement walls using Tapcon screws. Make sure you use the hex-head fasteners and not the phillips head screws. It’s very difficult to apply enough torque on the phillips head screws without stripping them. You can use an impact driver on a hex-head fastener and get much better results driving it into the wall. Once the framing lumber was installed, the doorway was caulked to keep out water.
Before we installed the door, we made a modification to the trim. We removed the standard brick molding and installed a PVC 1″ x 4″ strip around the perimeter of the door. This trim is wider than the brick molding and will cover the opening including all of the pressure treated lumber. The brick molding was too narrow and is mainly designed to conceal a standard stick framed entryway.

The door went in fairly easy. Once it was secured into place, the trim was caulked to the foundation wall and the locks were all installed.
The next thing we’ll need to do is add a permanent railing to keep people from falling in. We’ll also need to dress up the area with some river stone. It’ll be much better than having grass in the area between the house and the egress. We also need to install a handrail.
Overall, this project is going to go a long way to making our basement much more functional for both us and our kids.


