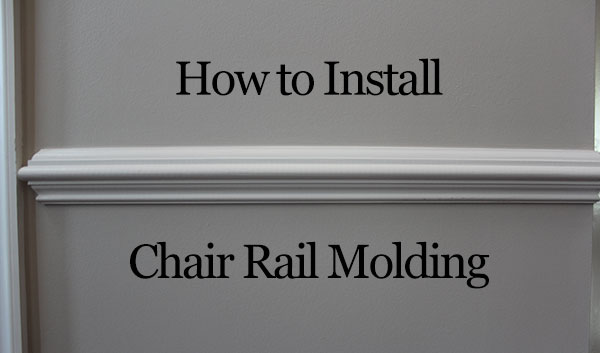
In this video and post, you’ll learn
– How to install chair rail molding
– How to install molding on a stairway
– How to add end caps to your trim work
– How to use two basic tools to figure out what angle to cut your trim pieces to
Happy weekend everybody!
This past week I was able to get some more house work done in the form of chair rail molding. This is the second time we’ve added chair rail to our place. The first time was back a few years ago. You can read about that experience here (photos were pre-DSLR). This time around it went MUCH quicker. Funny how a little bit of experience will do that.
This time around, I snapped a chalk line in the areas where the chair rail was to be installed. I also used my patented* no-tape-measure approach to trim installation, which was more fully explained in my baseboard installation video.
Anyway, why don’t you watch the video and let me know if you have any questions…
(If you don’t see the video, please click here to be redirected to YouTube)
The key takeaways from this video are:
– Use construction adhesive and a chalk line to align your trim
– Use a finish nailer for trim that is thicker than 1/2″ or so. Keep in mind that the nail needs to go through a 1/2″ thick piece of drywall plus the trim. Most brad nailers only shoot nails up to 1-1/4″ long.
– Use a t-bevel and your miter saw to figure out what angle your molding should be cut to.
– If you want an end cap or a “return”, just cut the end of the trim to a 45 degree angle. Then using a piece of scrap trim, cut a 45 degree angle on the opposite side you intend to install it and then just lop it off with a straight cut.
I hope this video helps you with your chair rail installation or any similar type of work.
Any questions??