This is part 10 in our series on building a custom TV stand. There won’t be a part 12, I promise. Maybe a wrap up post, but that’s it. We’re almost, almost done. The cabinet is pretty much all built. I just have to attach the doors and install it. In today’s video I show you the cabinet assembly including shelf pins, sanding and painting.
There’s a lot of info in this post and video so I’ll give you the highlights in case you miss any of them…
Shelf pins: I use a Rockler jig that makes it super easy to add holes for shelf pins. It’s much easier to add these holes before the cabinet is assembled. The drill bit tends to split the wood somewhat so adding them to a cabinet that’s already been painted may require some touch ups.
Sanding: I use a random orbital sander from Porter Cable. I start with a 100 grit sandpaper and then finish with a 220 grit. I intentionally avoid hitting the edge of the doors and face frame with the sander and instead give them a quick swipe with a piece of sandpaper over a block of wood.
Painting: My all time favorite cabinet painting method is two coats of a sprayed on primer followed by two coats of a finish spray paint. For a more custom yet clean brushed on look, brush on the last two coats of a cabinet grade paint like Satin Impervo from Benjamin Moore instead of spraying them. For this cabinet, since I wanted to tie it into our existing trim, I rolled on regular semi-gloss latex paint. The doors, countertop and the face frame, however, did get two coats of spray paint first though. Rolling or brushing on 3-4 coats of regular paint store latex paint tends to get less than ideal results with more prominent brush marks and a goopy texture. That sort of approach is fine for inside the cabinet, but for outside parts that get handled a lot, use the better paints.
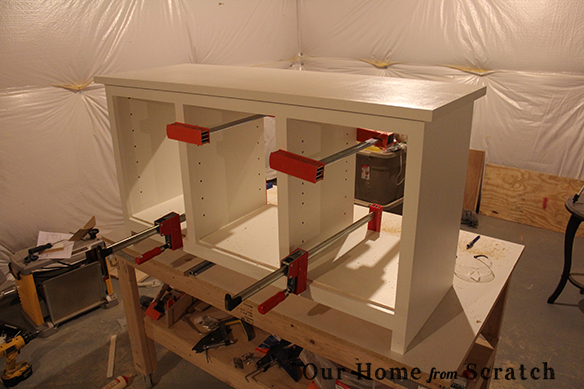
Assembly: The advantage of using grooves and dado’s totally pays off when it’s time to assemble the cabinet. I used minimal brad nails since I don’t want to do much touching up and I’d like the cabinet construction not to be extremely obvious. Pocket screws were also used strategically with the goal of keeping them out of sight.
I hope the video is helpful. Let me know if you have any questions.
This post contains affiliate links.


