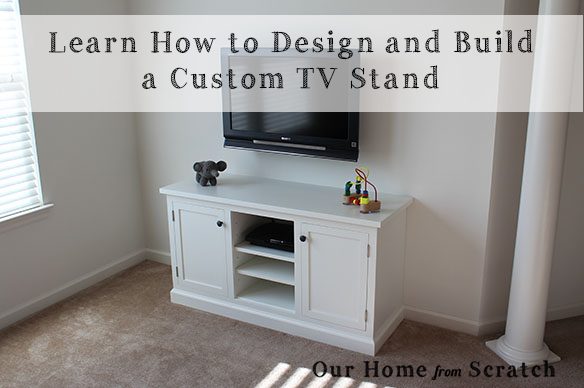
The TV stand is finally done. During the week I wrapped the bottom of the cabinet with some baseboard molding using the same procedure we used on our first built-in. The only thing I may still do to the cabinet is re-coat the top and shelves with some cabinet grade enamel paint. The latex paint doesn’t seem to be holding up quite as well as it does on the built-in. Latex paint isn’t designed for cabinets and it lifted up somewhat after I rested my camera tripod on it. No biggie. Here’s what it looks like now.
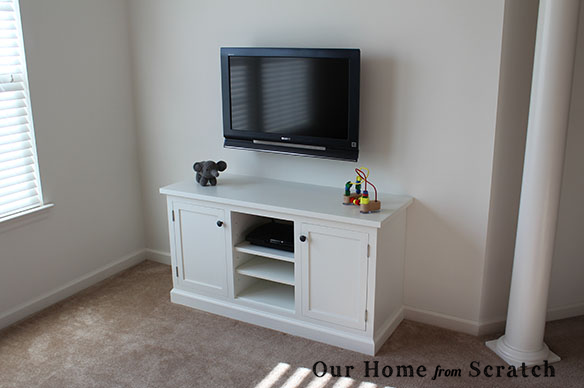
The baseboard molding seems to give the cabinet a fuller look. Big fan.
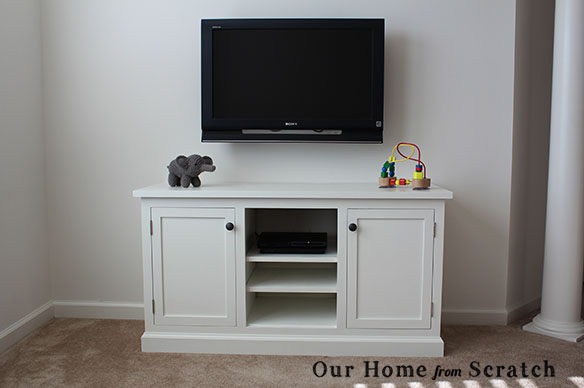
Let’s take a closer look at some of the features…
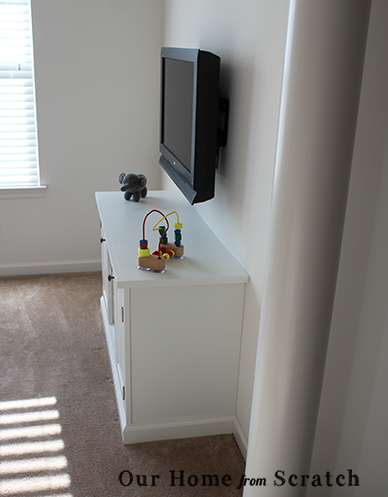
The baseboard trim ties into the wall and the seam where the cabinet meets the wall has a thin bead of painters caulk to make the cabinet look fully “built-in.” It only sticks out from the wall about 18″ to match the depth of the other piece in the room.
From the front you can see the open center section is just wide enough for our PS3 and a DVD player. I measured some of the electronics in our family room to make sure that they would all fit. All three sections feature a plethora of shelf pins for adjusting the shelf height. The cabinet hides all the outlets on the wall as planned.
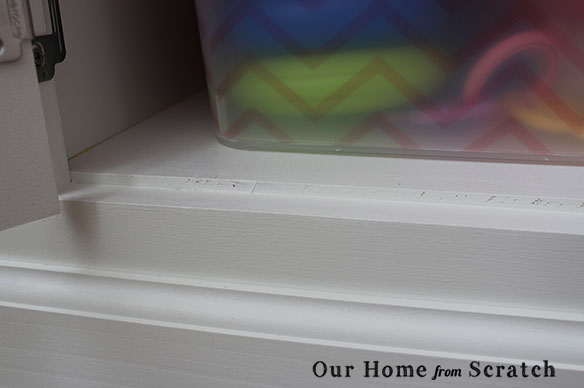
Lisa is thrilled to have some more toy storage. She moved the shelf on the left side up to accommodate a larger plastic bin she bought from Target.
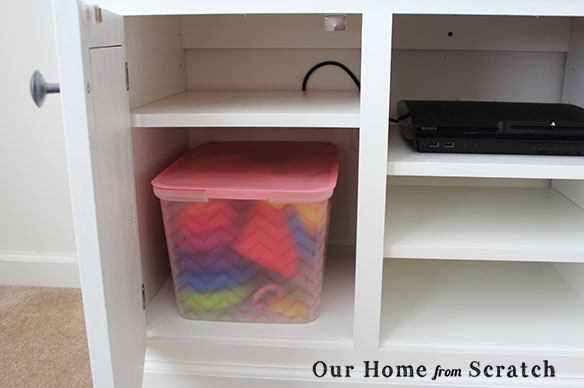
Here’s a little trick I learned from Norm Abram back when he was on New Yankee Workshop: the bottom plywood shelf sits a little higher than the face frame. It acts as a door stop. The cabinet has a door stop device on the top, but this beats adding a second.
So let’s do a quick recap.
1. Design the overall look of the cabinet and rough dimensions
2. Design the face frames
3. Design the cabinet box
4. Draw our cut sheets
5. Buy our lumber and plywood
6. Face frame construction
7. Cut the plywood
8. Add dados
9. Build our shaker doors
10. Assemble our cabinets
11. Cabinet Installation
I hope this post inspires you to not only build something from scratch, but to build something that meets the needs of the space.
*** UPDATE: Forgot to mention the cost. The total for the cabinet was around $155. Not too shabby.***
So what’s up next? Well, these two cabinets may be done, but the sitting room isn’t even close. We picked out some paint and lighting and we’ll be dressing this space up later this week. Stick around.


