With our summer winding down and the fall quickly approaching, it’s finally time to do something about our garage floor. A few months after we moved into our current home three years ago, I applied a grey, 2-part epoxy paint to the garage floor. We had mixed results. In some areas, the epoxy seemed to go down smoothly and in others it looked liked it could’ve used another coat or two. It was almost as if the concrete absorbed some of the paint in some spots without really building up any protection. Of course, a couple of those poorly covered areas just happened to be right below my old Jeep’s engine.
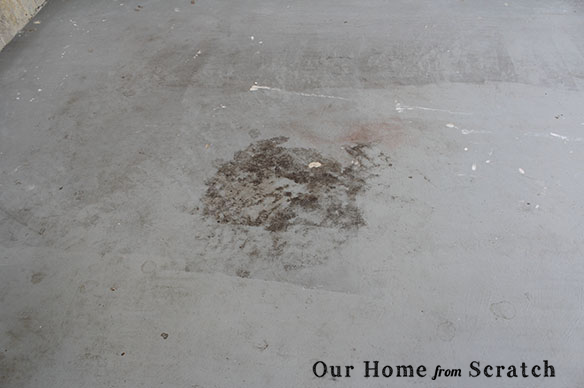
Not looking so hot there. A proper epoxy coating should prevent oil, water and other crap from permanently staining a garage floor. No amount of scrubbing was going to remove that eyesore.
Here’s the catch with epoxy paint, it’s a chemically hardening coating that cures within a few hours (regular paint air-dries) so second or third coats aren’t an option unless you want to buy a whole other kit. Moreover, kits can range in price from $50-$90. Yikes.
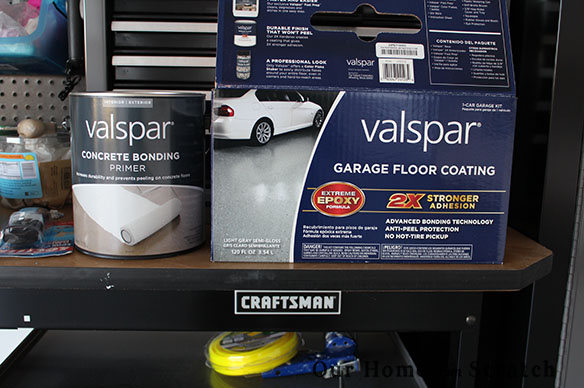
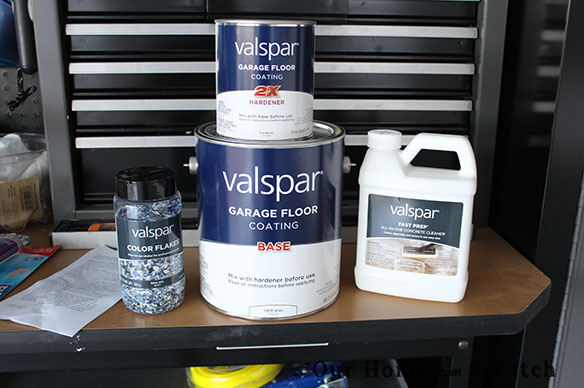
I managed to spot this kit from Valspar at Lowes on sale for $58 last weekend, so I grabbed it. I also picked up a gallon of concrete bonding primer even though the epoxy kit doesn’t require its use, but I figured it couldn’t hurt.
Initially, I had some concerns with applying a second coat of epoxy paint over a floor that had already has epoxy paint. Wasn’t sure it would adhere properly. The directions in the kit though, say as long as the paint isn’t peeling up or chipping, it’s good to go. Sweet.
First thing I did was give the floor a good thorough scrubbing with soap and water. I used a squeegee to push the water back out into the driveway and let it dry overnight.
The next day, I primed a couple spots with the concrete bonding primer. I stuck with the discolored areas and anywhere I had some of the epoxy lift up from tire marks. The primer dries clear and must be followed up with the finish paint within 1-4 hours or it needs to be re-primed.
The epoxy kit is available in a variety of colors, but the most common are tan and grey. We stuck with grey for this one. In the kit box, there is a can of hardener, the base coat, a small container of paint chips and a bottle of floor cleaner/etcher. We skipped the paint chips the first time we did the floor, but we wanted to add them this time. I also skipped the etcher since this isn’t a bare concrete floor and it’s also a pretty nasty chemical. Oh, but they do give you a stirring stick! Jackpot!
To get started, the hardener is dumped into the base can and stirred. Once it’s all blended, it has to sit for maybe 20 minutes or so. The instructions recommend the epoxy first be applied along the perimeter with a wide brush. It’s then rolled on with a regular paint roller. I would roll down 3-4 feet of epoxy going the width of the garage and then stop and shake out the color flakes. It seemed like I was throwing down a ton of flakes, but after finishing for the night, I still had maybe half of the container left.
The kit is sized for a one car garage, but I easily could’ve finished nearly our whole two-car garage with just the one kit. I plan on picking up another kit to finish the rest of the garage later this week.
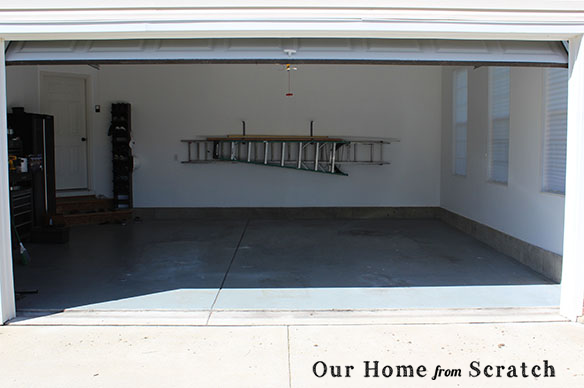
I also have a workbench, storage locker and other crap that I didn’t want to remove completely from the garage to do this upgrade, so the plan is to shift them over to the finished side later this week to give me access to the unfinished side.
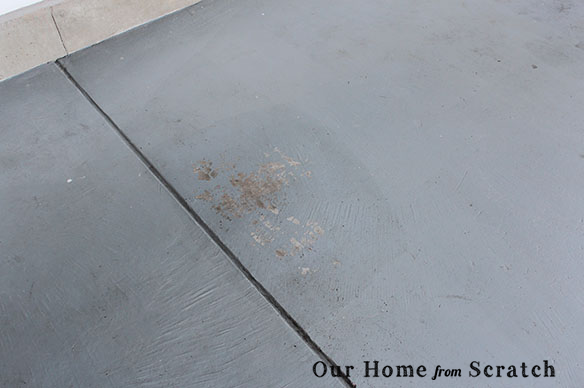
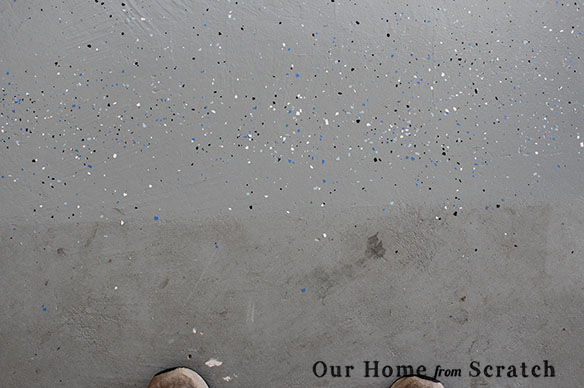
In the photo below you can see the stark contrast between the newly finished and previously finished floors.
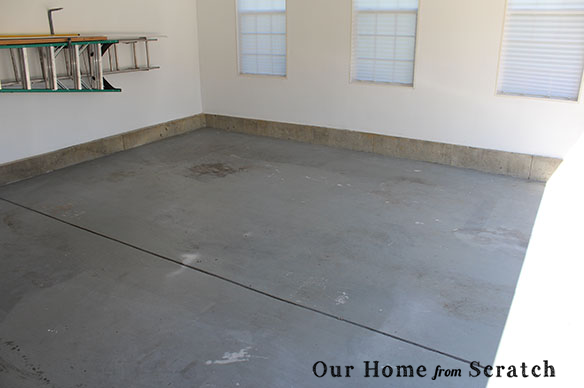
Here’s a wide shot of the before…
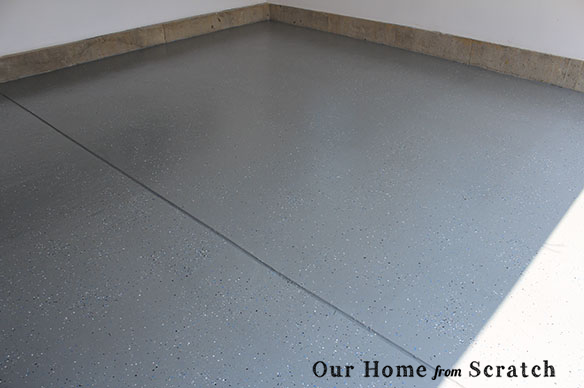
and here’s the after…
Couple of things to be aware of… I would use gloves and a mask. This stuff stinks!! In fact, we left our garage door open all day Sunday to just air it out. It’s epoxy paint, so getting it off your hands isn’t going to be fun either. If you need more color chips, they are sold separately at Lowes in a variety of colors if you want a more custom look.
We’ll show you what it looks like when it’s all done. We’re also going to be painting those small foundation walls with our next kit. Fun stuff. Fun stuff.
Has anyone else used this epoxy paint? How did your results turn out?


