When we built our home back in 2010, we had the option of adding as many additional electrical outlets as we wanted among some other bells and whistles. Code requires a minimum number per so many feet, but any more than that bare requirement came out of our pocket. In retrospect we probably should’ve added a few more. We did spend some effort trying to figure out where the TVs would be located, so we could put the cable jacks in the right place, but we never thought twice about the outlets (priorities, priorities). So, I’m going to install an electrical outlet in the garage for my workbench and it’ll be the third outlet I’ve added since we moved in. The first was for our buffet lights and the most recent was for our sitting room TV.
As with all of my electrical posts, I’m not going to show you how I actually wire the outlet. That part is pretty straight forward and there are tons and tons of videos and websites that show that info. The world doesn’t need another post on how to wire a receptacle. However, I will show you the whole process I follow from start to finish.
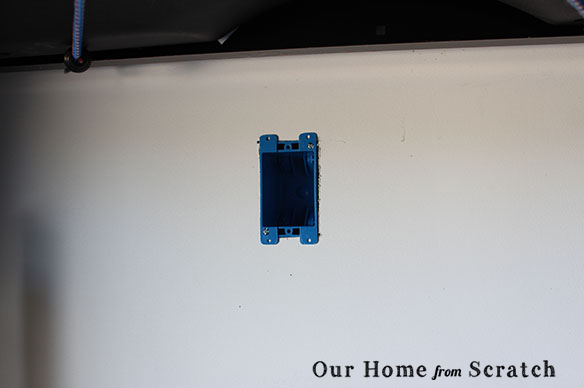
Let’s start with the location where I’m adding this outlet: under the workbench.
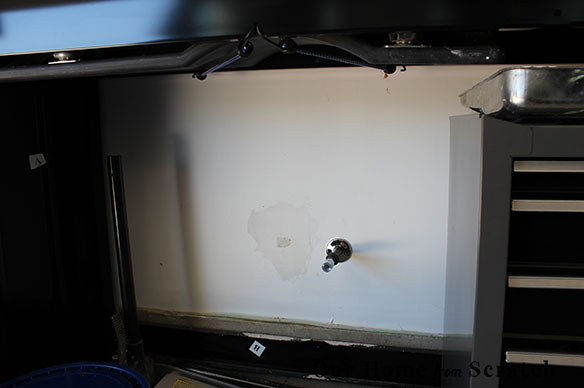
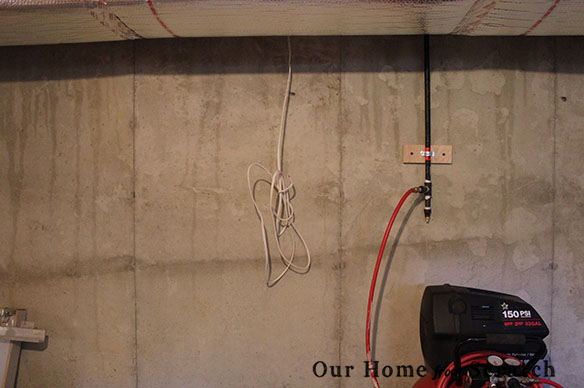
My goal here is to have an outlet right under the workbench where I can plug in a power strip. Then I’ll be able to keep my battery chargers right on top and not on the floor. You may notice the hole that’s been spackled next to my compressed air pipe. That hole was my first attempt at getting the air pipe through the wall. That plugged hole on the garage side doesn’t do me any good for this new outlet, but the hole on the basement side does help. I’ll be able to use it to run the cable into the garage.
So, I know where the outlet is going to be located, that’s my first step. Now to determine where to get the power from and how to run the cable from the power source over to the hole.
I have one GFCI outlet on the other side of my basement. It’s got one cable coming in with the power and two others going out to other receptacles. I can tap into the power here.

Since I’m installing this outlet in a garage, the outlet will need to be ground fault protected. There are essentially two ways to get that protection. I can tap into the power going TO this GFCI outlet and install a full-blown GFCI outlet just like it in the garage. OR I can tap into the power on the load side of this GFCI outlet. GFCI outlets, the new ones anyway, have a line side and a load side. The line side is where the power from the breaker box goes. The load side is where additional outlets can tap into. Those outlets that tap into the load side are then ground fault protected automatically and a regular non-GFCI receptacle can be used instead. Our kitchen backsplash has a similar setup. We have one GFCI outlet in the corner and the next two or three outlets are the regular kind, but they all have ground fault protection from the first GFCI outlet. I’ll probably opt to tap into the load side and use a regular style outlet for the garage.
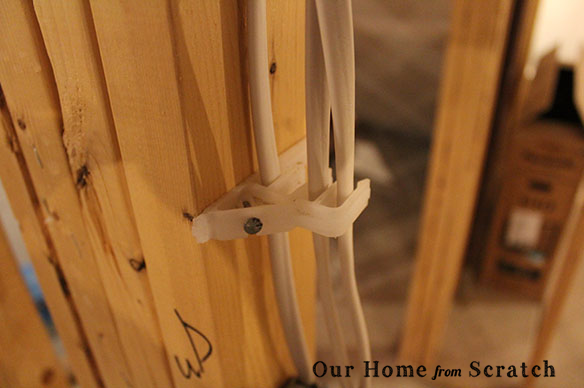
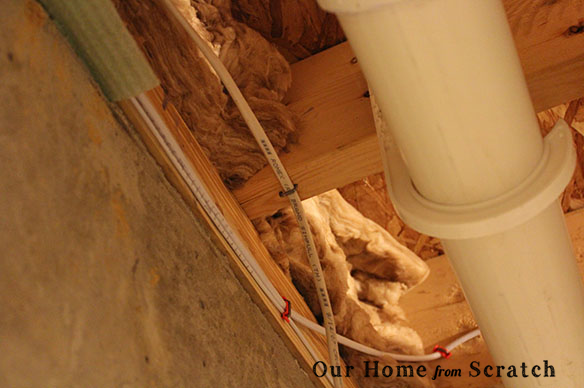
Right above the outlet is a cable stacker. Code requires the cable to be secured every so many feet either with staples or with these stackers. These stackers have open spaces in them so I can just run the new cable through it.
Since all the cables going into and out of the GFCI outlet are white 14 gauge cables, I’ll use one as well. You can buy spools of Romex NM cable from your local hardware store. It’s not terribly expensive.
So I’ll start the cable run by turning off the power to the GFCI circuit, leaving a couple feet of slack near that outlet and running the cable through existing cable stackers until I get to the basement ceiling and then across the basement towards the hole. At one point I encounter an area without any cable stackers and I need to use electrical staples instead to hold the wire up.
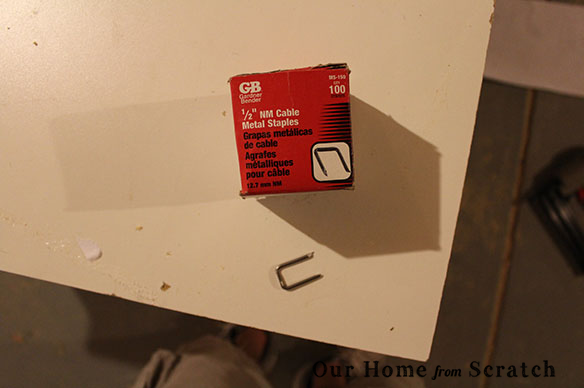
I’ll staple the cable to every other stud along the way. Once I get near the hole, I’ll stop and let the slack hang out for a while.
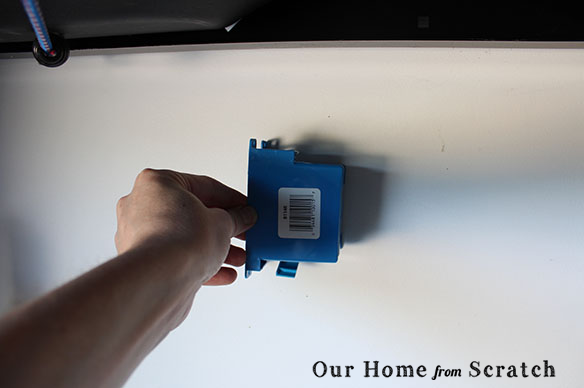
Now for some garage work. I’m using a “old work” style receptacle box, which is designed for remodeling type work like we’re going here. If the garage didn’t have drywall yet, I’d be using a “new work” box instead. I hold the box against the drywall and with a pen I trace out the outline of the area I need to cut for the hole. Be careful here. This old work box has tabs on the front that stick out from the top and the bottom. Those tabs need to extend past the hole otherwise the whole outlet box will slip into the hole.
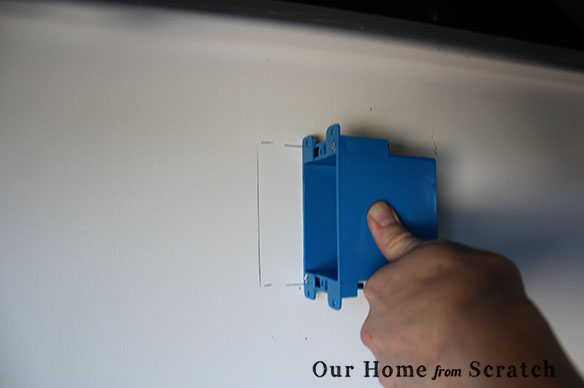
With the outline of the opening traced, I use a hand held drywall knife and a box cutter to cut an opening.

Time for a test fit. I make sure the box fits snuggly into the opening.
Okay. The box fits nicely. I remove the box from the hole and return to the basement.
This part can be tricky. From the basement, I need to push the wire through the hole and try to get it to move up the wall so I can pull it through from the garage by hand. Since this was a relatively short run, I was able to jam it into the hole and pull it out from the garage without much effort. Luckily, my hand barely fits into the outlet opening. Although, for a minute there I was considering making this a double outlet just so I could fit my arm down a bigger opening.
I pulled all of the slack out of the cable into the garage.
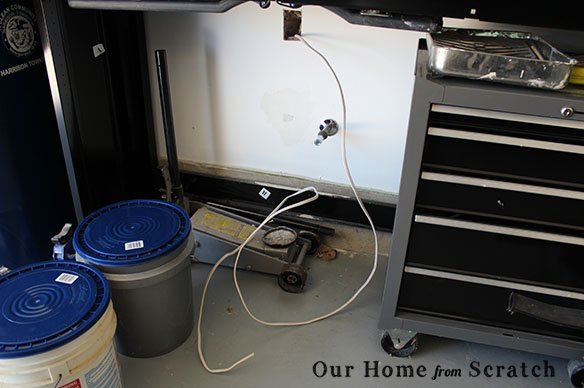
Clearly could’ve used a shorter cable for this. That’s a lot of slack! No problem though, I cut off the extra cable leaving around 10″-12″ from the hole.
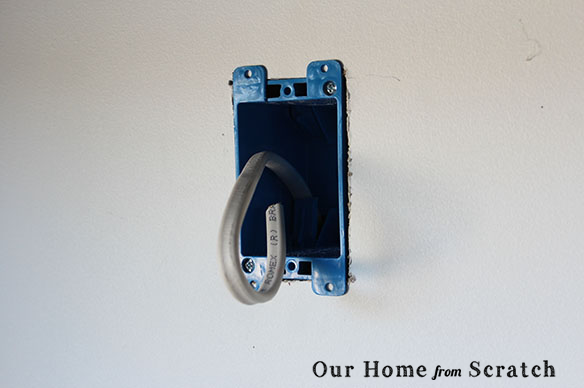
Now let’s prep the old work box. This box has bendable tabs where the cable gets inserted. One of the tabs will need to be bent out of the way for the cable to push through. These tabs don’t come off in old work boxes since they are designed to hold the cable and prevent it from slipping out of the box.

I push the cable through the tabs and insert the box into the opening. Old work boxes have screws that when tightened will grab the drywall from the back keeping it firmly in place.
Later this week I’ll strip back the shielding and add some wire nuts for my rough-in inspection. After I pass the rough-in inspection, I can install the outlet. Then I’ll have to call the inspector back for a final inspection.
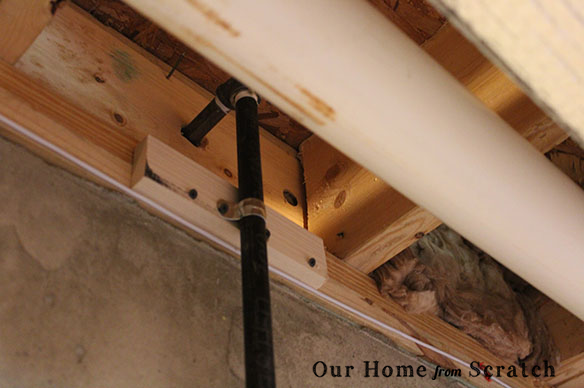
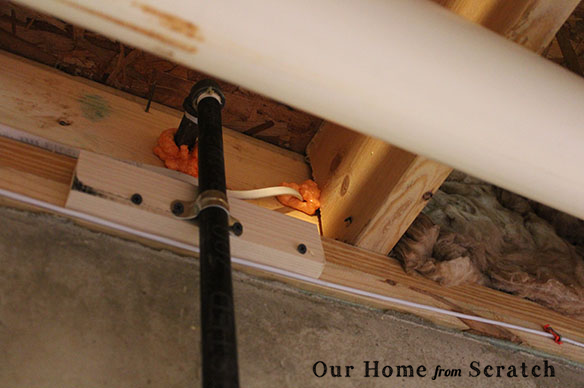
One last thing. Those holes in the basement lumber need some fire blocking. Fire blocking is essentially insulation that prevents air from going through those holes to feed a fire. Very important to add it.
Instead of fiberglass insulation, I’ll use some fire block spray foam.

The foam just gets squeezed into the space around the wire as it goes through the wood. I’ll also add some to my compressed air piping.
So this whole process seems a bit long, but all together, it only took me about an hour to finish. Actually, even with the permit fee, this costs about half of what the builder wanted to install one.


