Hope everyone had a happy and safe Memorial Day! Thanks always to those who gave their lives in defense of the freedoms we hold dear.
This past weekend we had a small family get together for our daughter’s Christening. Good times. We also managed to squeeze in some gardening and DIYing, of course. As much as I am a fan of outdoor projects, they beat me up. Outdoor work is HARD! If it’s not the heat, it’s the 400 lb wheelbarrow or the shoveling or the lifting. Killer. We decided to tackler a project that’s we’ve been dying to get to for some time now. Here’s the inspiration pin we’ve been staring at…
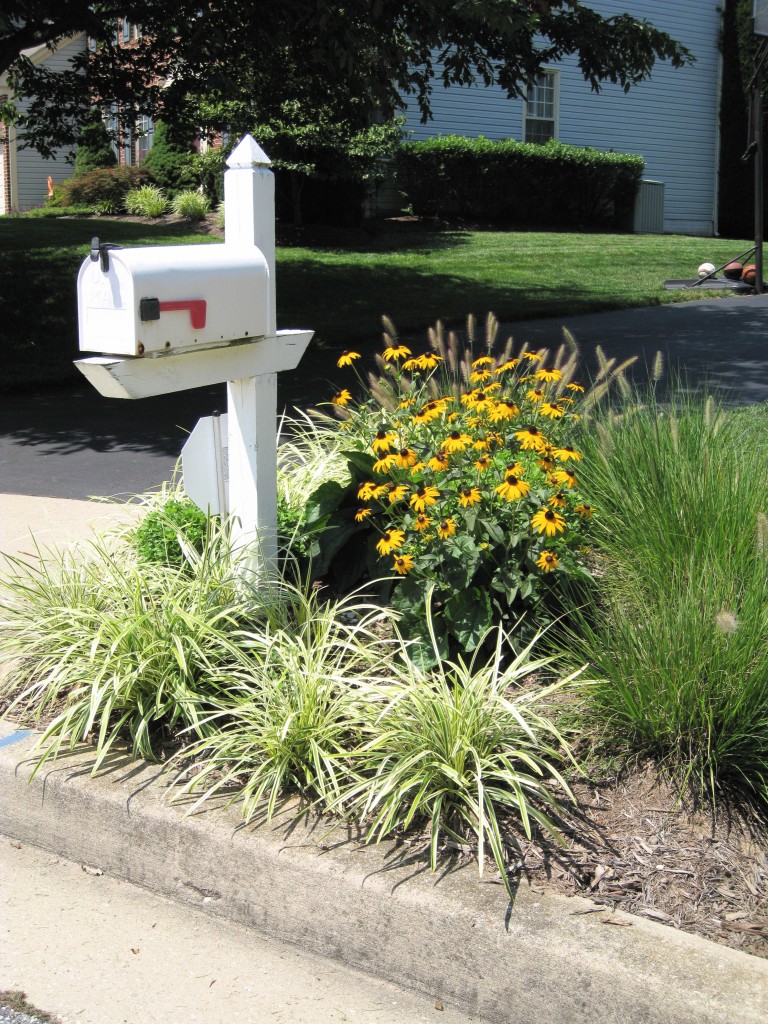
(via Greengardenista)
We’re going to break this project up into a couple posts, although you’ll get a sneak peak of both in this one. We’ll start with the painting the mailbox. Although the pin doesn’t have a painted mailbox, we wanted to gloss ours up a bit.
Here’s how to paint a mailbox..
We’ll start with what our mailbox looked like before we started.
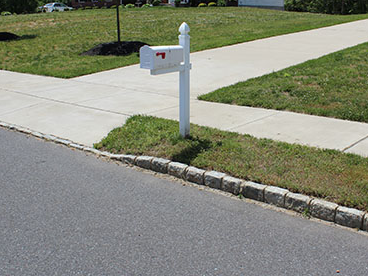
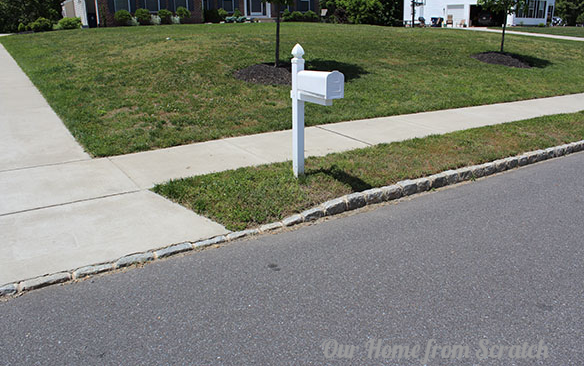
Nothing special here. The mailbox and post are PVC and were installed by the builder. We haven’t touched it since we moved in. Recently it’s been covered in bird crap and has started to develop some cracking in it. Now, we checked some new ones out at Lowes and there is a black version of this exact same mailbox for around $11. Great deal, right? Well, the low priced black mailbox isn’t as glossy as we were looking for, it was more of a matte finish and the glossy ones were metal and started at around $30 (a couple were $60). We already had a can of gloss black spray paint, so we only had to spend around $3 for a can of primer. Good deal.
After thoroughly cleaning the mailbox with some dish soap and water while it was still attached to the post, we removed it to paint it. It was attached to the mounting bracket with four screws.

We also snapped off the front cover and the red flag. It was much easier to paint them without them attached.
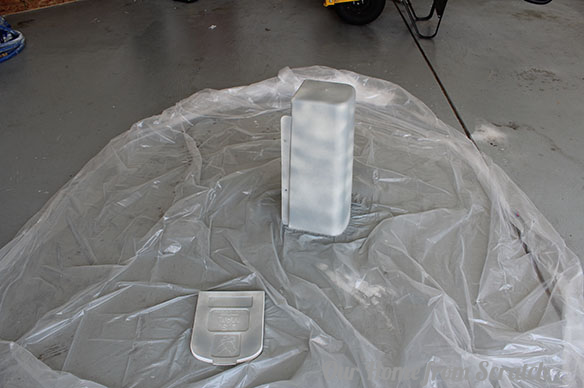
We primed the pieces in the garage over some cheap plastic tarp. Here’s a tip: to avoid the mailbox (or whatever else you’re spraying) from sticking to the tarp, move the part in between sprays that way the paint won’t build up in one spot on the tarp.
After two coats of grey primer and two coats of gloss black, we re-installed it onto the post. The grey primer was perfect since we were going from a white to a dark color like black.
Here’s how it looks now.. you can see the flower bed as well, although we’re still working on that.
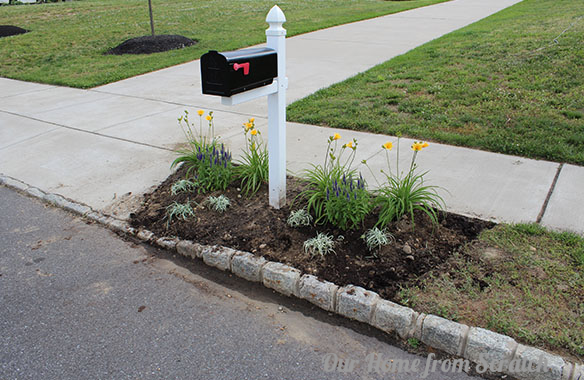
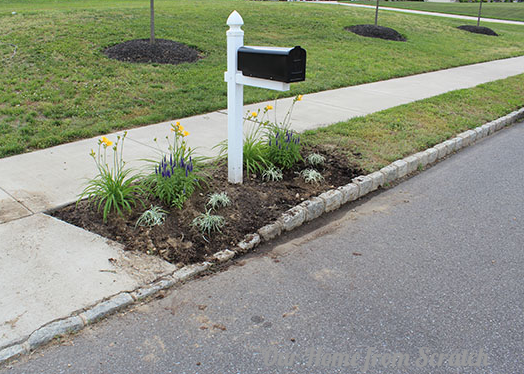
If I knew it was going to be that easy, I would’ve done this much sooner. It also helped that we worked on it during a holiday, so there was no mail delivery to deal with. We still have to add a couple more plants, put in some weed screen and then mulch it.
What did you do this weekend?


