As promised in Wednesday’s Reclaimed Wood Frame post, I’m going to go into more detail on how I made the wooden frame. This process is really applicable to any wood and not just reclaimed wood, although there is typically a little more upfront effort required for reclaimed lumber. Reclaimed wood may need to be planed down more to clean up the appearance and give it a polished look. You can leave it as-is though for a more rustic look like we did in our frame project.
Here’s how to make a picture frame…
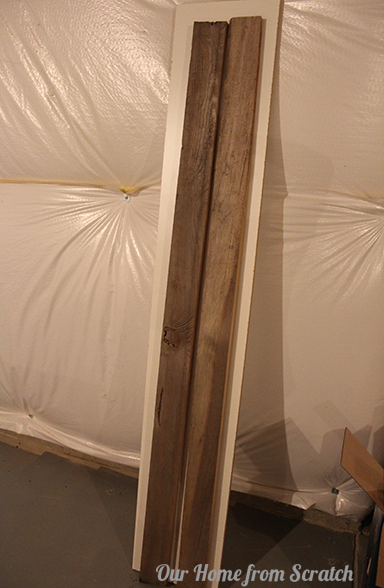
First, I ripped the large board I bought into smaller 3.5″ wide pieces on the table saw. If you’re building a picture frame from lumber bought at a local hardware store, you can skip this step and just buy a piece of wood that’s already as wide as the frame you want.
 With the wood cut to the proper width, I can now add a rabbet to one edge of the board. The rabbet is a small cut that allows the picture, glass (if you’re using it) and the mat to fit into the frame. To make this cut, you can either use a dado blade setup on a table saw or a router with a rabbet bit. I used a router.
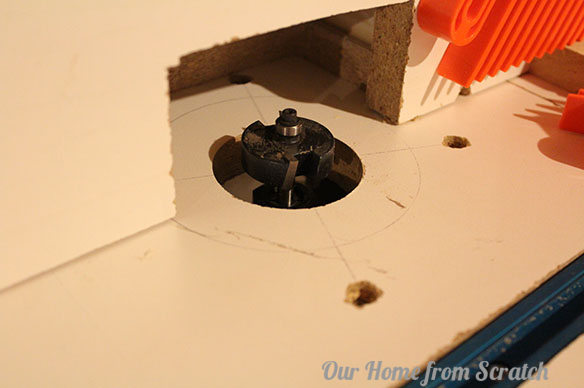 Here’s what the rabbet looks like in the wood:
 You can see that little piece missing in the photo above, that’s the rabbet. The rabbet side needs to be facing the inside of the frame when it’s assembled.
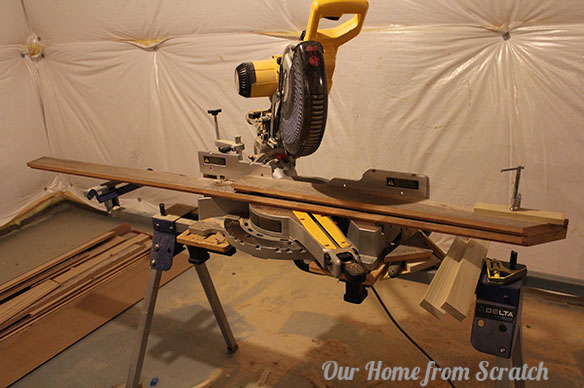
With the rabbet machined, the frame pieces can be sized for length and cut at the miter saw. There are two basic ways to approach this. You can either make the frame to a regular common size and find something to fit into it OR if you already have something you want framed, you can size the woodwork to accommodate your artwork or photo. Since we already had a piece of art we wanted framed, we based our dimensions on that.
To get the dimensions of the cuts right, there are a few helpful tricks that pay dividends. The first is to take a couple pieces of scrap wood, machine the rabbet into them and then cut them at 45 degree angles just like you did for your frame wood. We’re going to use these to mark the 1/4″ thick piece of plywood that is our backer board. We discussed the backer board in the last post.
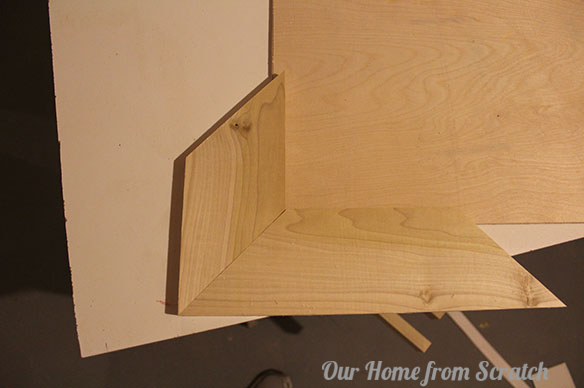 I mate the two corner scrap pieces together onto the back board and make sure the backer board is firmly recessed into the rabbet. I’m not gluing or nailing these, I’m just positioning them there temporarily. Next, I take a pencil and trace the inner edge of those scrap pieces onto the backer board.
 I repeat that step in all four corners. Once they’re all marked, I measure the distance between the marks and that dimension is the length of the inner edge of our frame. That’s the length that I’ll cut the frame wood to. Now, remember, when you’re cutting a piece of wood at an angle, there is a long side and a short side. This dimension is for the short side.
To make a quality frame, it’s crucial to make sure all four corners have tight seams when it’s assembled. To get tight seams, you need to make sure that the frame boards on opposite sides are cut to the same lengths. There’s an easy way to do that. Just clamp them together when you cut them.
 You only need to clamp the boards that are opposite each other because they need to be the same length. By clamping and chopping them together, you pretty much guarantee that.
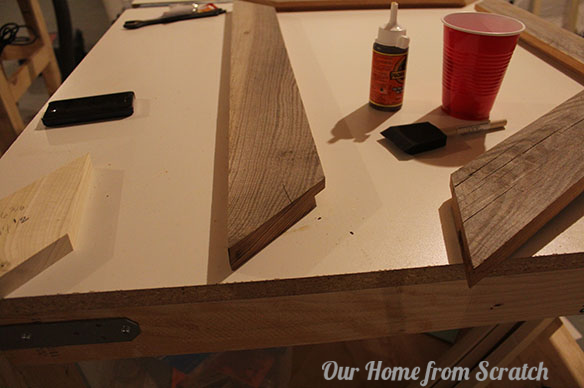
To assemble the frame, I used a polyurethane glue (Gorilla Glue). You can’t use a regular wood glue for this and expect a solid joint. Wood glue isn’t ideal for end grain application like a miter joint. I also used a couple finish nails in each corner to hold it together until the glue cures along with a couple clamps.
 After the glue sets up, you can sand the frame down if you want to stain or paint it. That’s all there is to it. If you get the hang of it, you can put one together in a couple hours.

Fun stuff. Anyone doing anything exciting this weekend?


