It’s time to say goodbye. It’s been a long time coming. This relationship is wasteful. There are better options out there. It’s true. We’re finally kicking the bottled water habit and switching to a reverse osmosis system (ROS). At any given time over the past year, you could find 5-10 empty bottles of Dasani or Aquafina lying around the house. On our dressers, on the kitchen counters, on the bathroom sinks. Everywhere. On top of our water bottle consumption, we own a Brita filter. It’s okay, but it’s not as good as bottled. We’re getting rid of Brita. I’ll let Vaughn take it from here…
Now, since this is a commercially available product (we bought it at Lowes a while back) with its own set of instructions, I’m not going to get to detailed with the how-to instructions. I thought it would be helpful if we showed you what’s involved.

Adding a Reverse Osmosis System
Since these units are installed either in a basement or underneath a kitchen sink, we’ll start there. We picked our sink instead of the basement.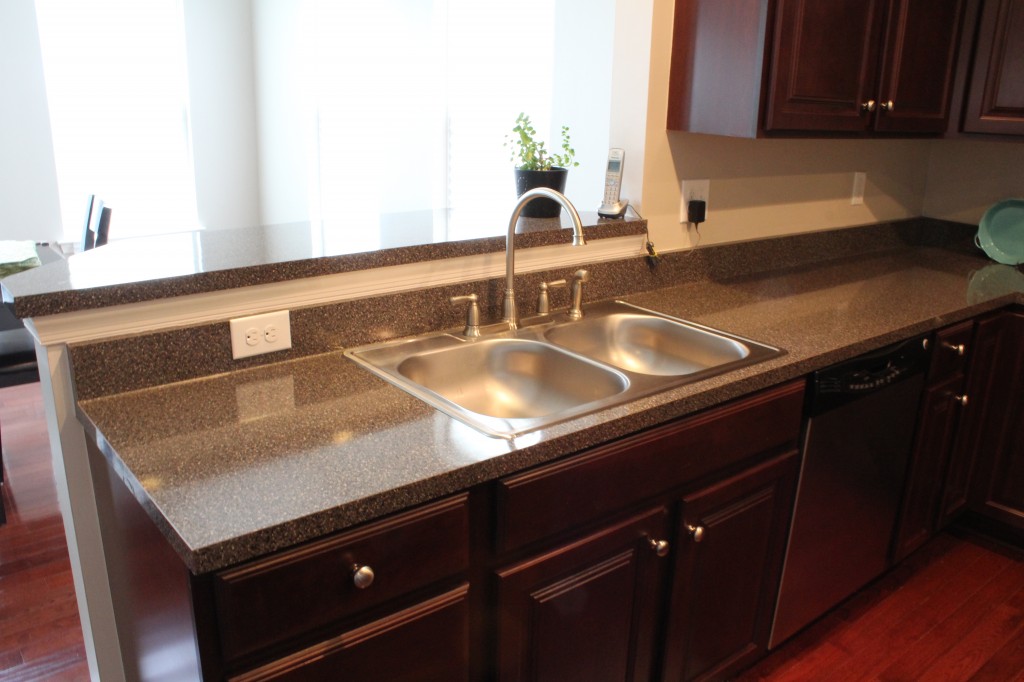
Then we cleaned out underneath our sink. I’ll need the room.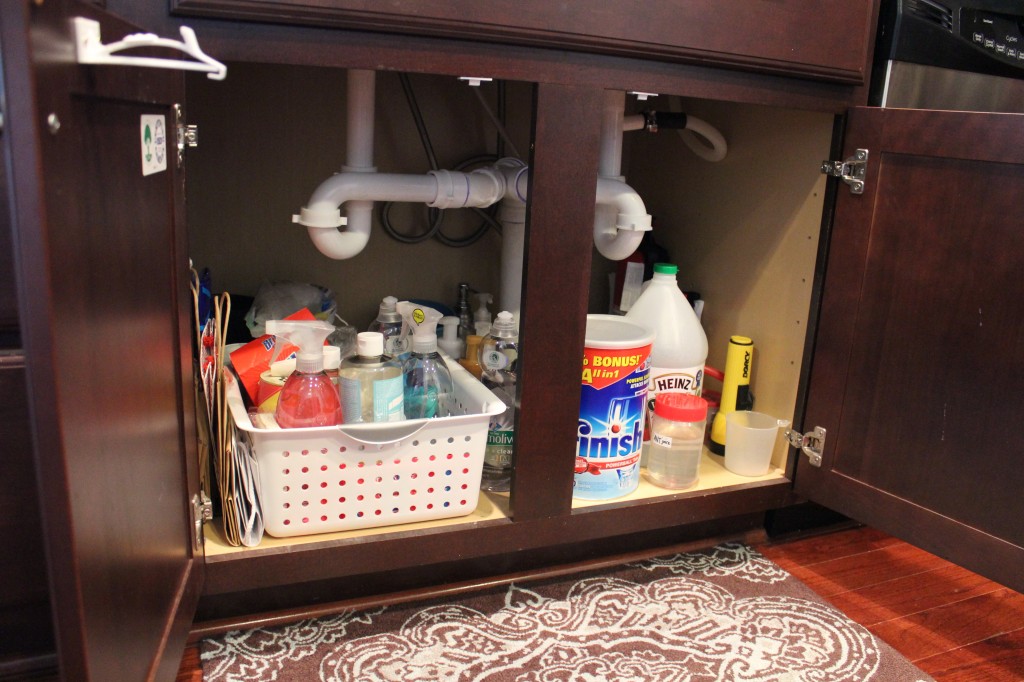

The ROS takes up a good amount of space. We’ll reorganize it once we’ve finished. I’ll also need to turn off the water supply valves.
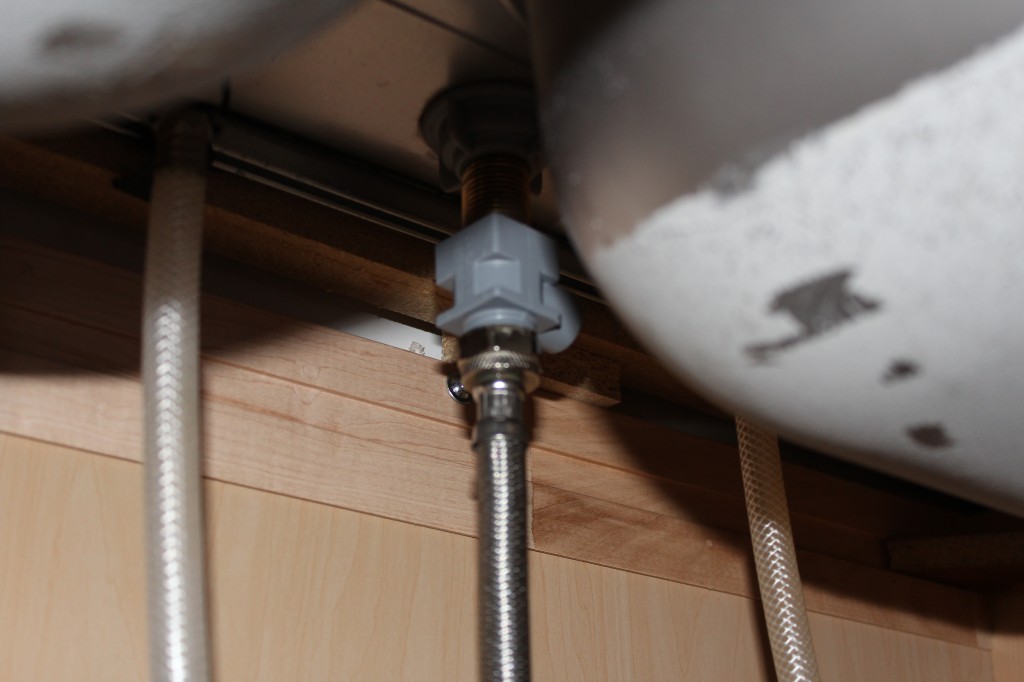
The ROS takes the water right from the cold water line under the sink. I added a tee between the water supply hose and the faucet pipe.
To add the actual ROS faucet we have the option of either using the existing hole for the sprayer or drilling another hole. Since we do actually use the sprayer once in a while, we drilled another hole.
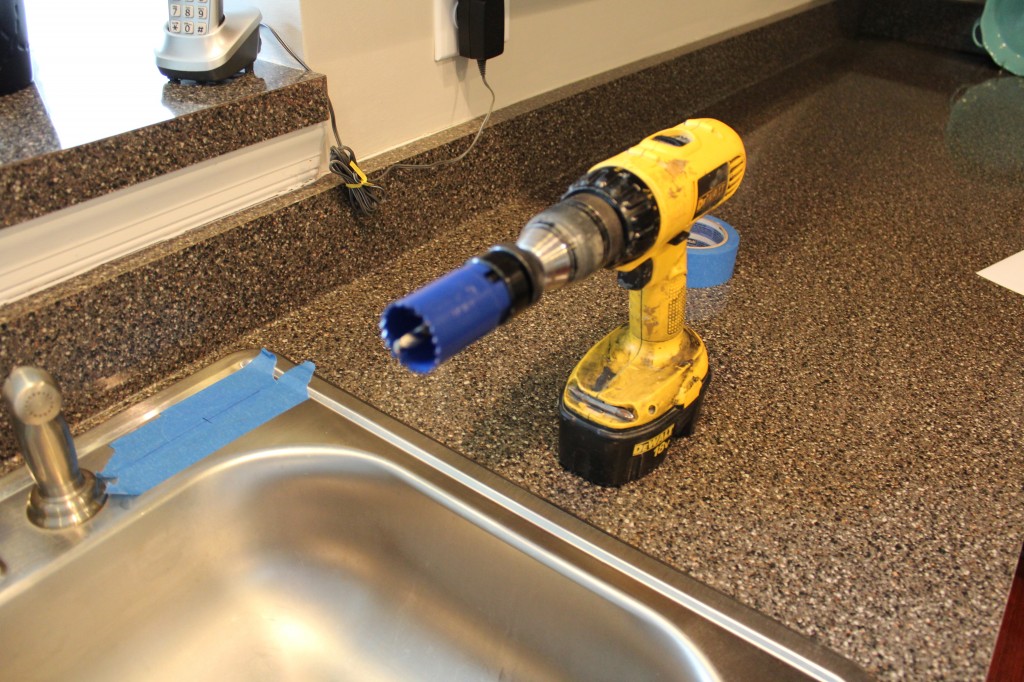

It’s not easy to drill a hole through 1/16″ thick stainless steel, but if you go slow and use the right bit, it’s doable.
ROS’s also cycle out the waste that gets removed from the water and actually drains it into the p-trap. The existing drain piping needs to get modified to accept it. That’s not too hard though.

You can see the added pipe in the photo below along with the filter assembly and the reservoir tank. It’s all a part of the system. Not exactly sure how it works. Just trust it.

The water lines are just flexible tubes that basically get pressed into connections. It’s really, really easy to make those connections.

The faucet gets bolted to the sink top. We picked a chrome unit, despite the fact that our sink is stainless steel and our main faucet is brushed nickel. Weird right? Well, we’re probably going to be getting granite or some other solid surface in the next few years and we’re going to be switching the sink and maybe the faucet too. Besides, the main faucet doesn’t even match the sink anyway. We don’t mind the clashing in the meantime.

How’s it taste? Great! Well… as great as water can taste. It doesn’t have any odor or chlorine taste whatsoever. Good stuff.
How do you drink your water? Do you take it bottled or filtered?


