So here’s my kitchen cabinet sliding drawers update:
I think this project may become a saga. If it takes me another five posts to finish this cabinet drawer situation I wouldn’t be surprised at this point!! I’m trying not to get frustrated, but it happens. What’s the snag? Aren’t you basically done this? Yes, well, essentially. I wrapped up construction of the drawers in our last post. All I’ve got left to do is install them. This is actually the only part of this whole exercise that I’m a tad bit concerned about. If something goes terribly wrong, then I may be out of about $100 worth of nice maple.
Last week, I inquired into the availability of our cabinet manufacturer’s drawer hardware from a local distributor. In my opinion, if I could get a hold of those parts for a reasonable price, I’d be better off. After all, I am going for a near duplication of my existing setup. Using substitute hardware is probably acceptable, but it may give me some gray hairs!! Well, I got a response I really didn’t expect. Yes, the slides are available… for $50. Oh, okay! That’s not bad. $50 for six drawers worth of hardware. Excellent. Uh, no. $50 per drawer!! (pregnant pause followed by whaaaattt????) Needless to say, me and the saleswoman had a nice long laugh at that. I can literally get something similar for under $8 at Lowes and Timberlake wants $50? I think I’ll take the gray hairs.
So here’s my first attempt (foreshadowing) at installing these drawers. I would love to blog and build mistake free, but then we wouldn’t learn anything, right?

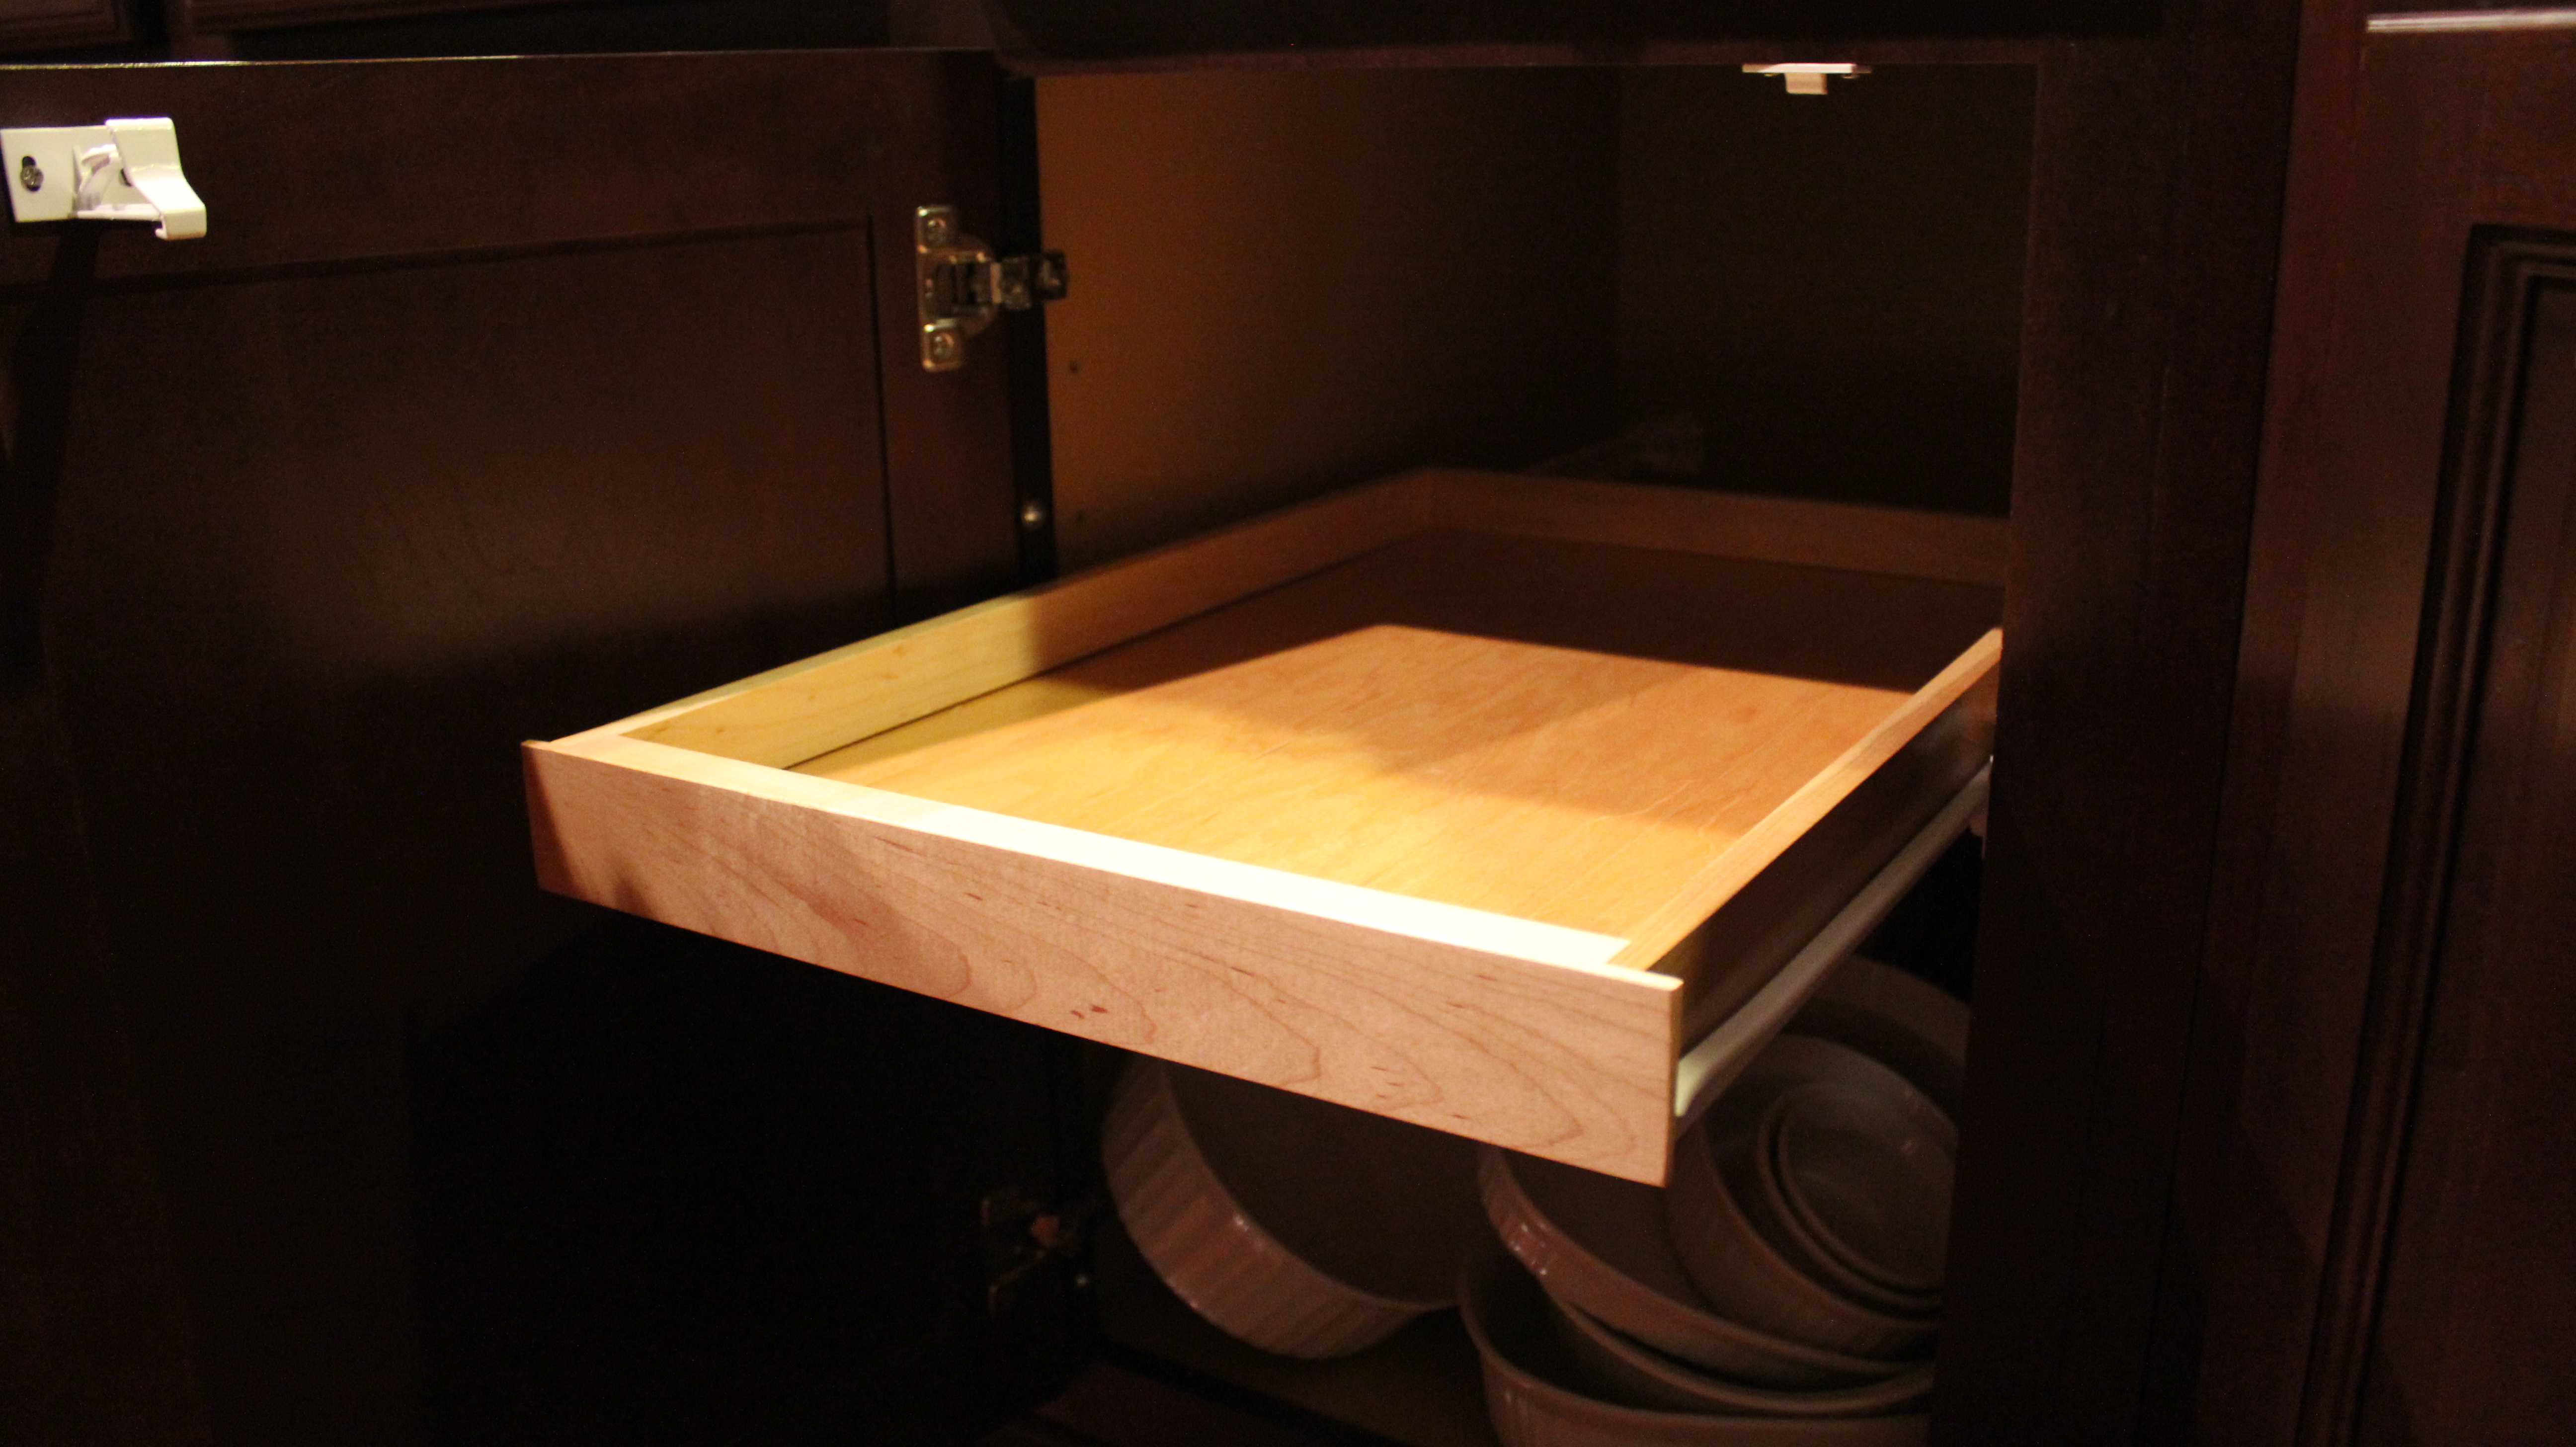
I brought up all six of my recently poly’d drawers and I picked one of the cabinets with the least amount of junk necessary but never used kitchen gear in it. I took out all of the aforementioned stuff. I then selected the right sized drawer from my pile and I got to adding the hardware.
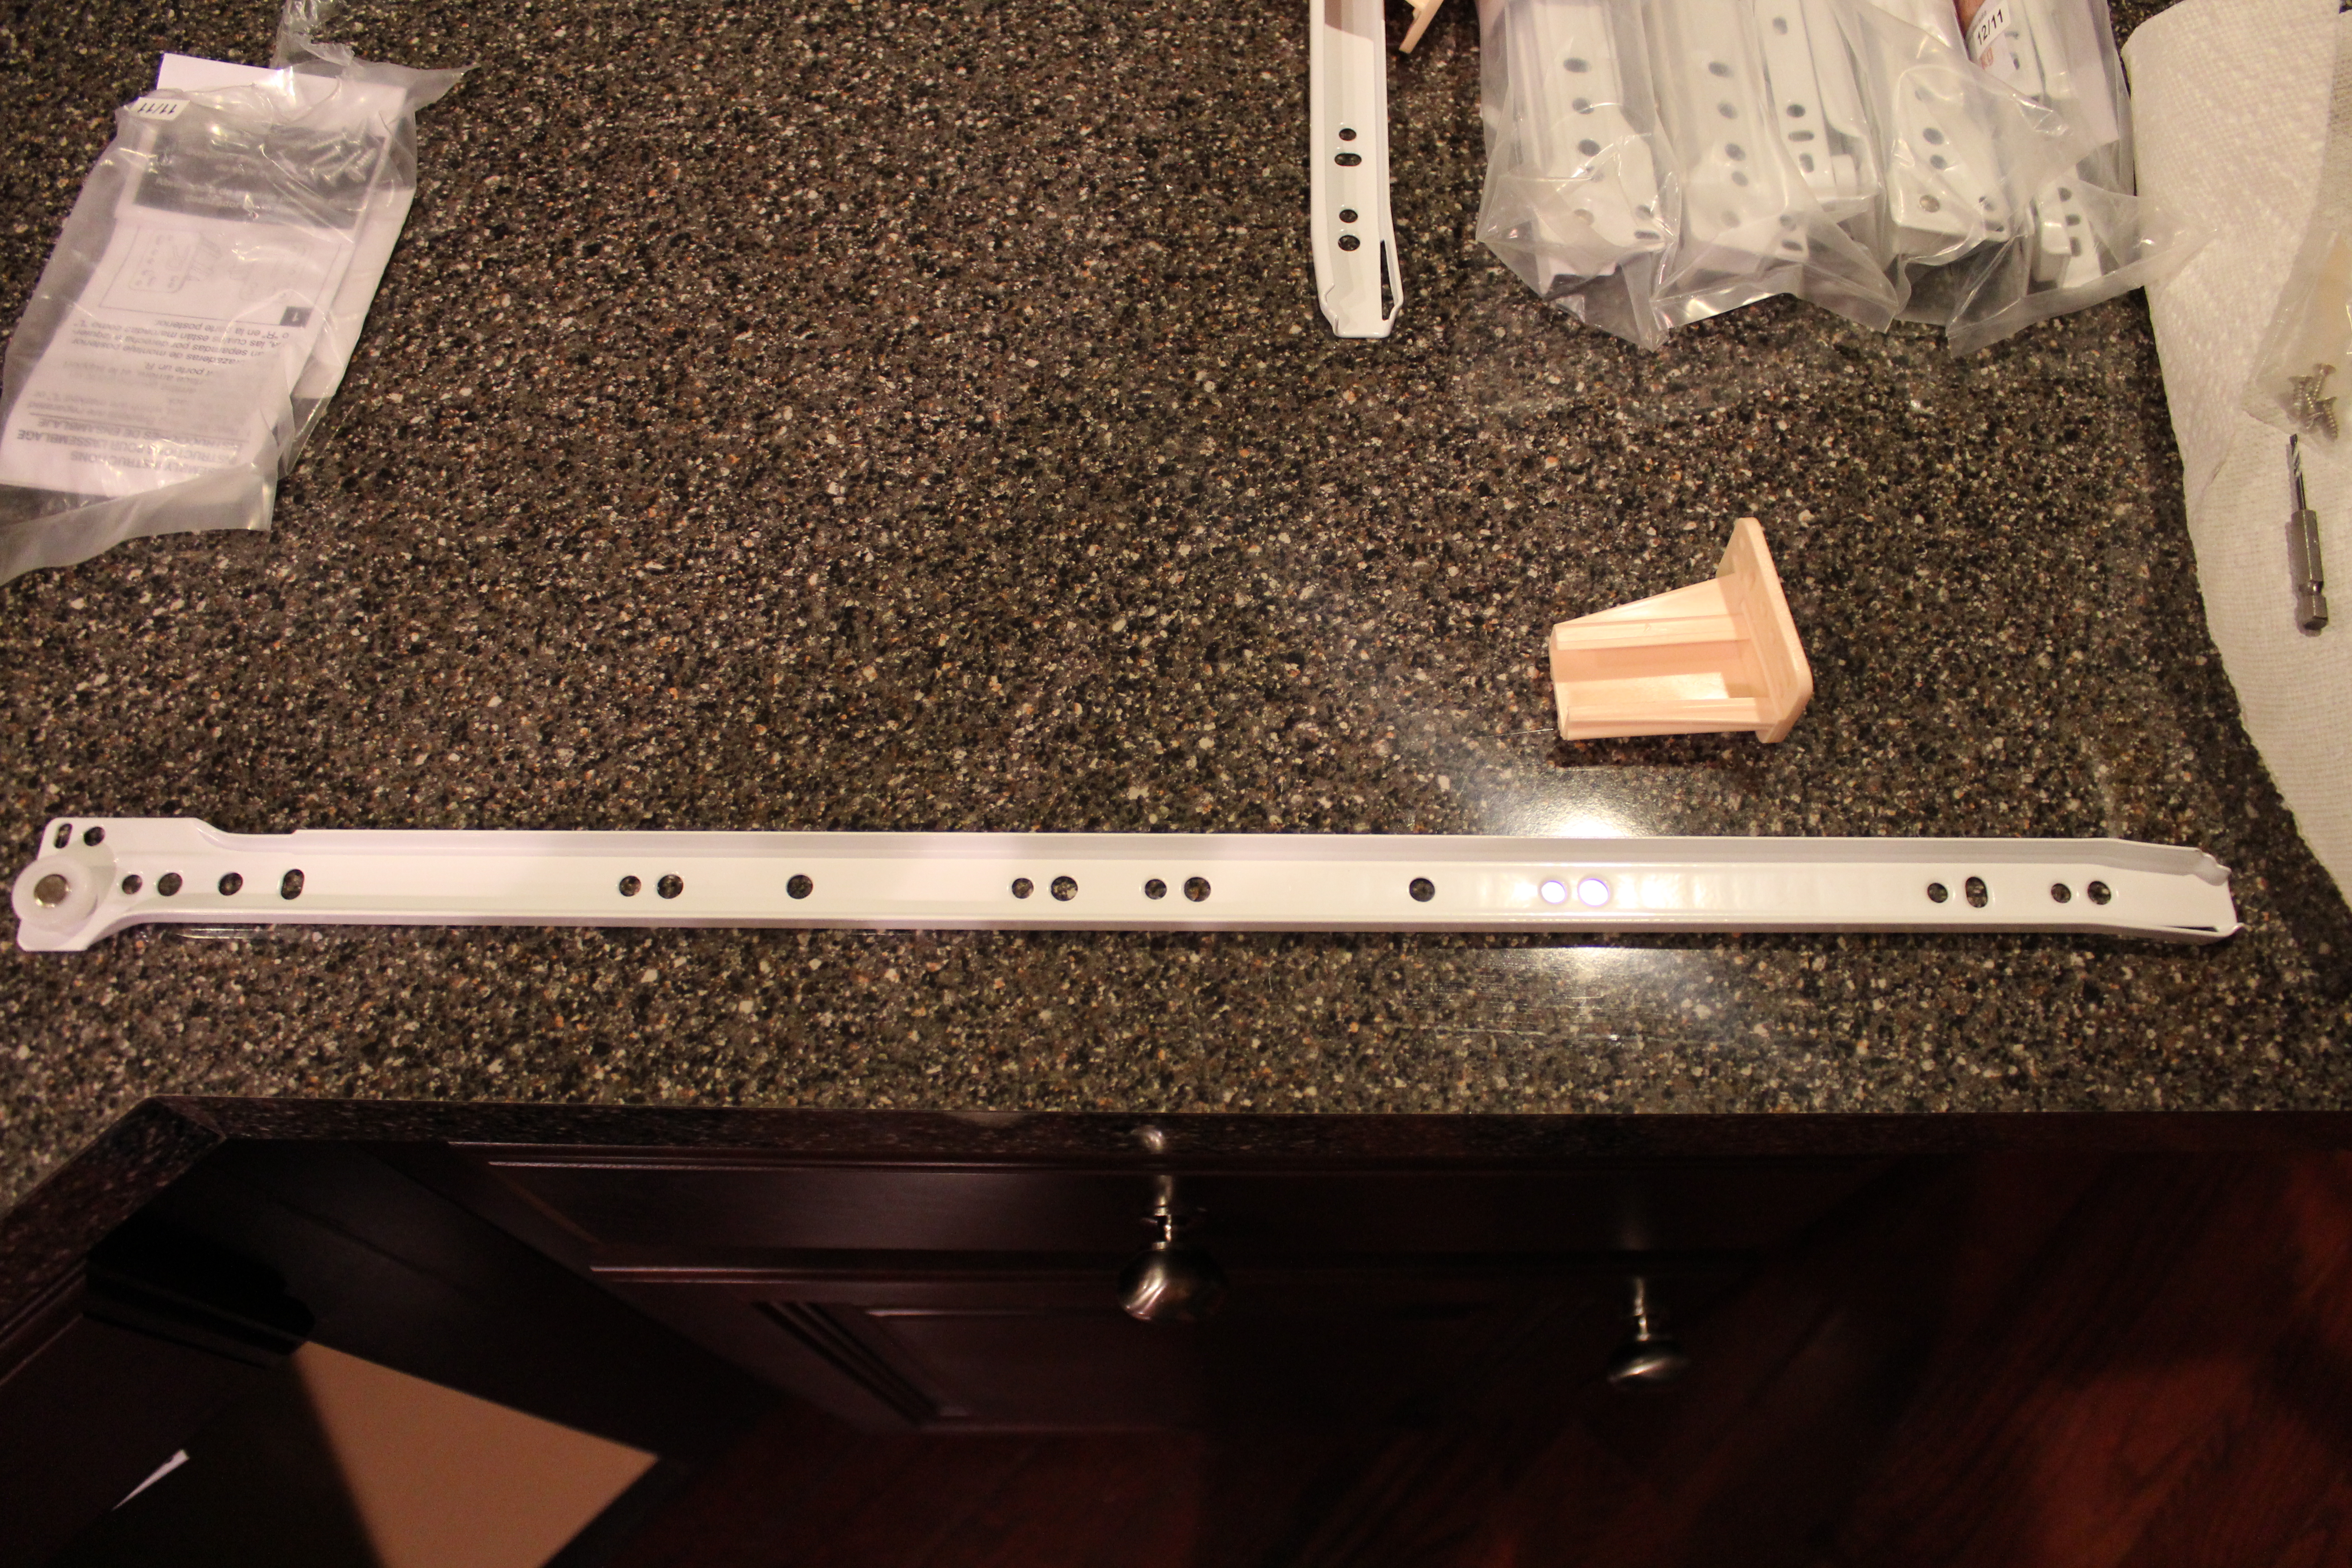
The hardware I purchased is 22″ long and is a very basic Euro style drawer slide. These run just under $8. These parts can be a little confusing to sort out, so I like to compare them to what’s on my existing drawers. Once I figured it out, I laid the hardware out on the counter so I knew what went where. The center sections as depicted above get fastened to the drawer and the other two outer units get screwed into the cabinet.
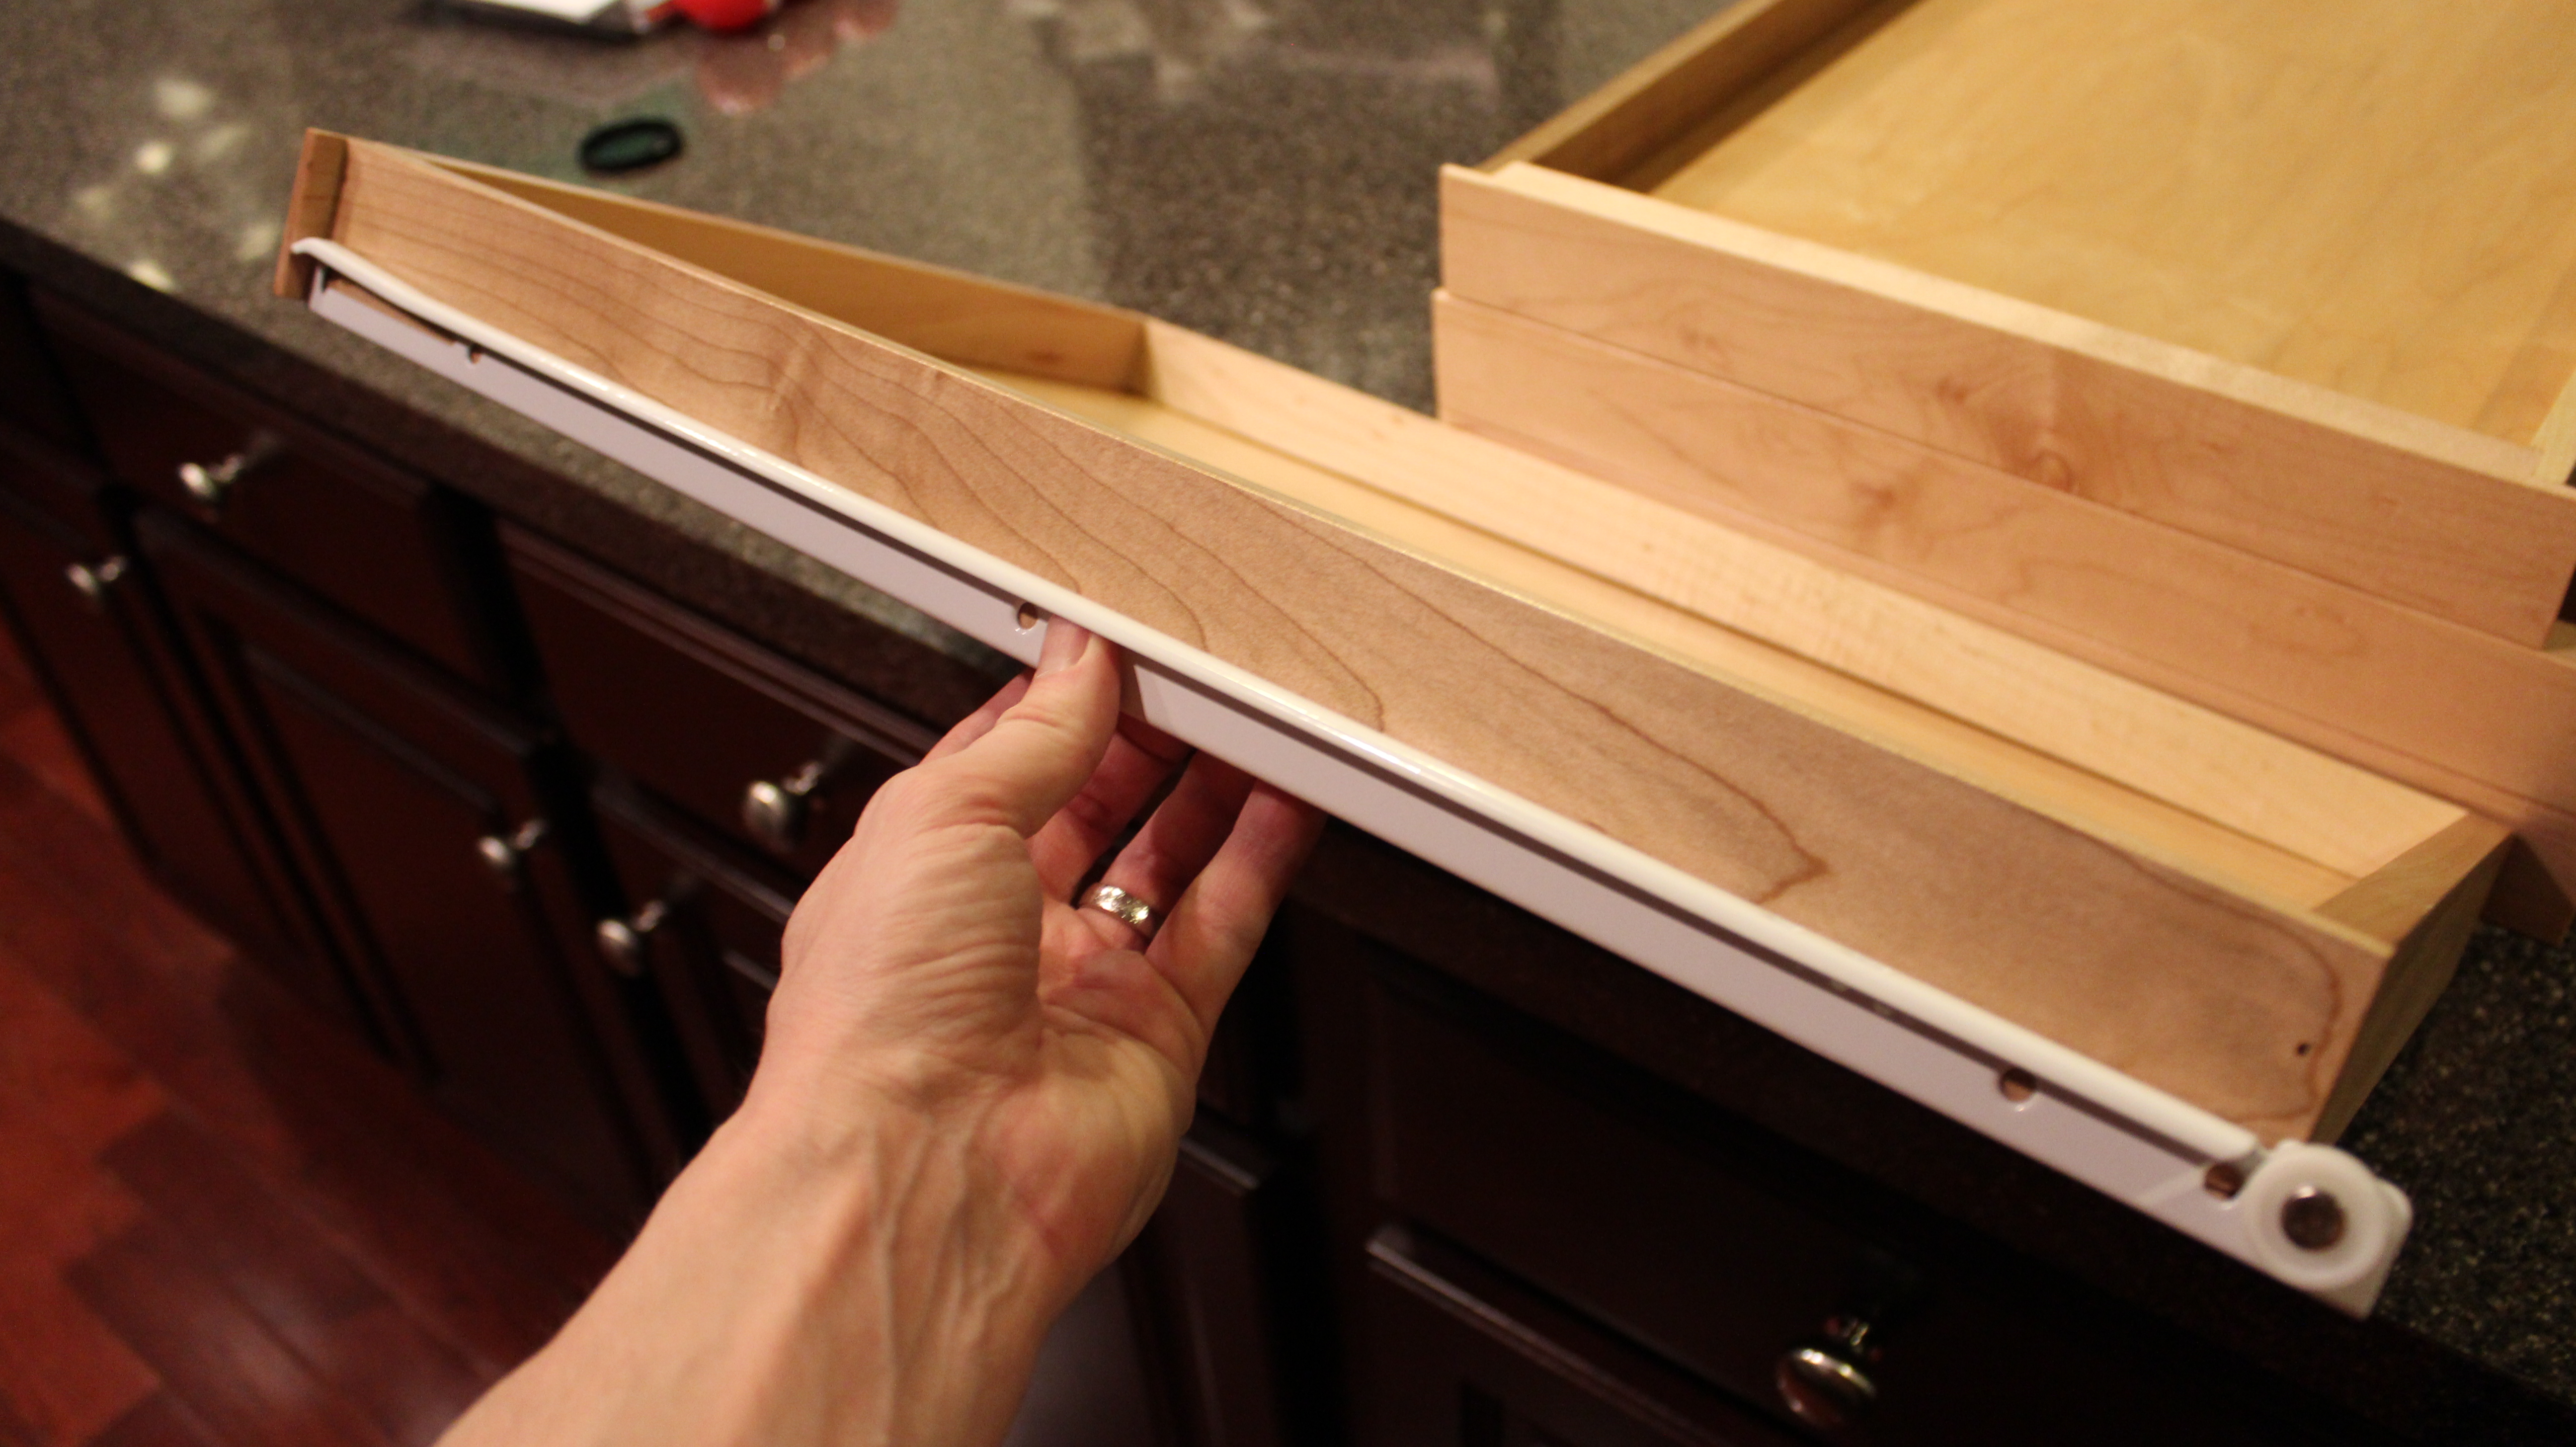
I think it’s easier to get the drawer hardware on first because it’s a little simpler than the cabinet hardware (more foreshadowing). In my case, since I already have identical drawers, I can actually see if my drawers work on the old cabinet hardware.
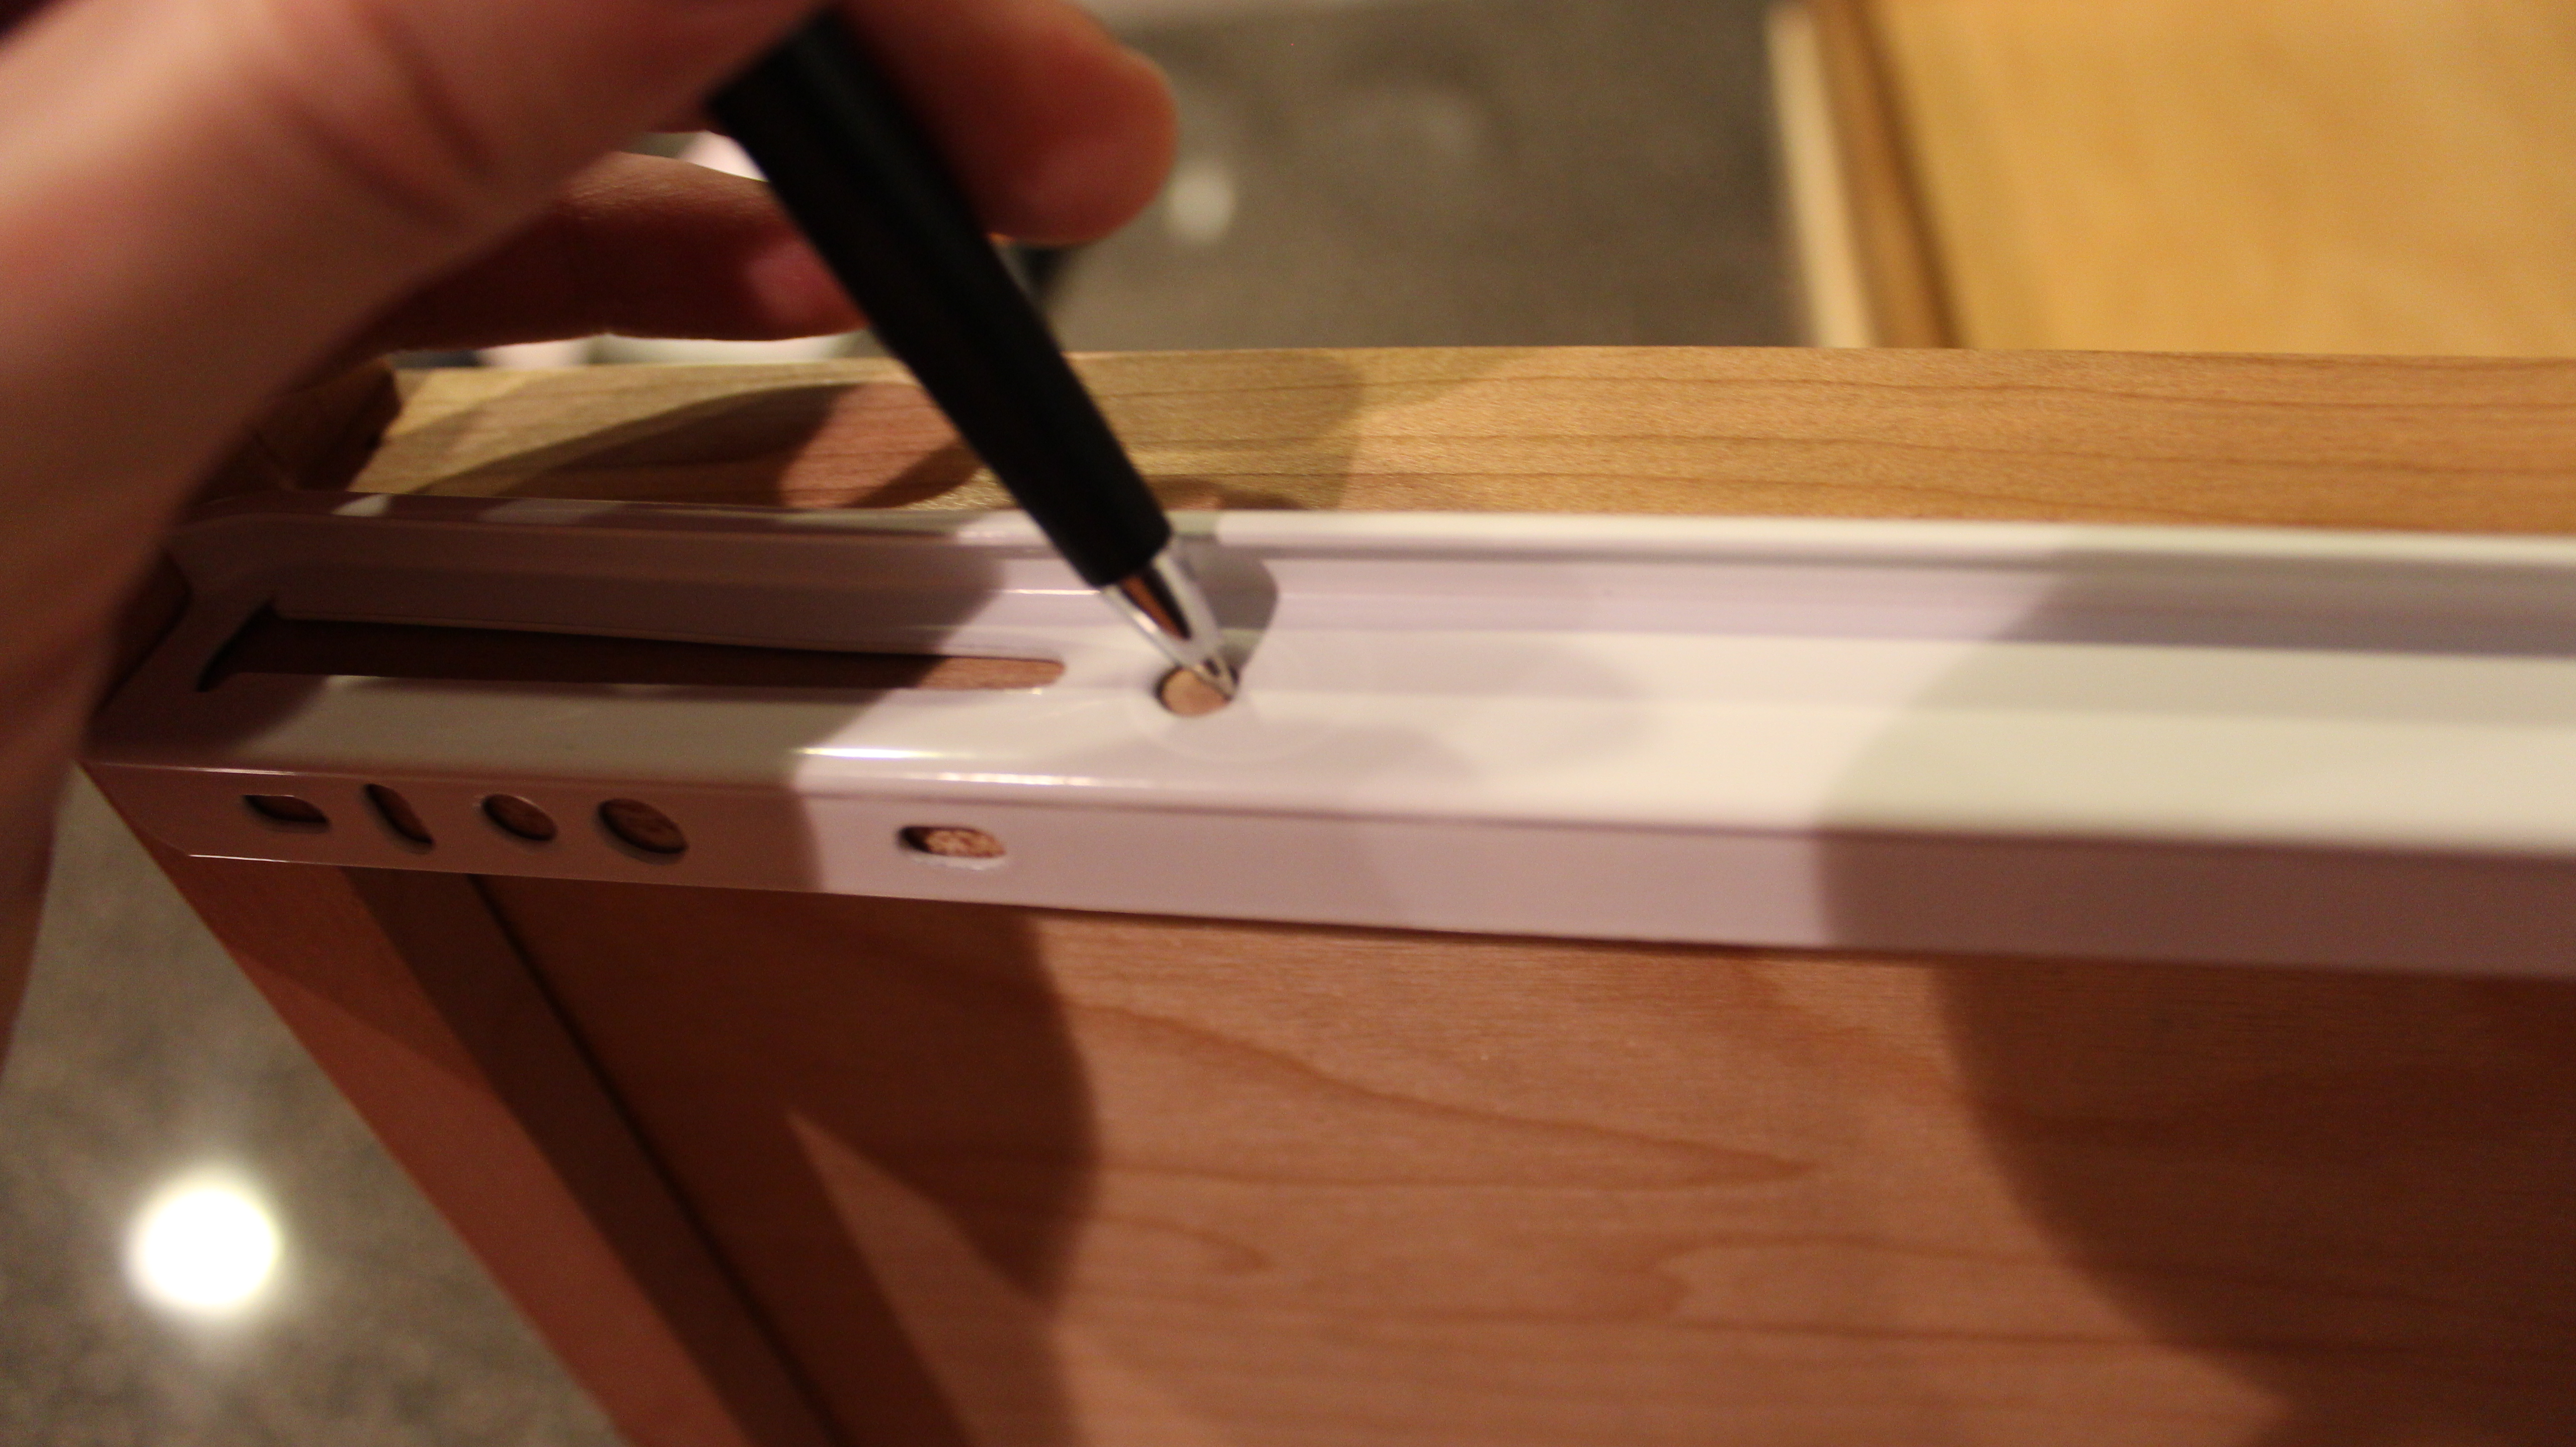
To attach the drawer hardware, I just mark the holes with a pen and then pre-drill them with a small sized drill bit. Anytime you drill into a hardwood like maple, you’ll need to pre-drill to prevent the wood from cracking. That’s the textbook reason. The real reason is the wood is so darn hard that it’ll take you forever to get the hole started and you’ll end up swearing a lot.
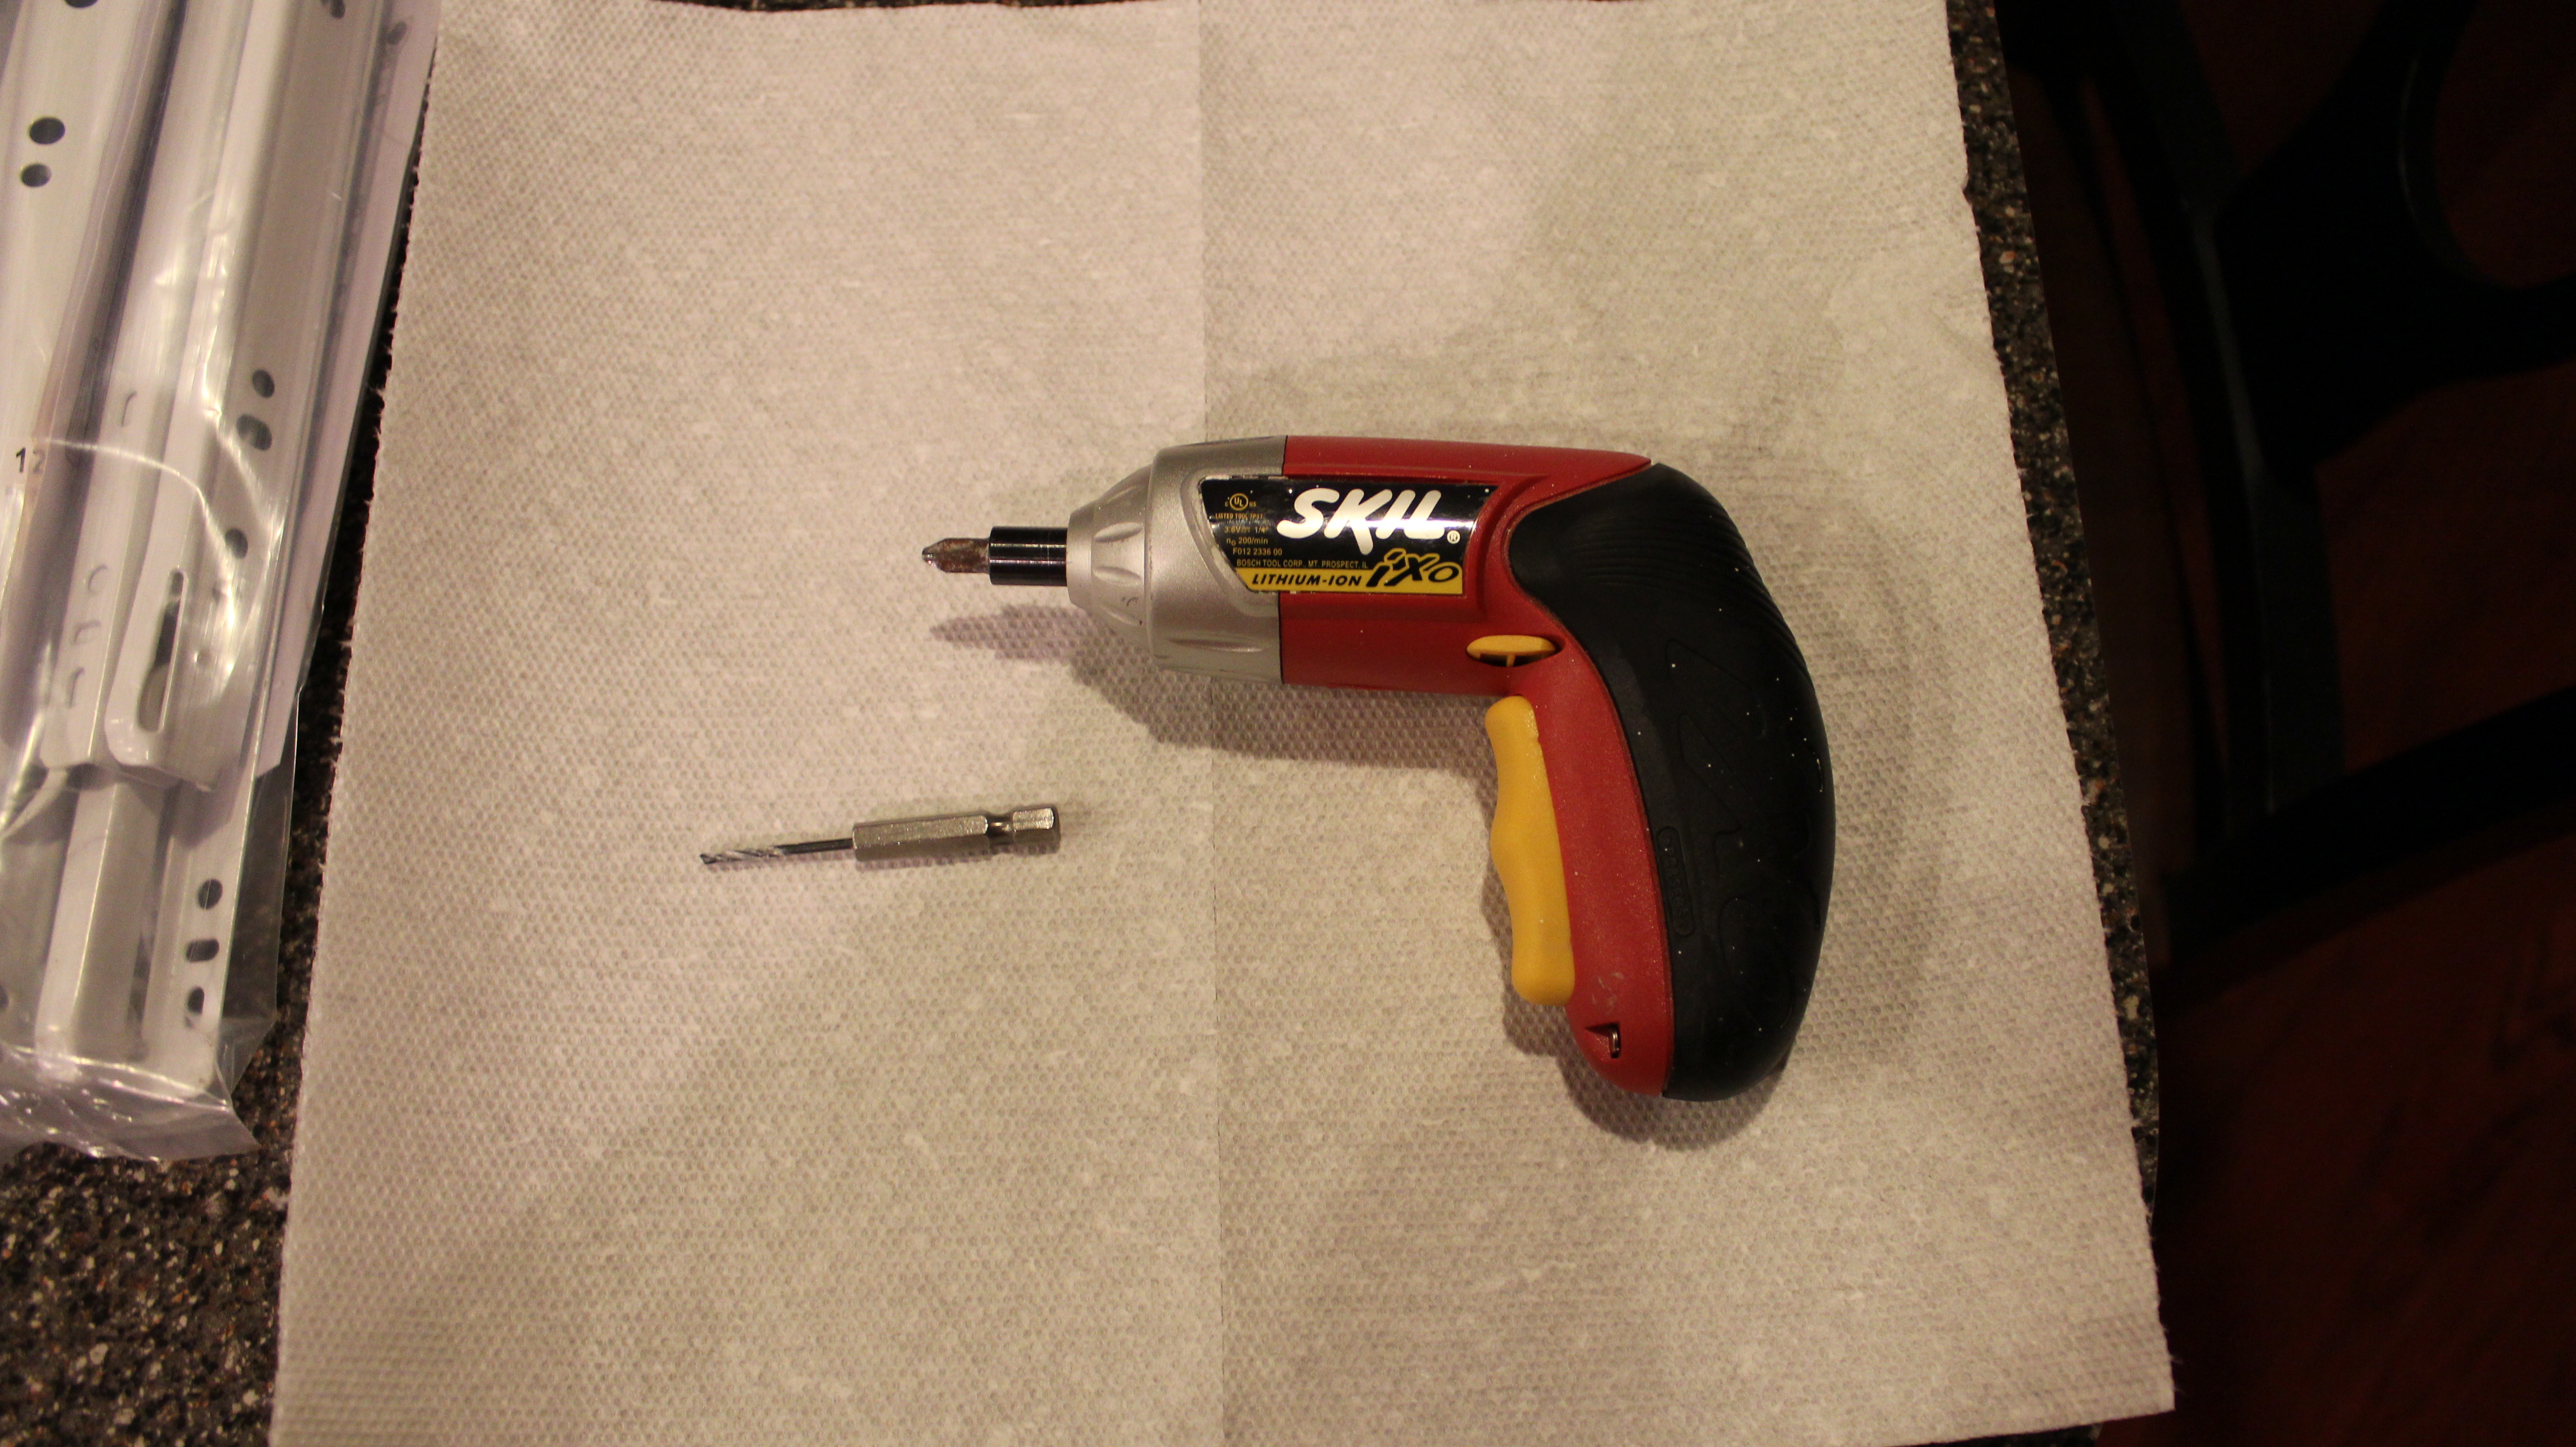
Whenever I’m working around kitchen cabinets, I prefer to use my small driver. I bought this thing back in 2008 when I was adding the doors to our homemade kitchen cabinets. My other drill is a regular 18 volt DeWalt, which has a lot of power, but can be heavy and hard to squeeze into some of the more narrow cabinets. You can pick one of these up for a lot less than a full sized version. They also make great gifts!! This drill is perfect for this part of the project.
Once I got the hardware onto my first drawer, I was able to give it a test run. Worked beautifully!! Success!! All I have to do at this point is attach my cabinet hardware and I’ll be off running!!
The cabinet hardware, in theory, mounts fairly simply. The front edge gets screwed into the side of the cabinet frame and the back slips into a bracket that gets screwed into the back of the cabinet. The bracket is sold separately and is around $4 for 2. The trick to this is picking your spot and keeping the front level with the back.
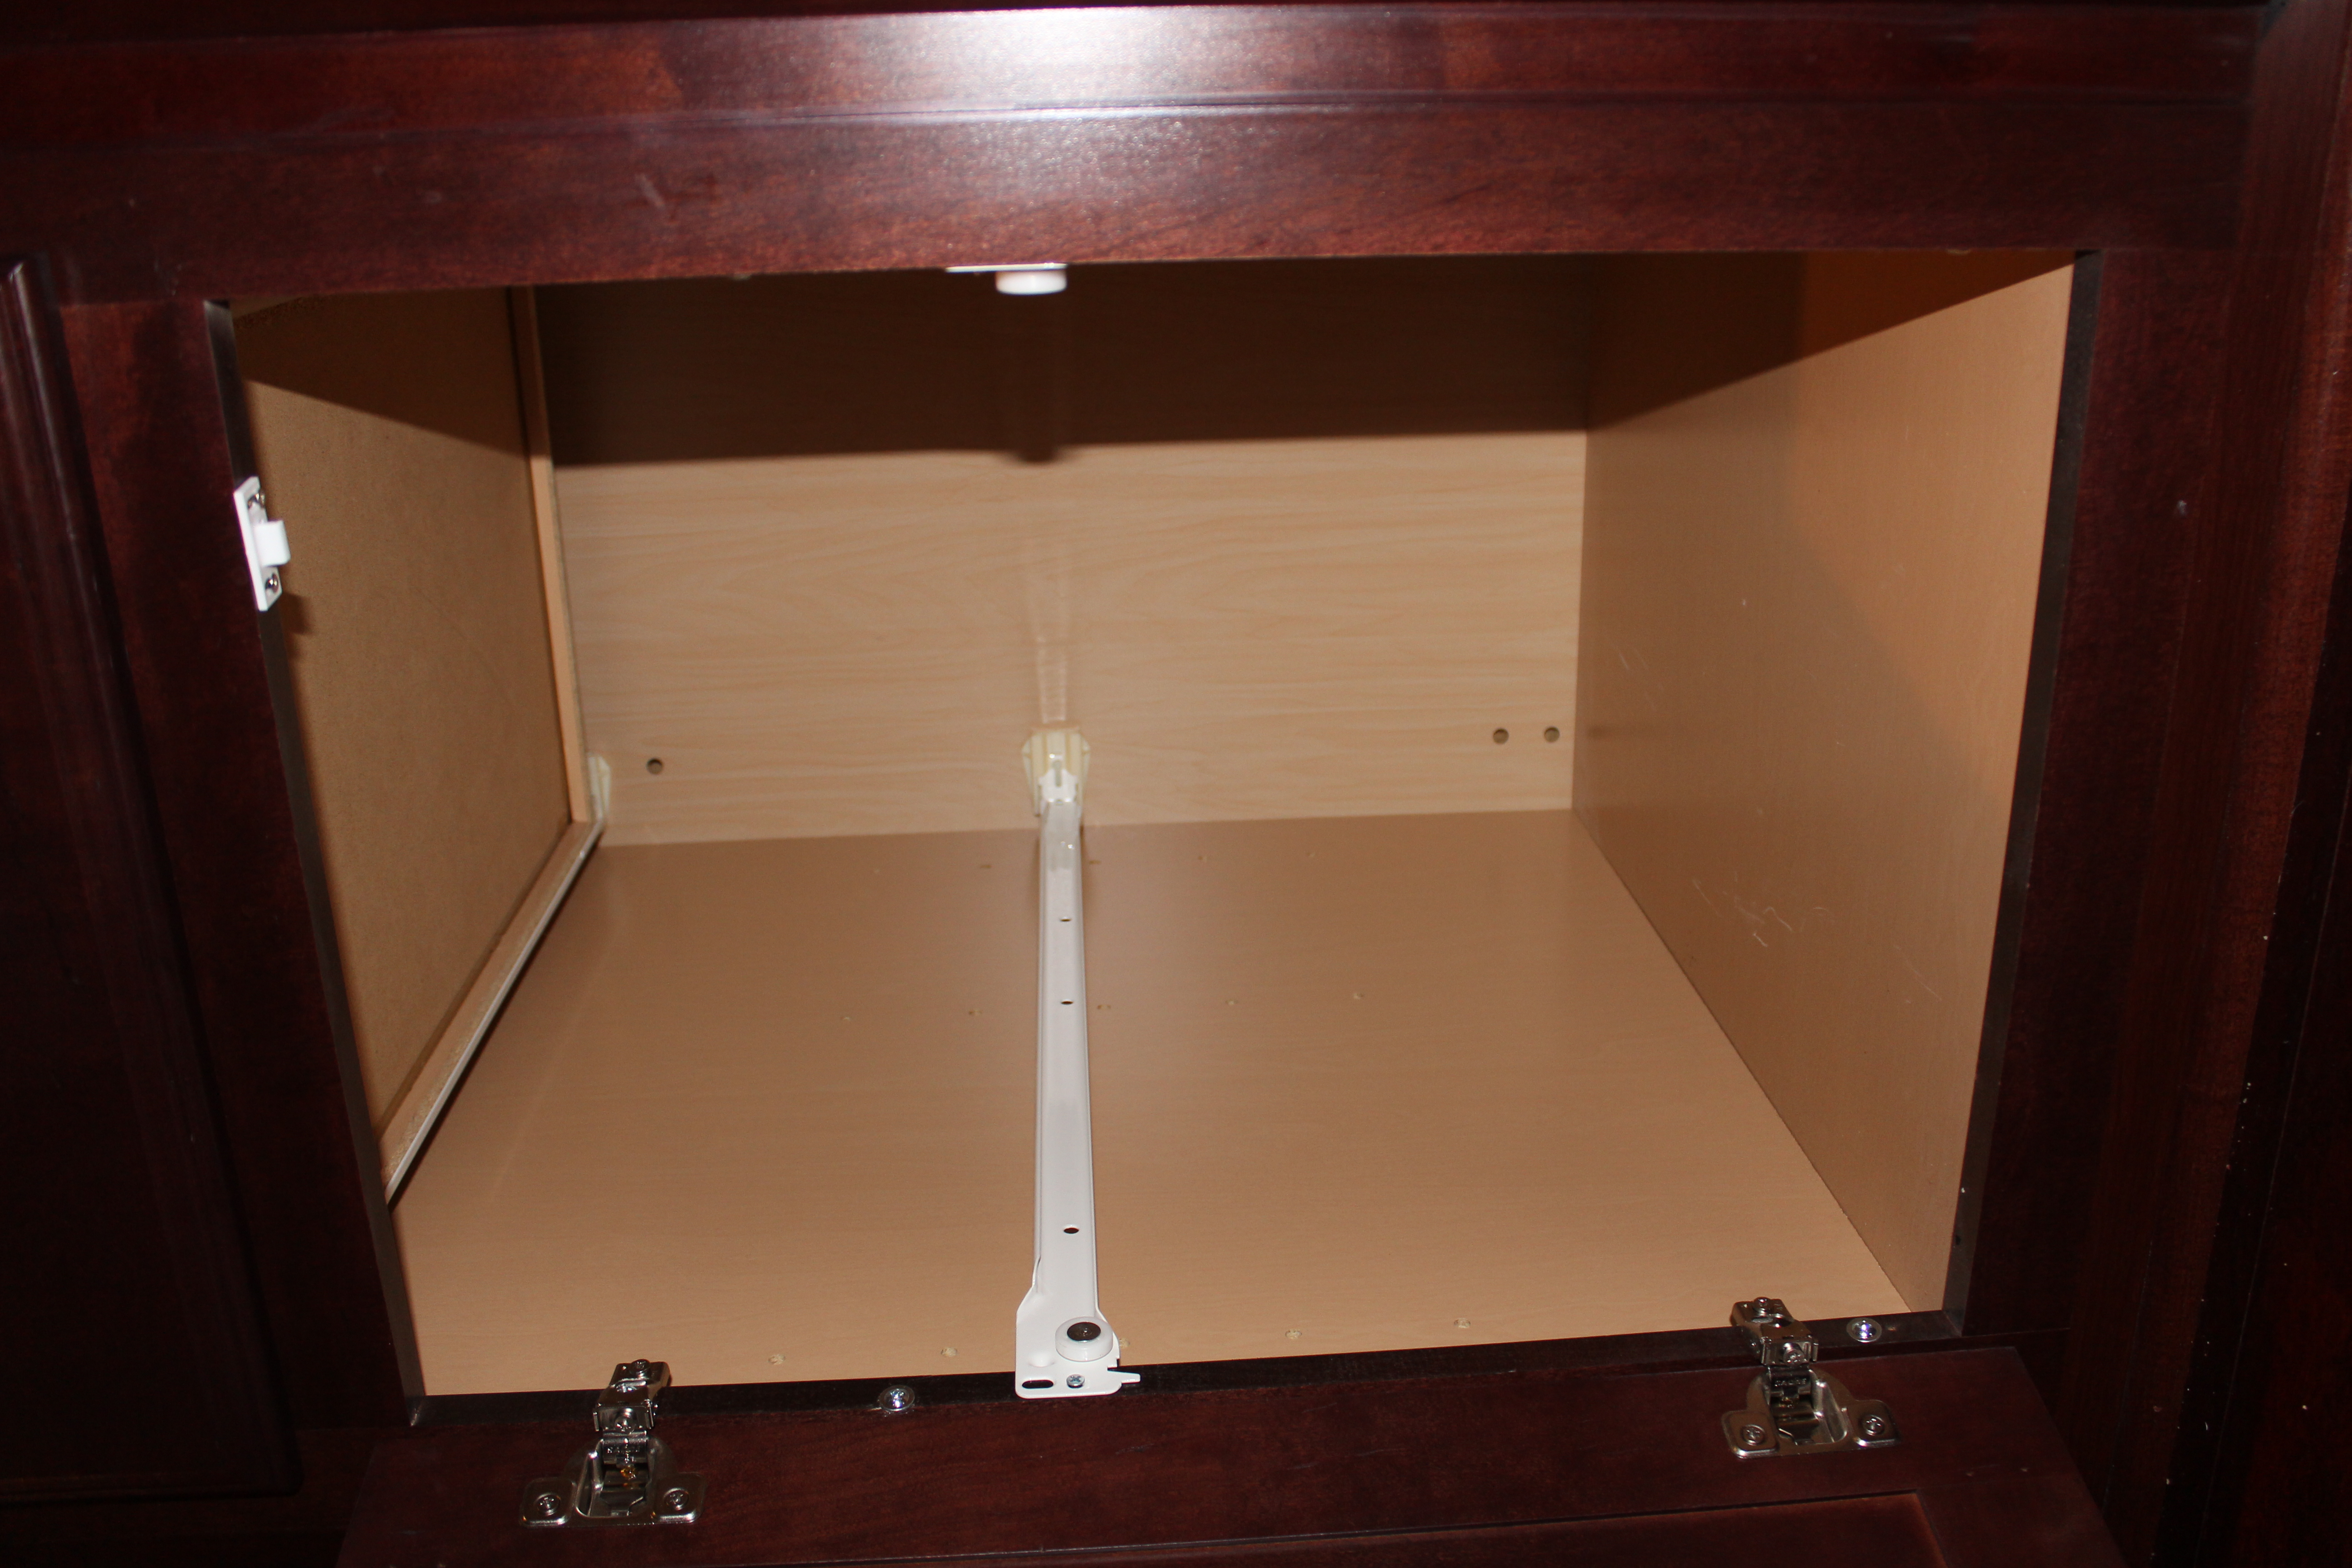
At least I think that’s the trick. I wouldn’t know because my cabinet hardware was an inch too short!! I bought 22″ long slides. Apparently, I need 23.” Didn’t I measure? Yep. I also forgot what it was by the time I got around to buy them, so instead, I remeasured the cabinets they sold at Lowes. Apparently, the cabinets at Lowes are an inch more shallow. The hardware in the photo above is for the existing drawer.
So next time, hopefully tomorrow, I’ll have at least one whole cabinet done!! Back to Lowes!! Anyone else pulling their hair out?


