I would love to have a post today that showed off my finished sliding cabinet drawers installed, but unfortunately, my local hardware stores didn’t have the right drawers slide hardware in stock at the moment. I’m going to grab some early this week when I go into the city, so I’ll have a wrap up post for you later. The good news is the drawers are DONE! Before I show you the finished pieces though, I’ll show you what steps I took to get there since our last post (or you can just scroll to the bottom).
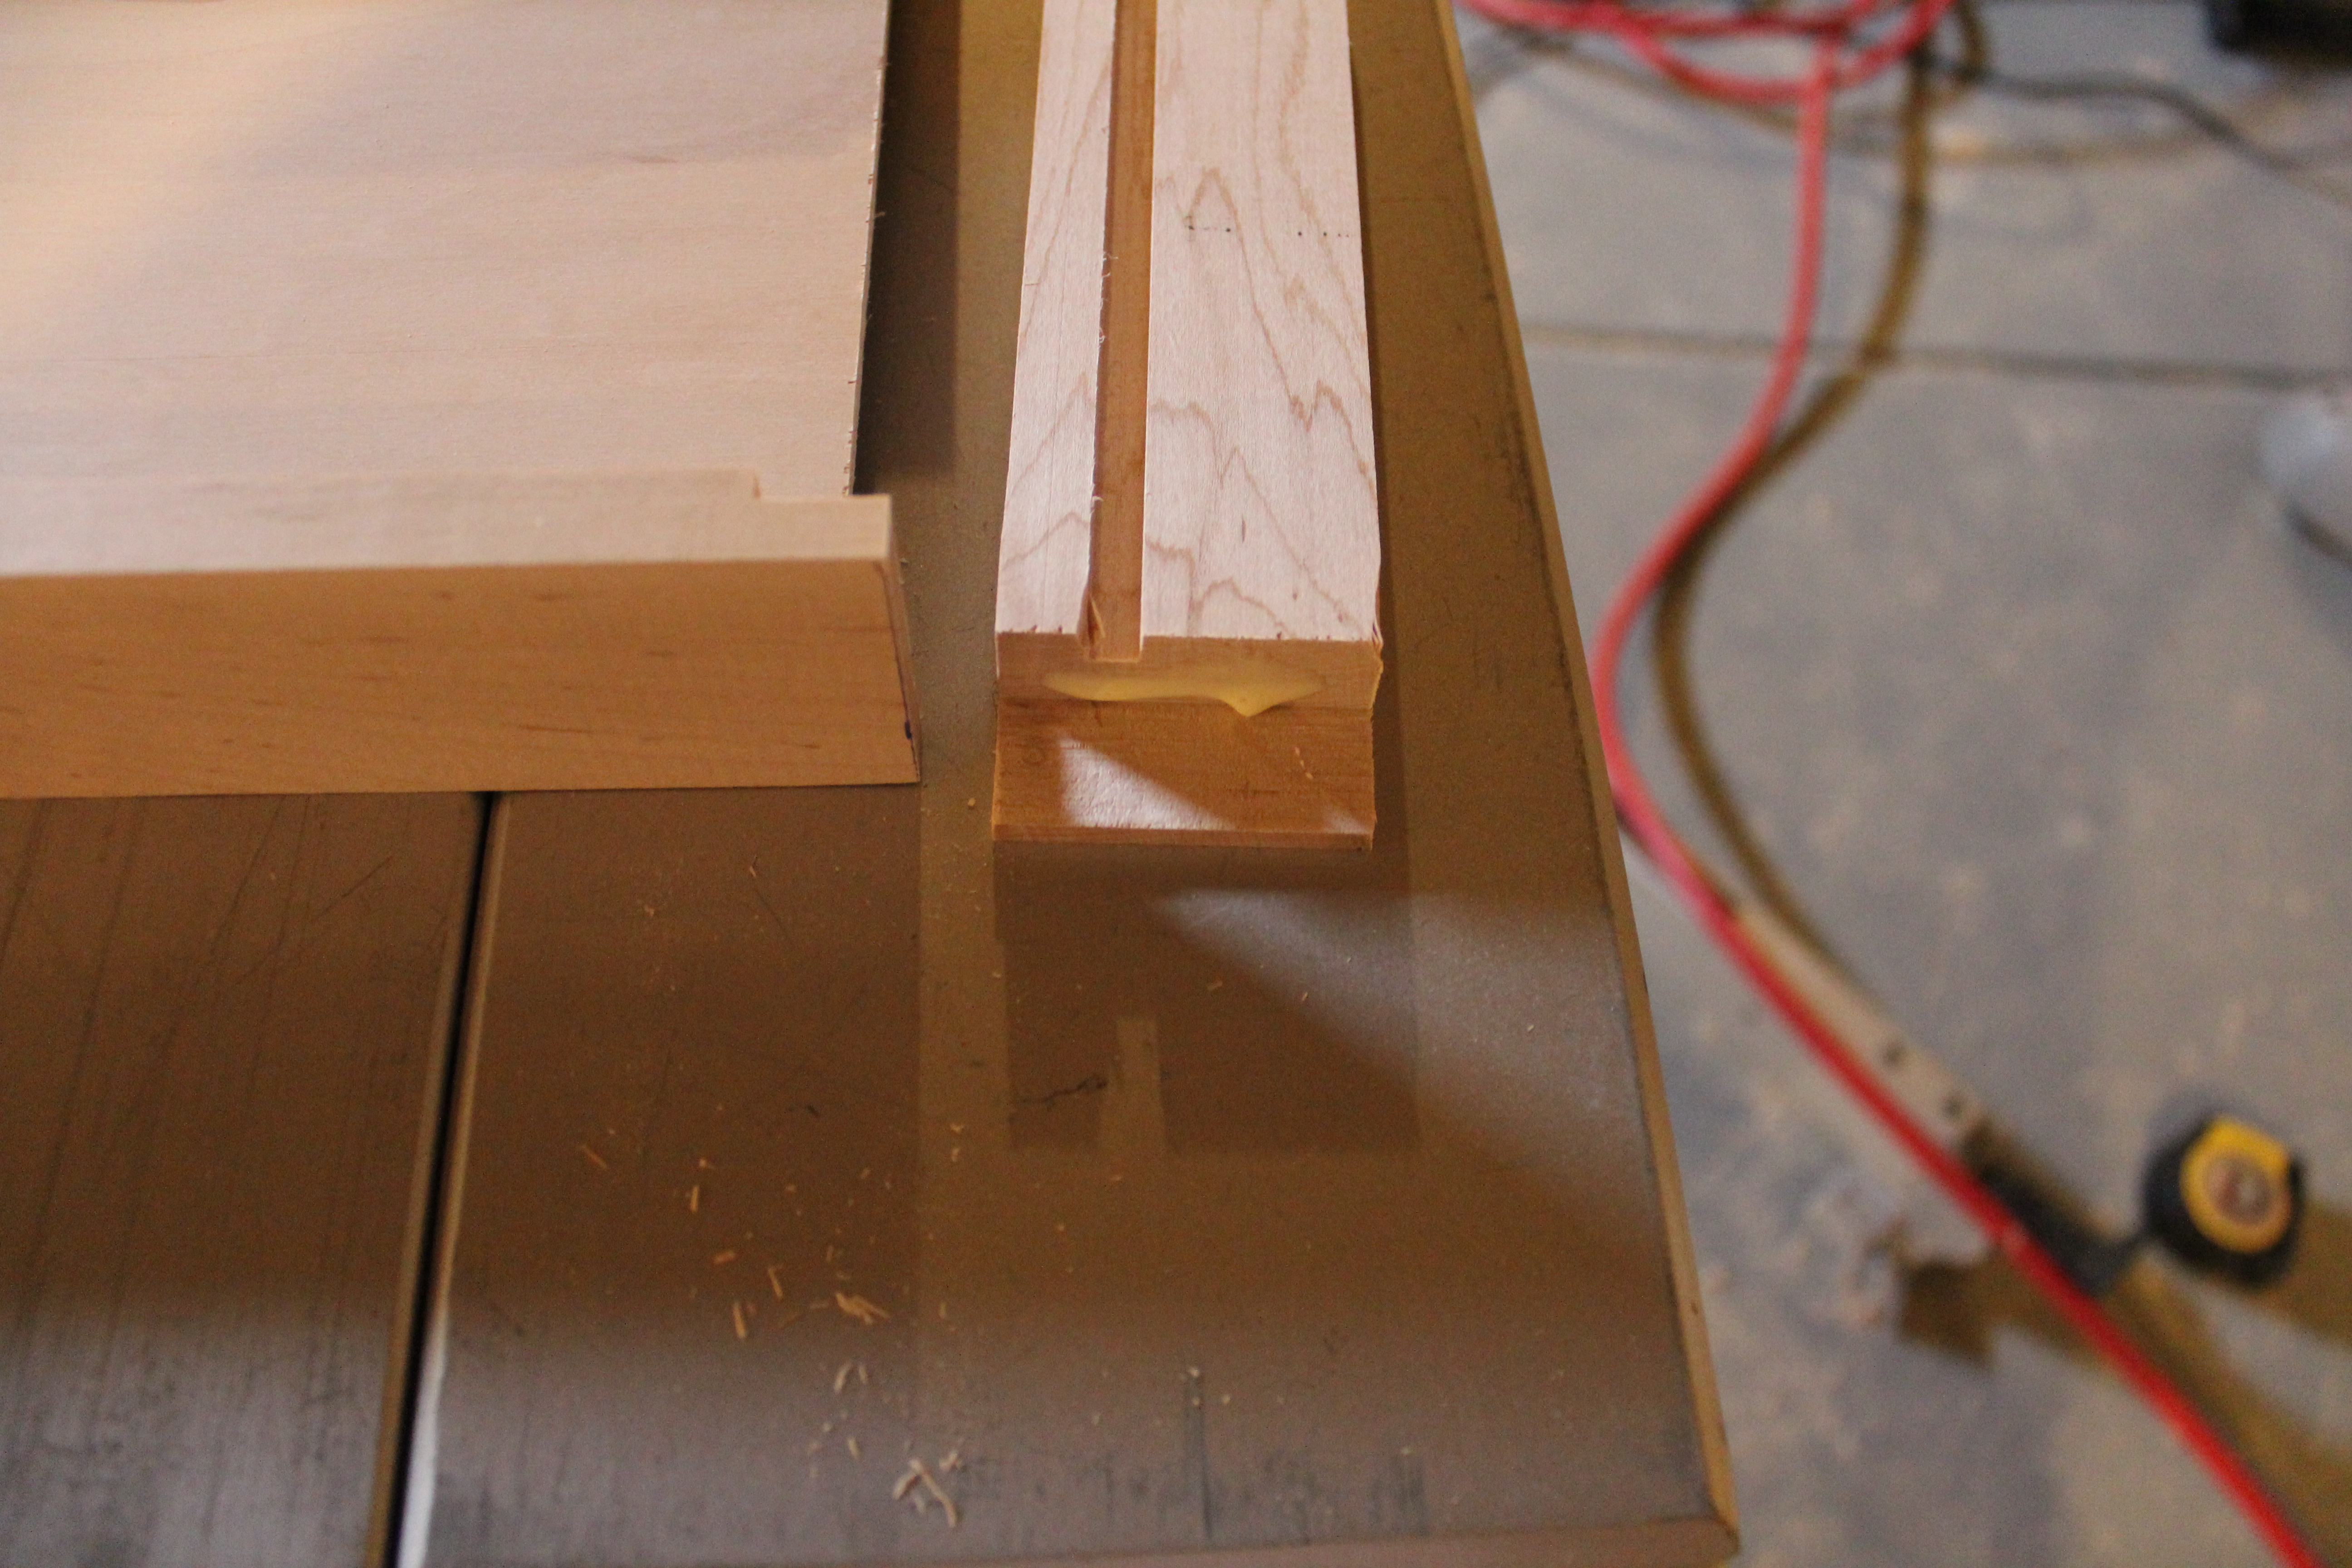
Last time we left off, we had finished all of the machining of our hardwood pieces and used dado blades to add some grooves for the bottom. Now we’re ready to cut our bottom pieces. To get the dimensions for the bottom sections, I did a mock assembly of each drawer and measured the opening. I added about 3/8″ to the length and width so the bottom can slide into the groove. I’m also trying to be mindful of the wood grain. I want the grain to run front to back on the drawer.

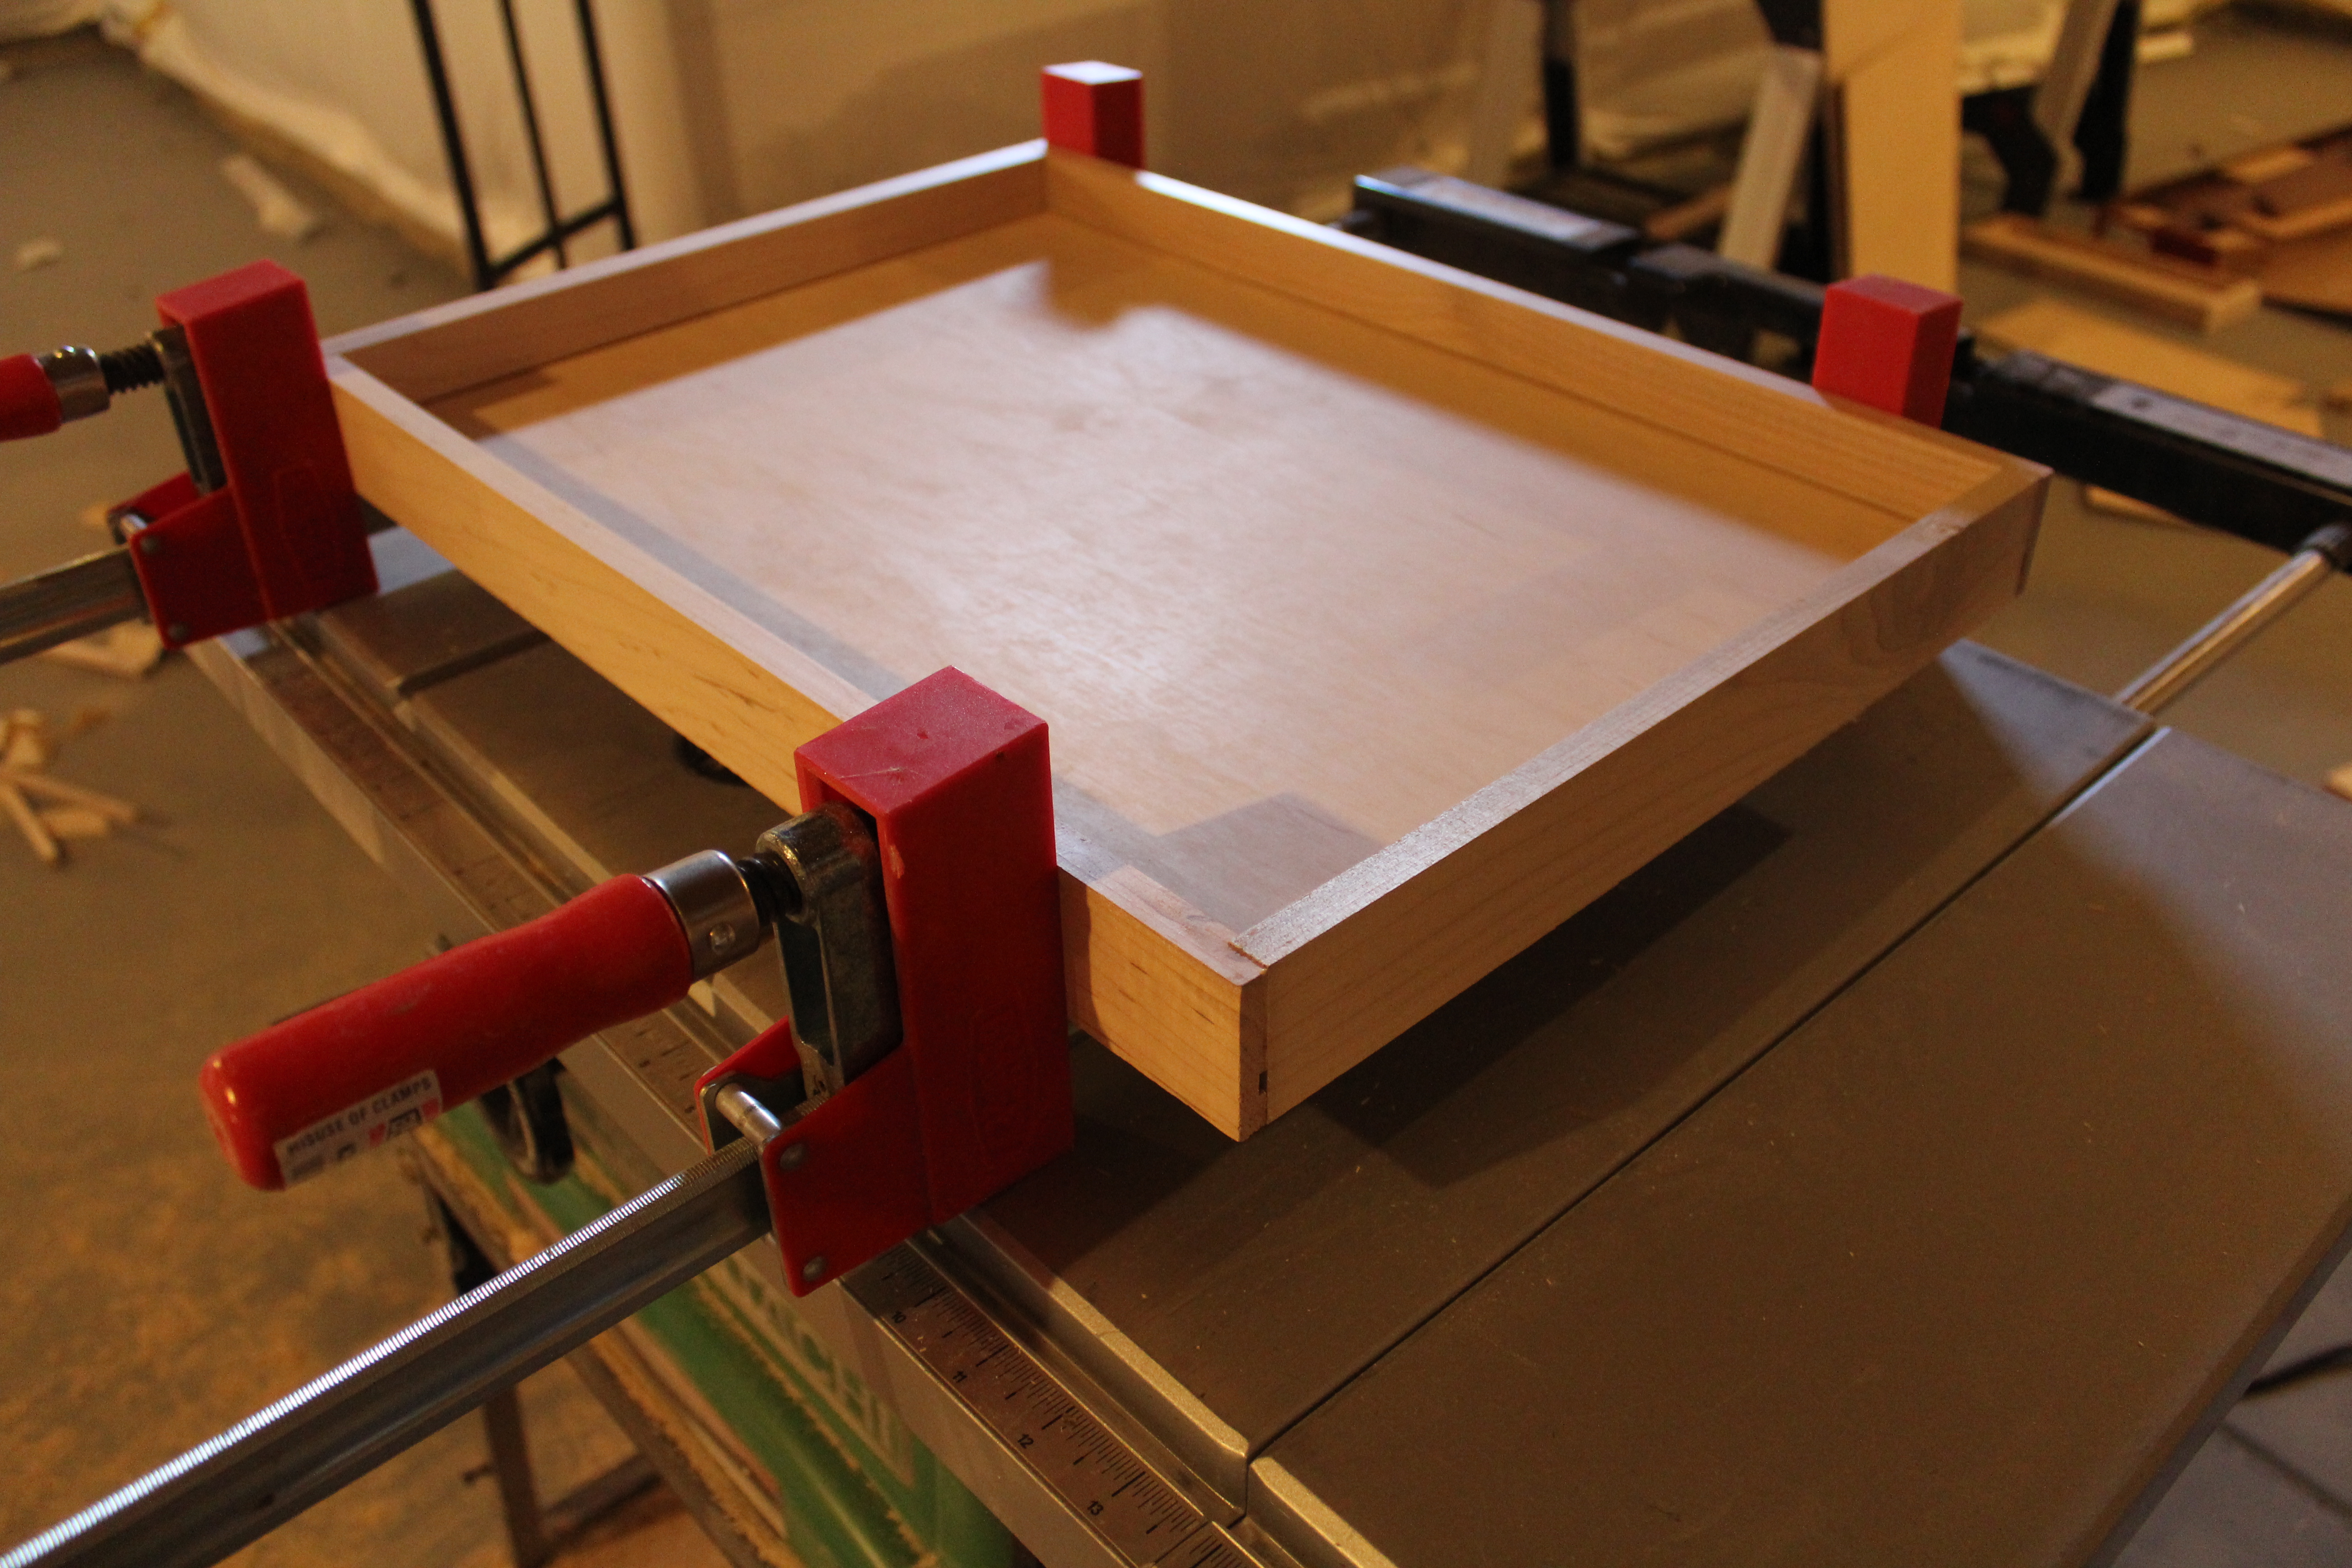
Once all the bottoms are cut, I get to the best part, assembling them!! I’ll check them again first before adding glue by putting them together dry to see if they are okay.
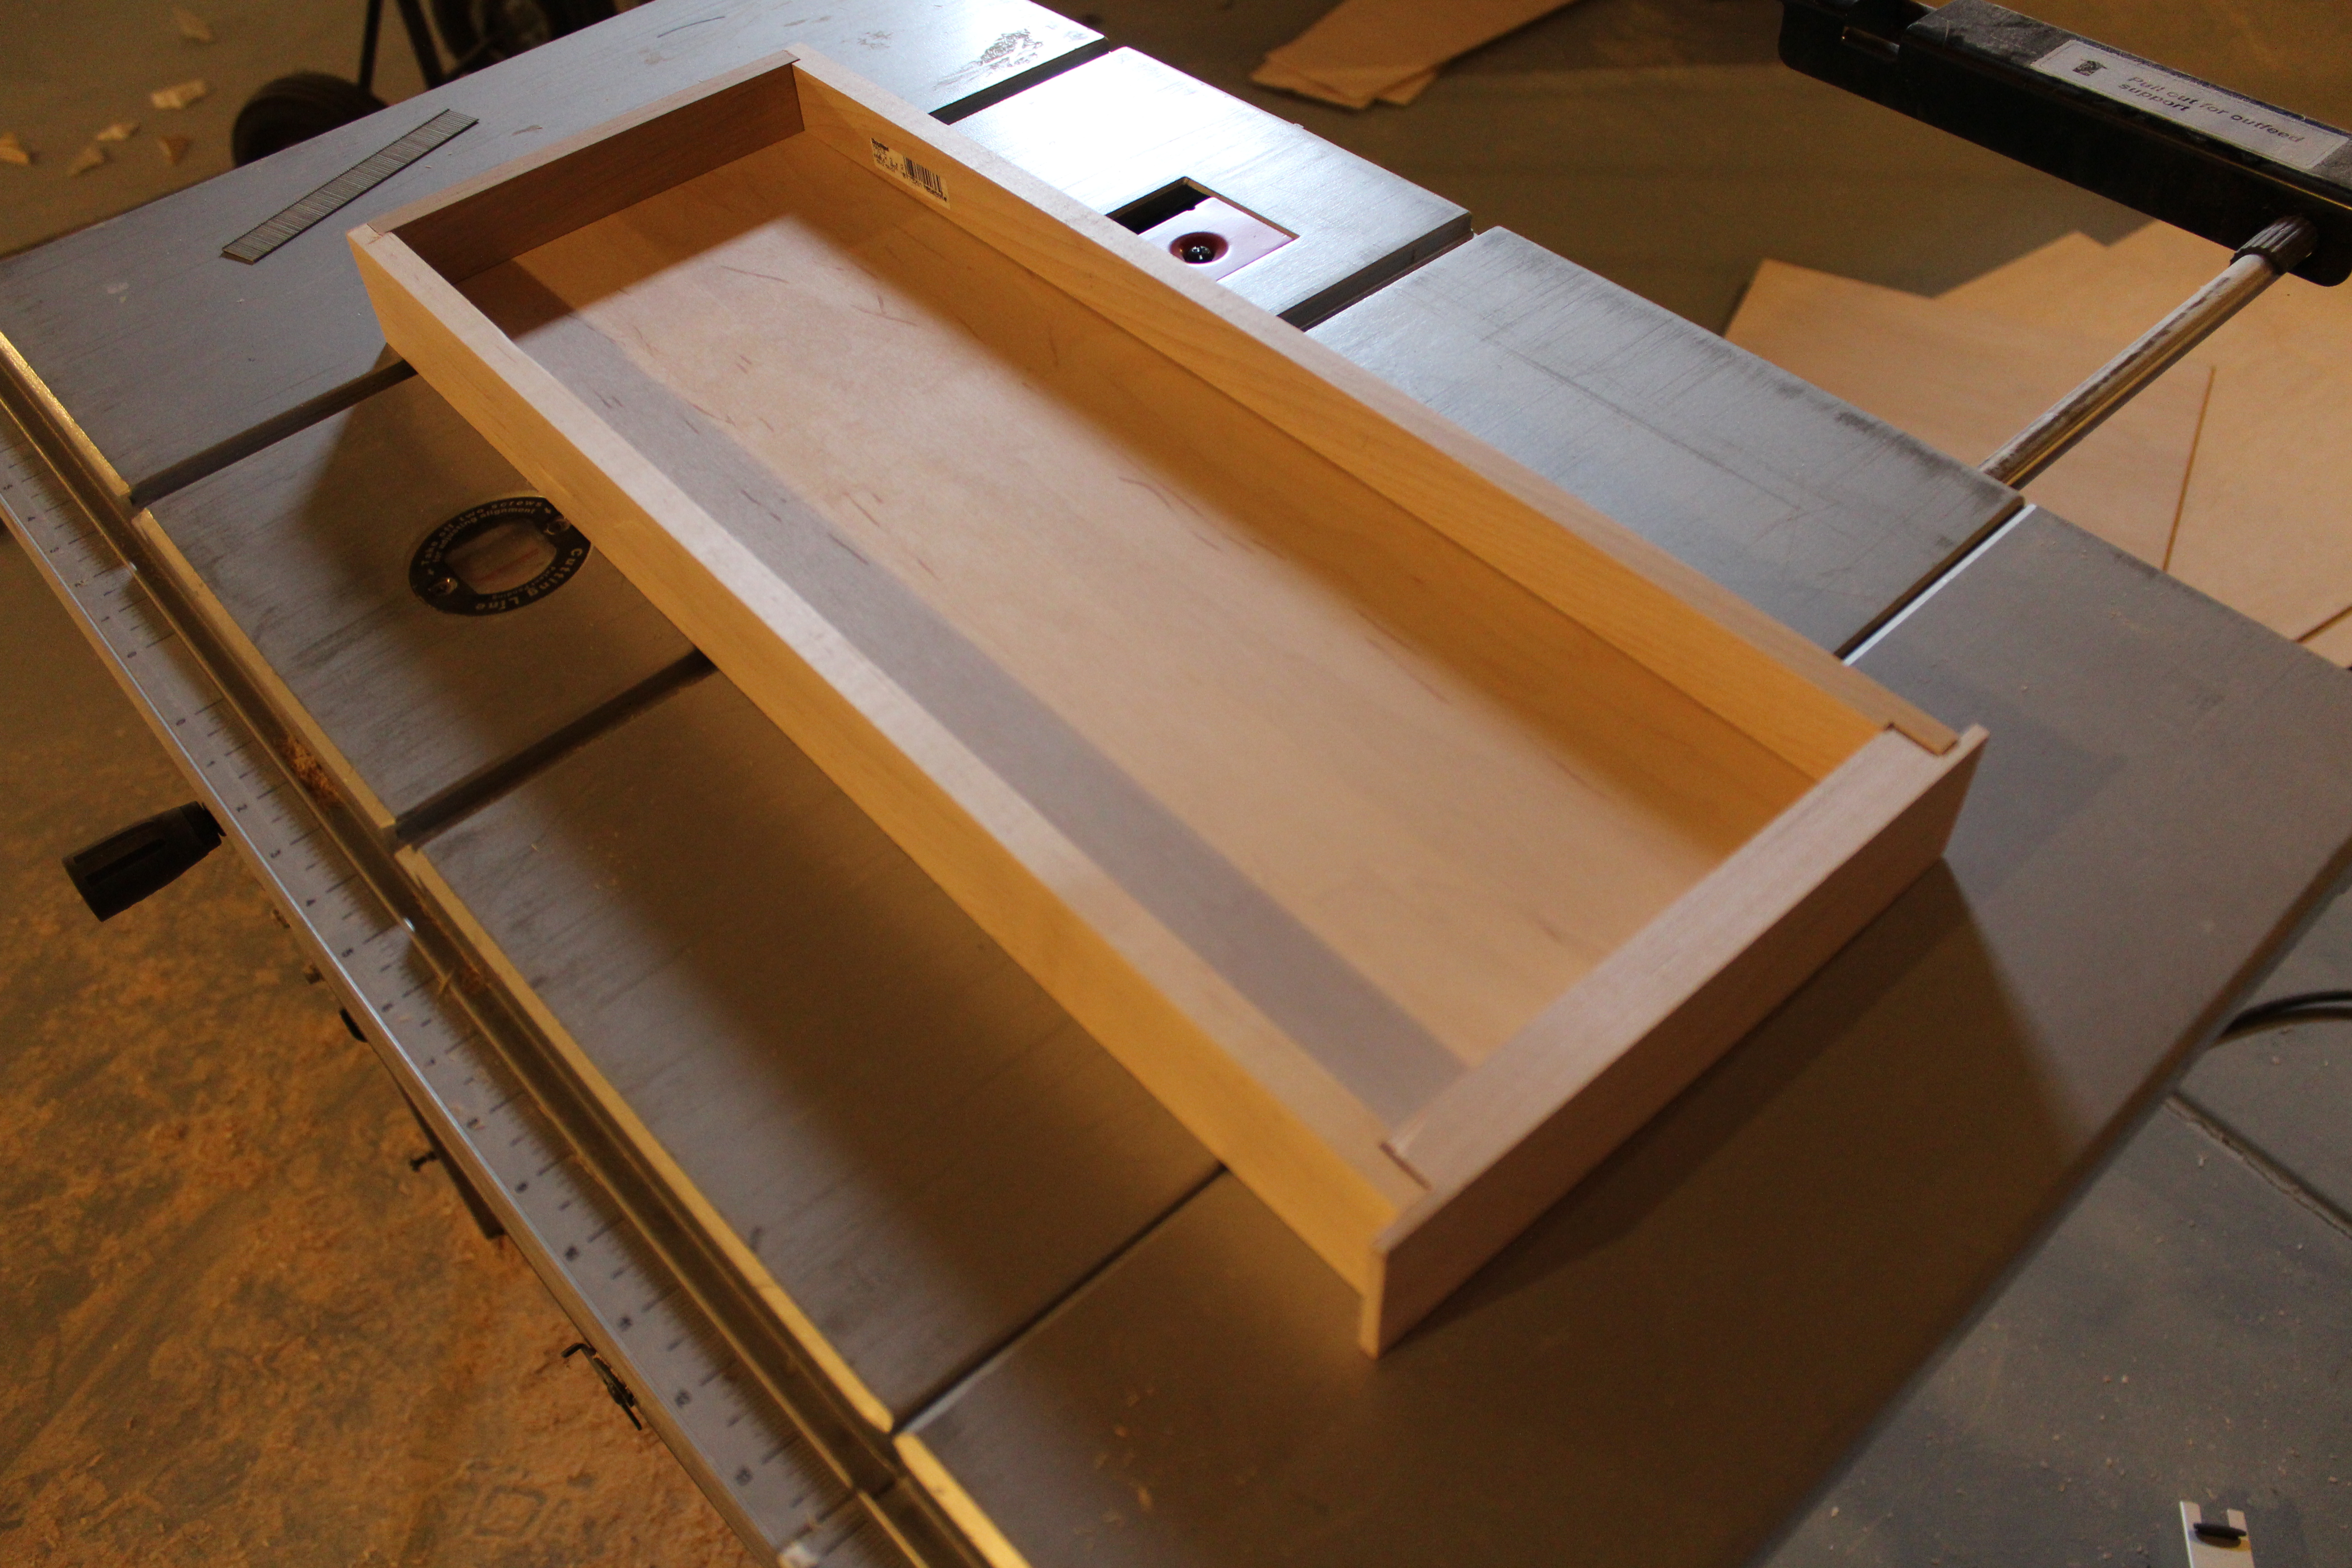
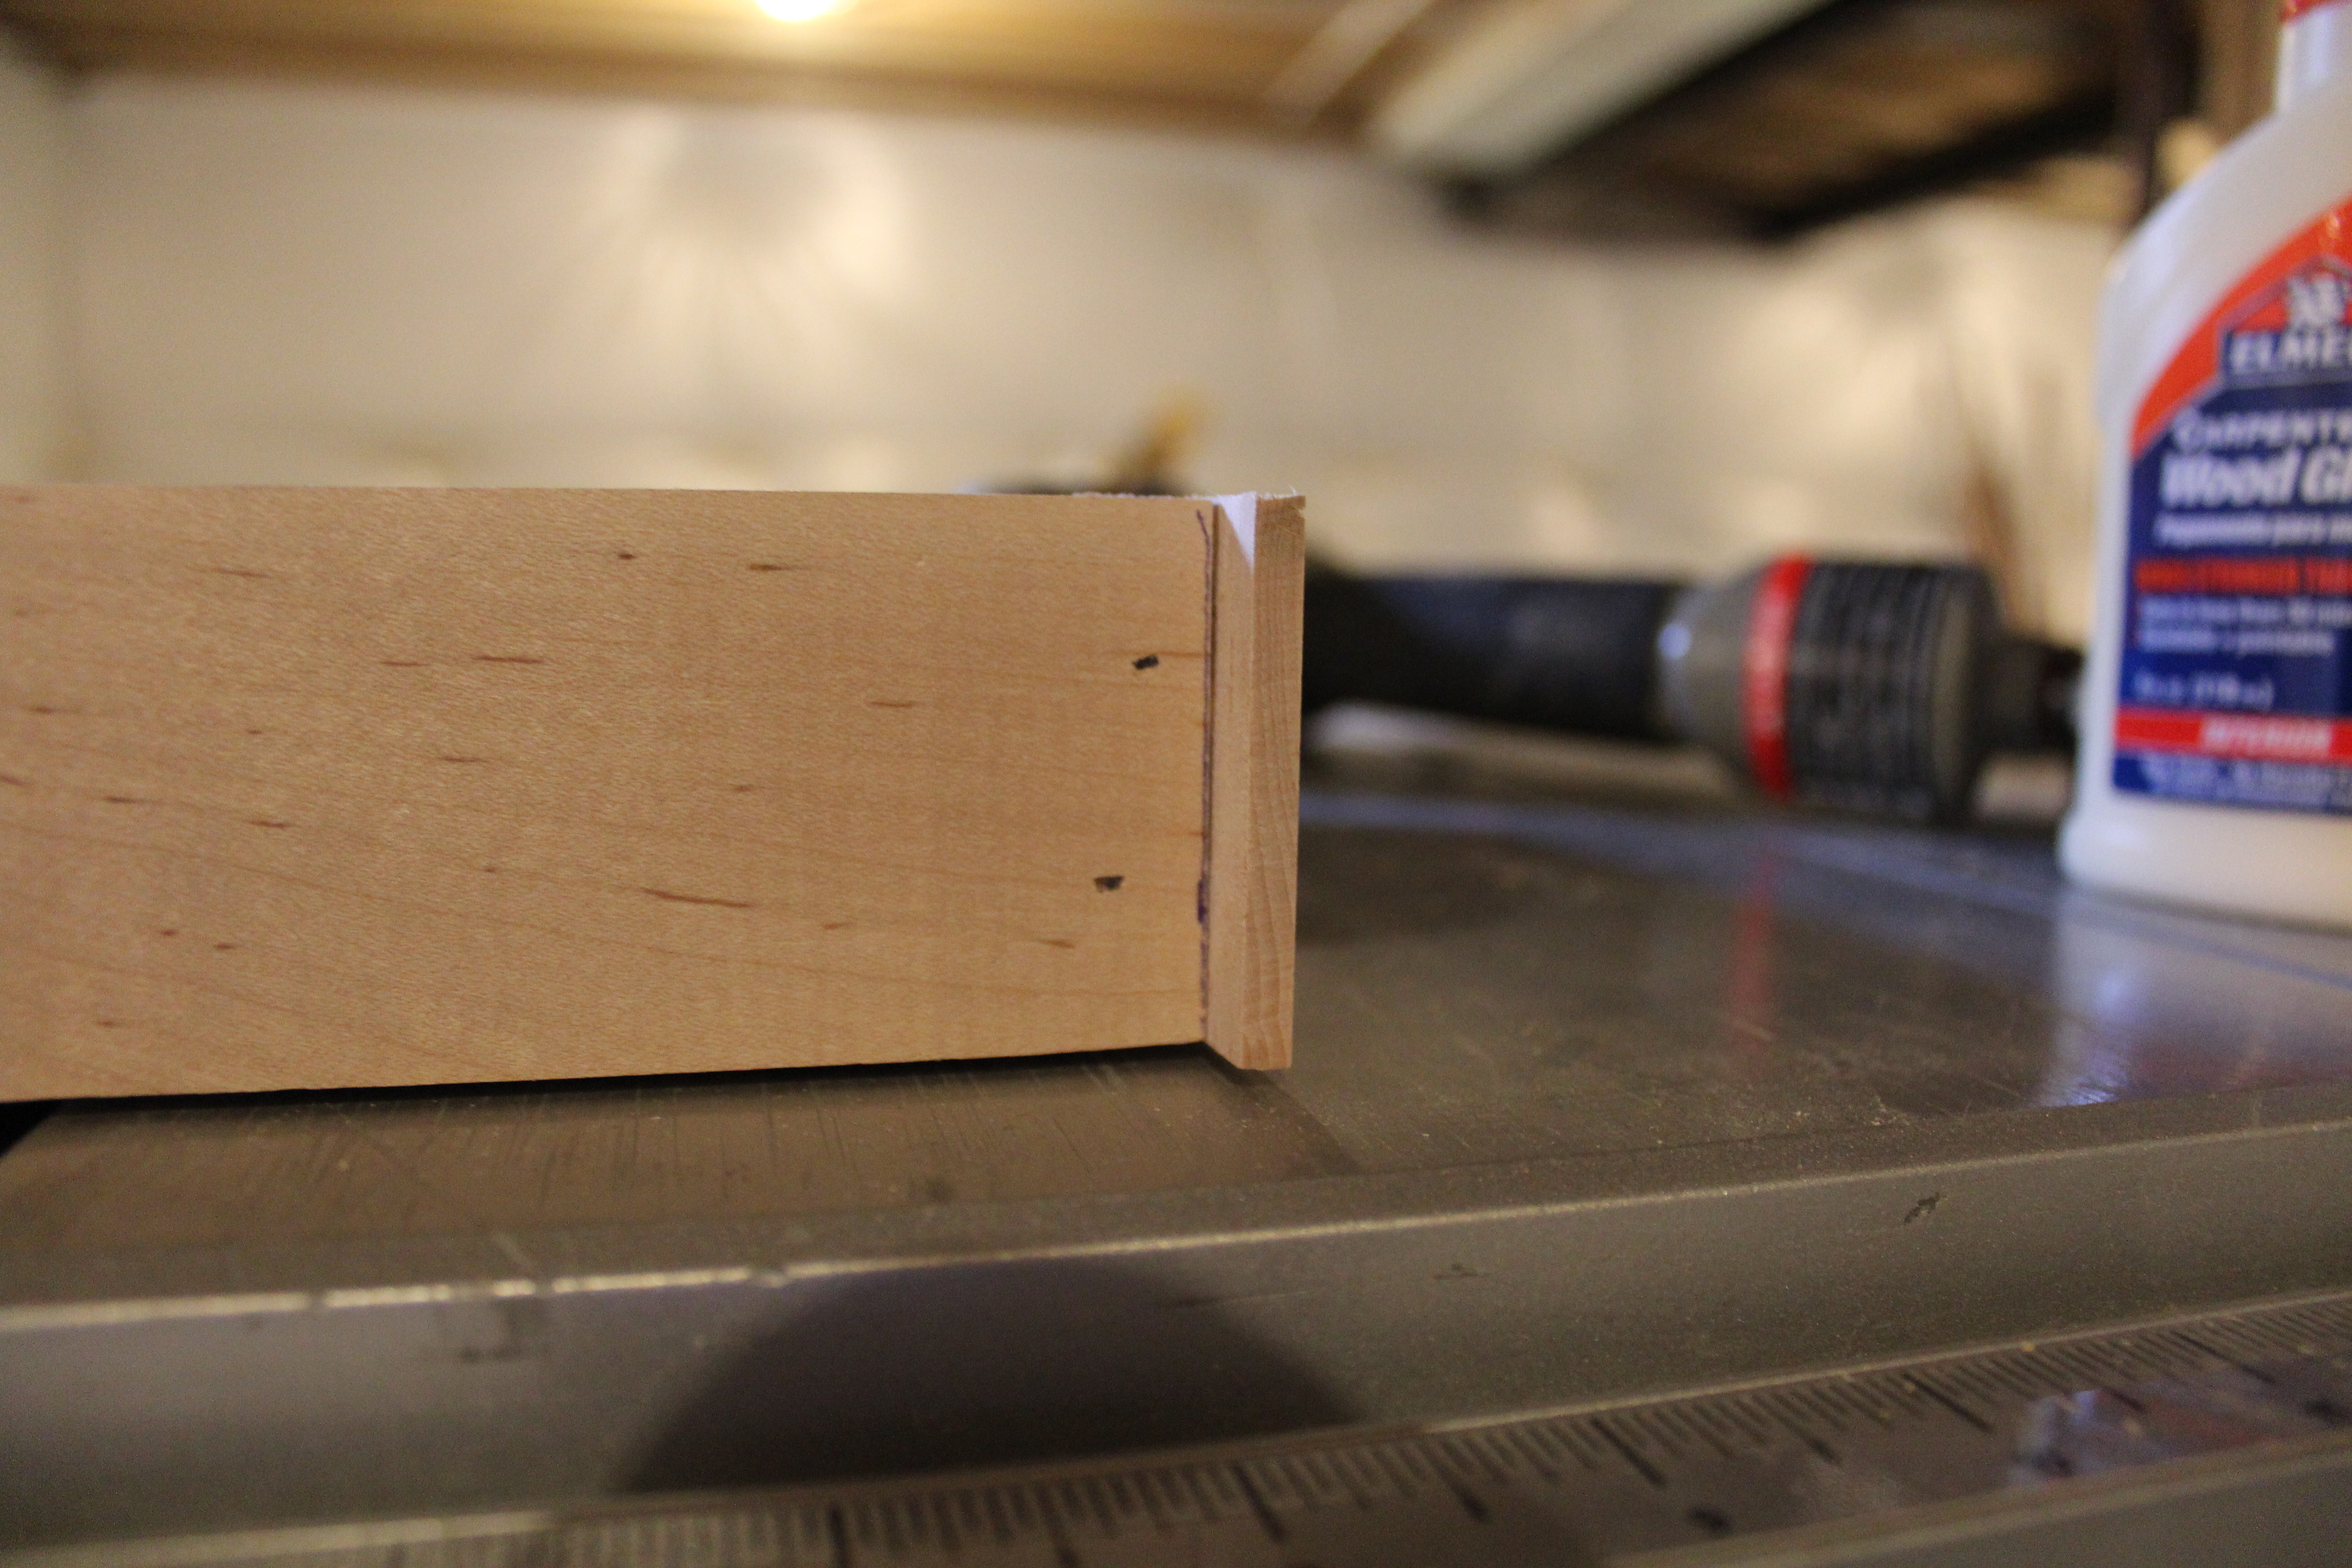
They were good! To assemble them, I’m using wood glue on the joints and then I’ll follow that up with a couple brad nails at each joint. The brad nails I used for this are 3/4″ long. I normally use 1 1/4″ long nails for most projects. You can see the difference in the length below. Anything longer than 3/4″ is probably overkill and it may pop out from the side.
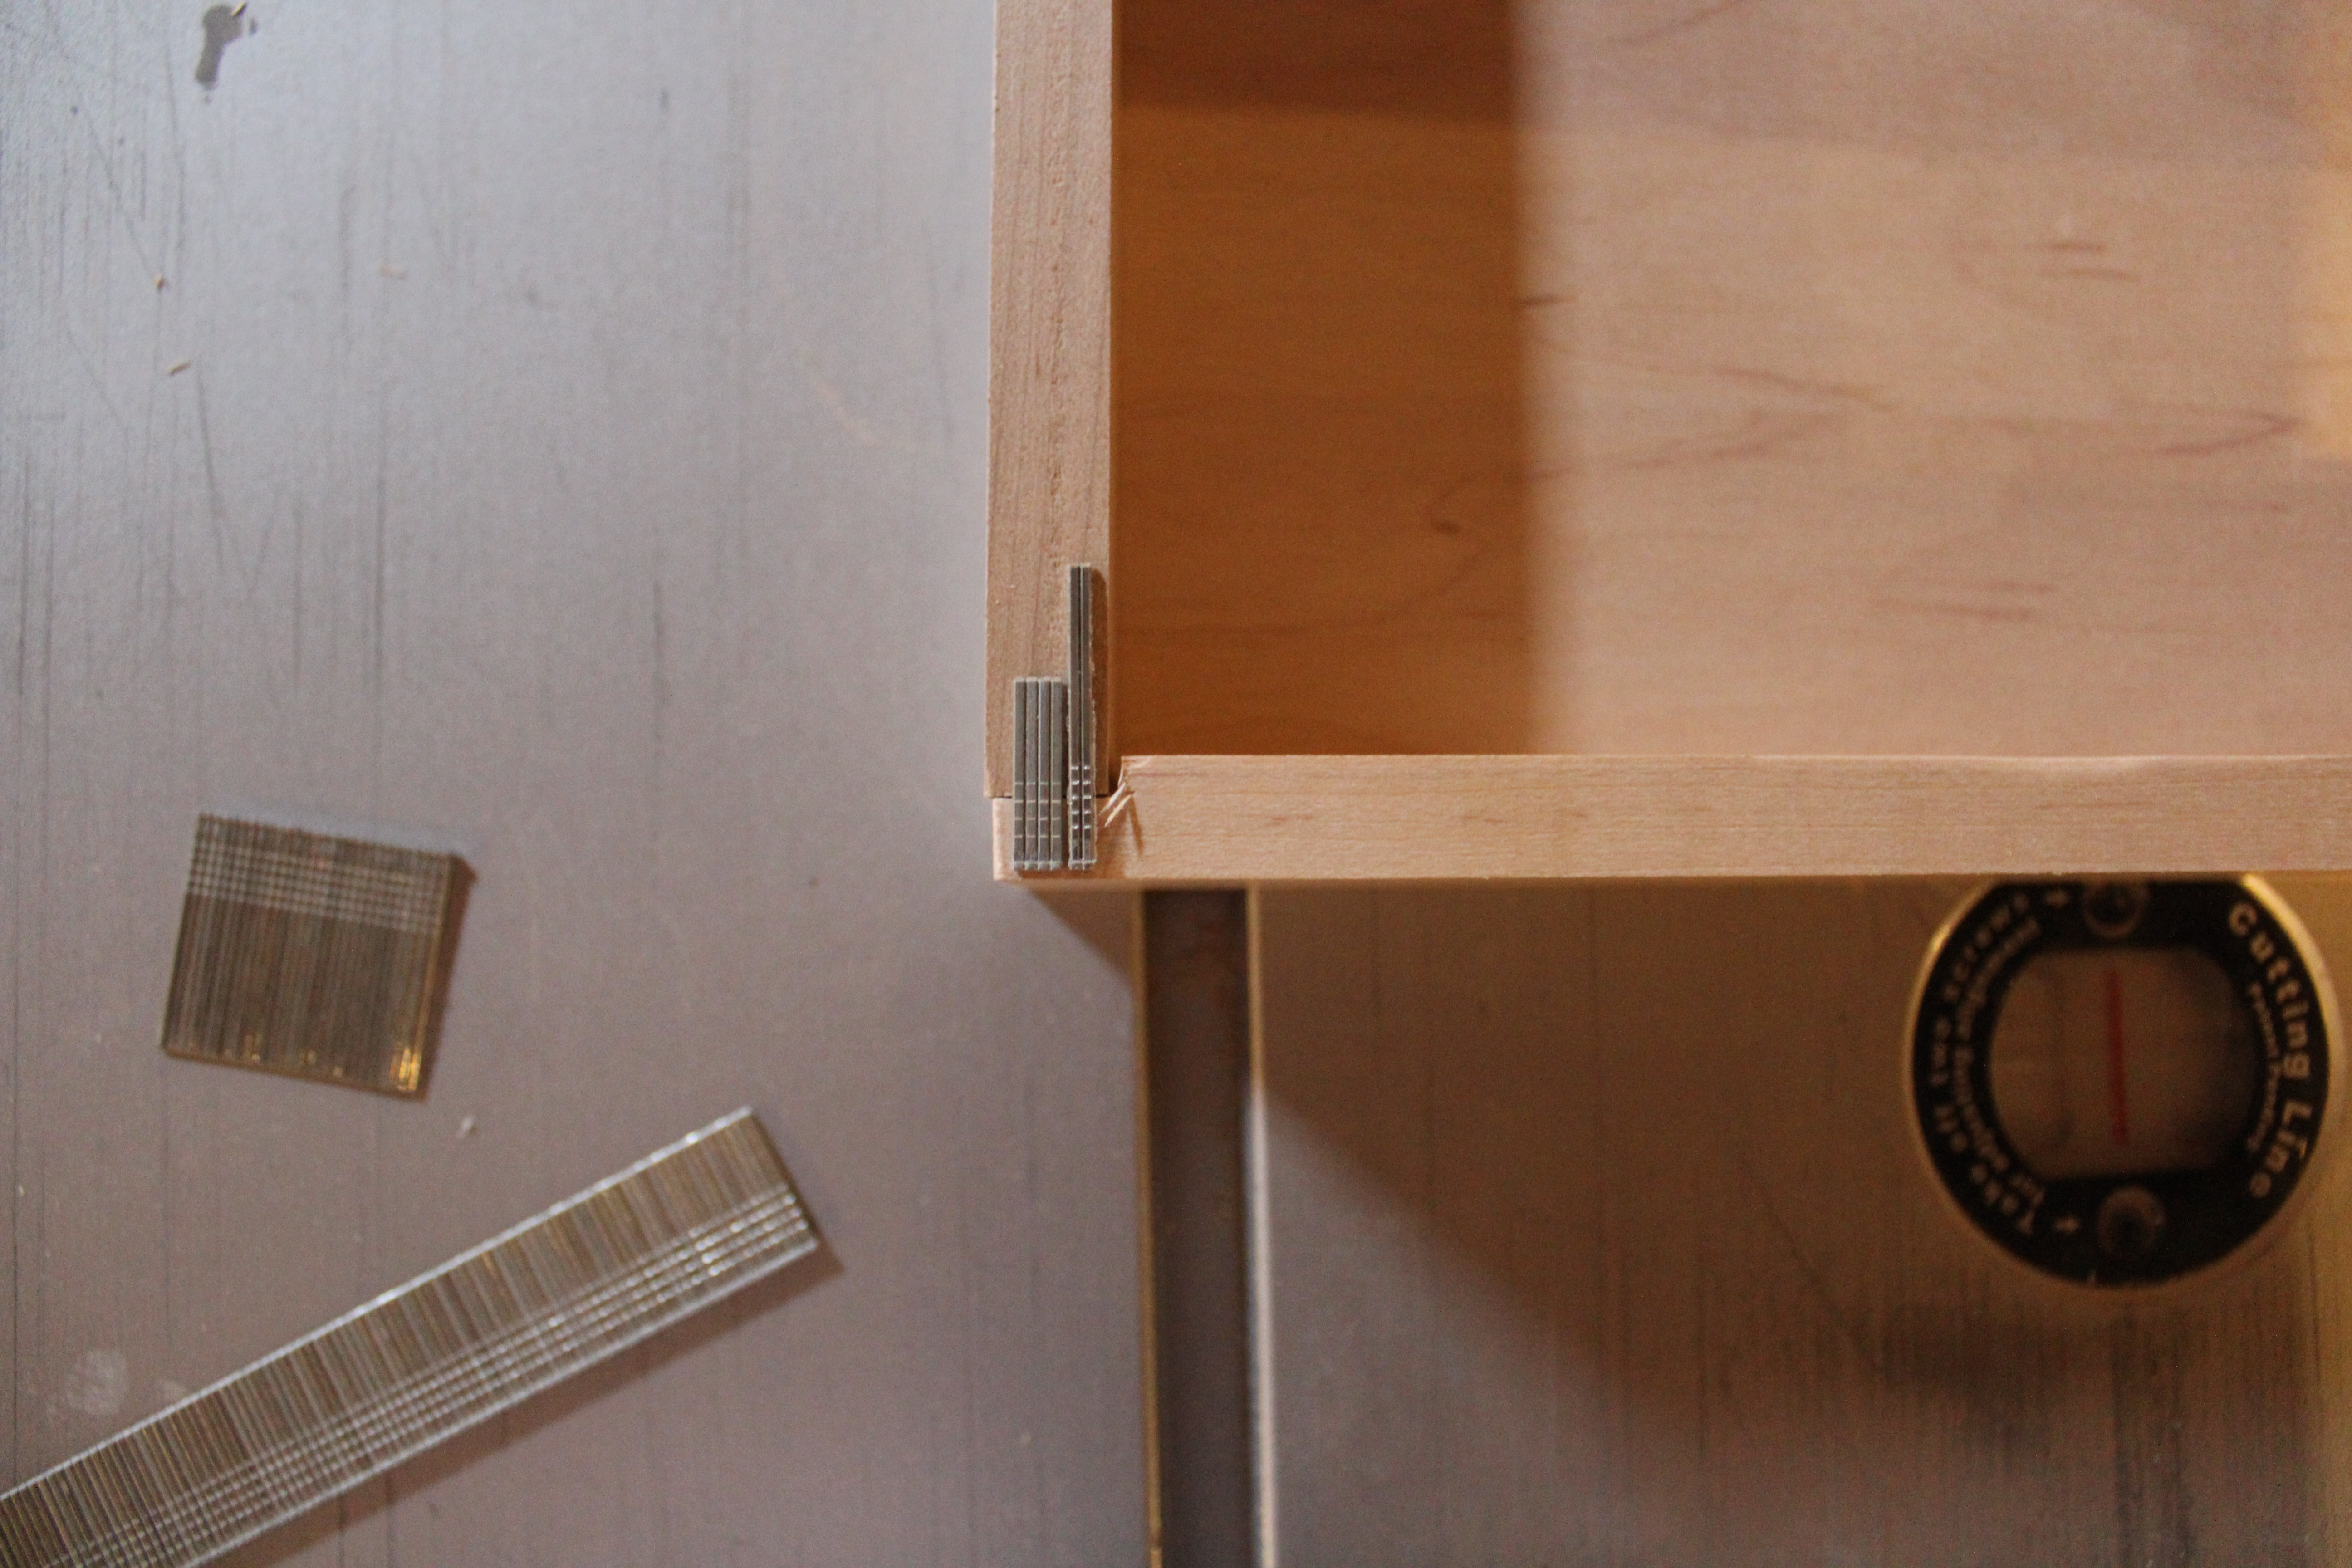
I shot the nails from the side pieces into the front and back, that way they stay relatively hidden. The tracks will cover the bottom nail holes once they’re on.
I had some issues holding the drawers together during this process, so I used clamps. It’s like an extra set of hands. Once I got my nails in, I took off the clamps. The nails basically hold the drawers together until the glue dries and the clamp just holds them until I get the nails in.
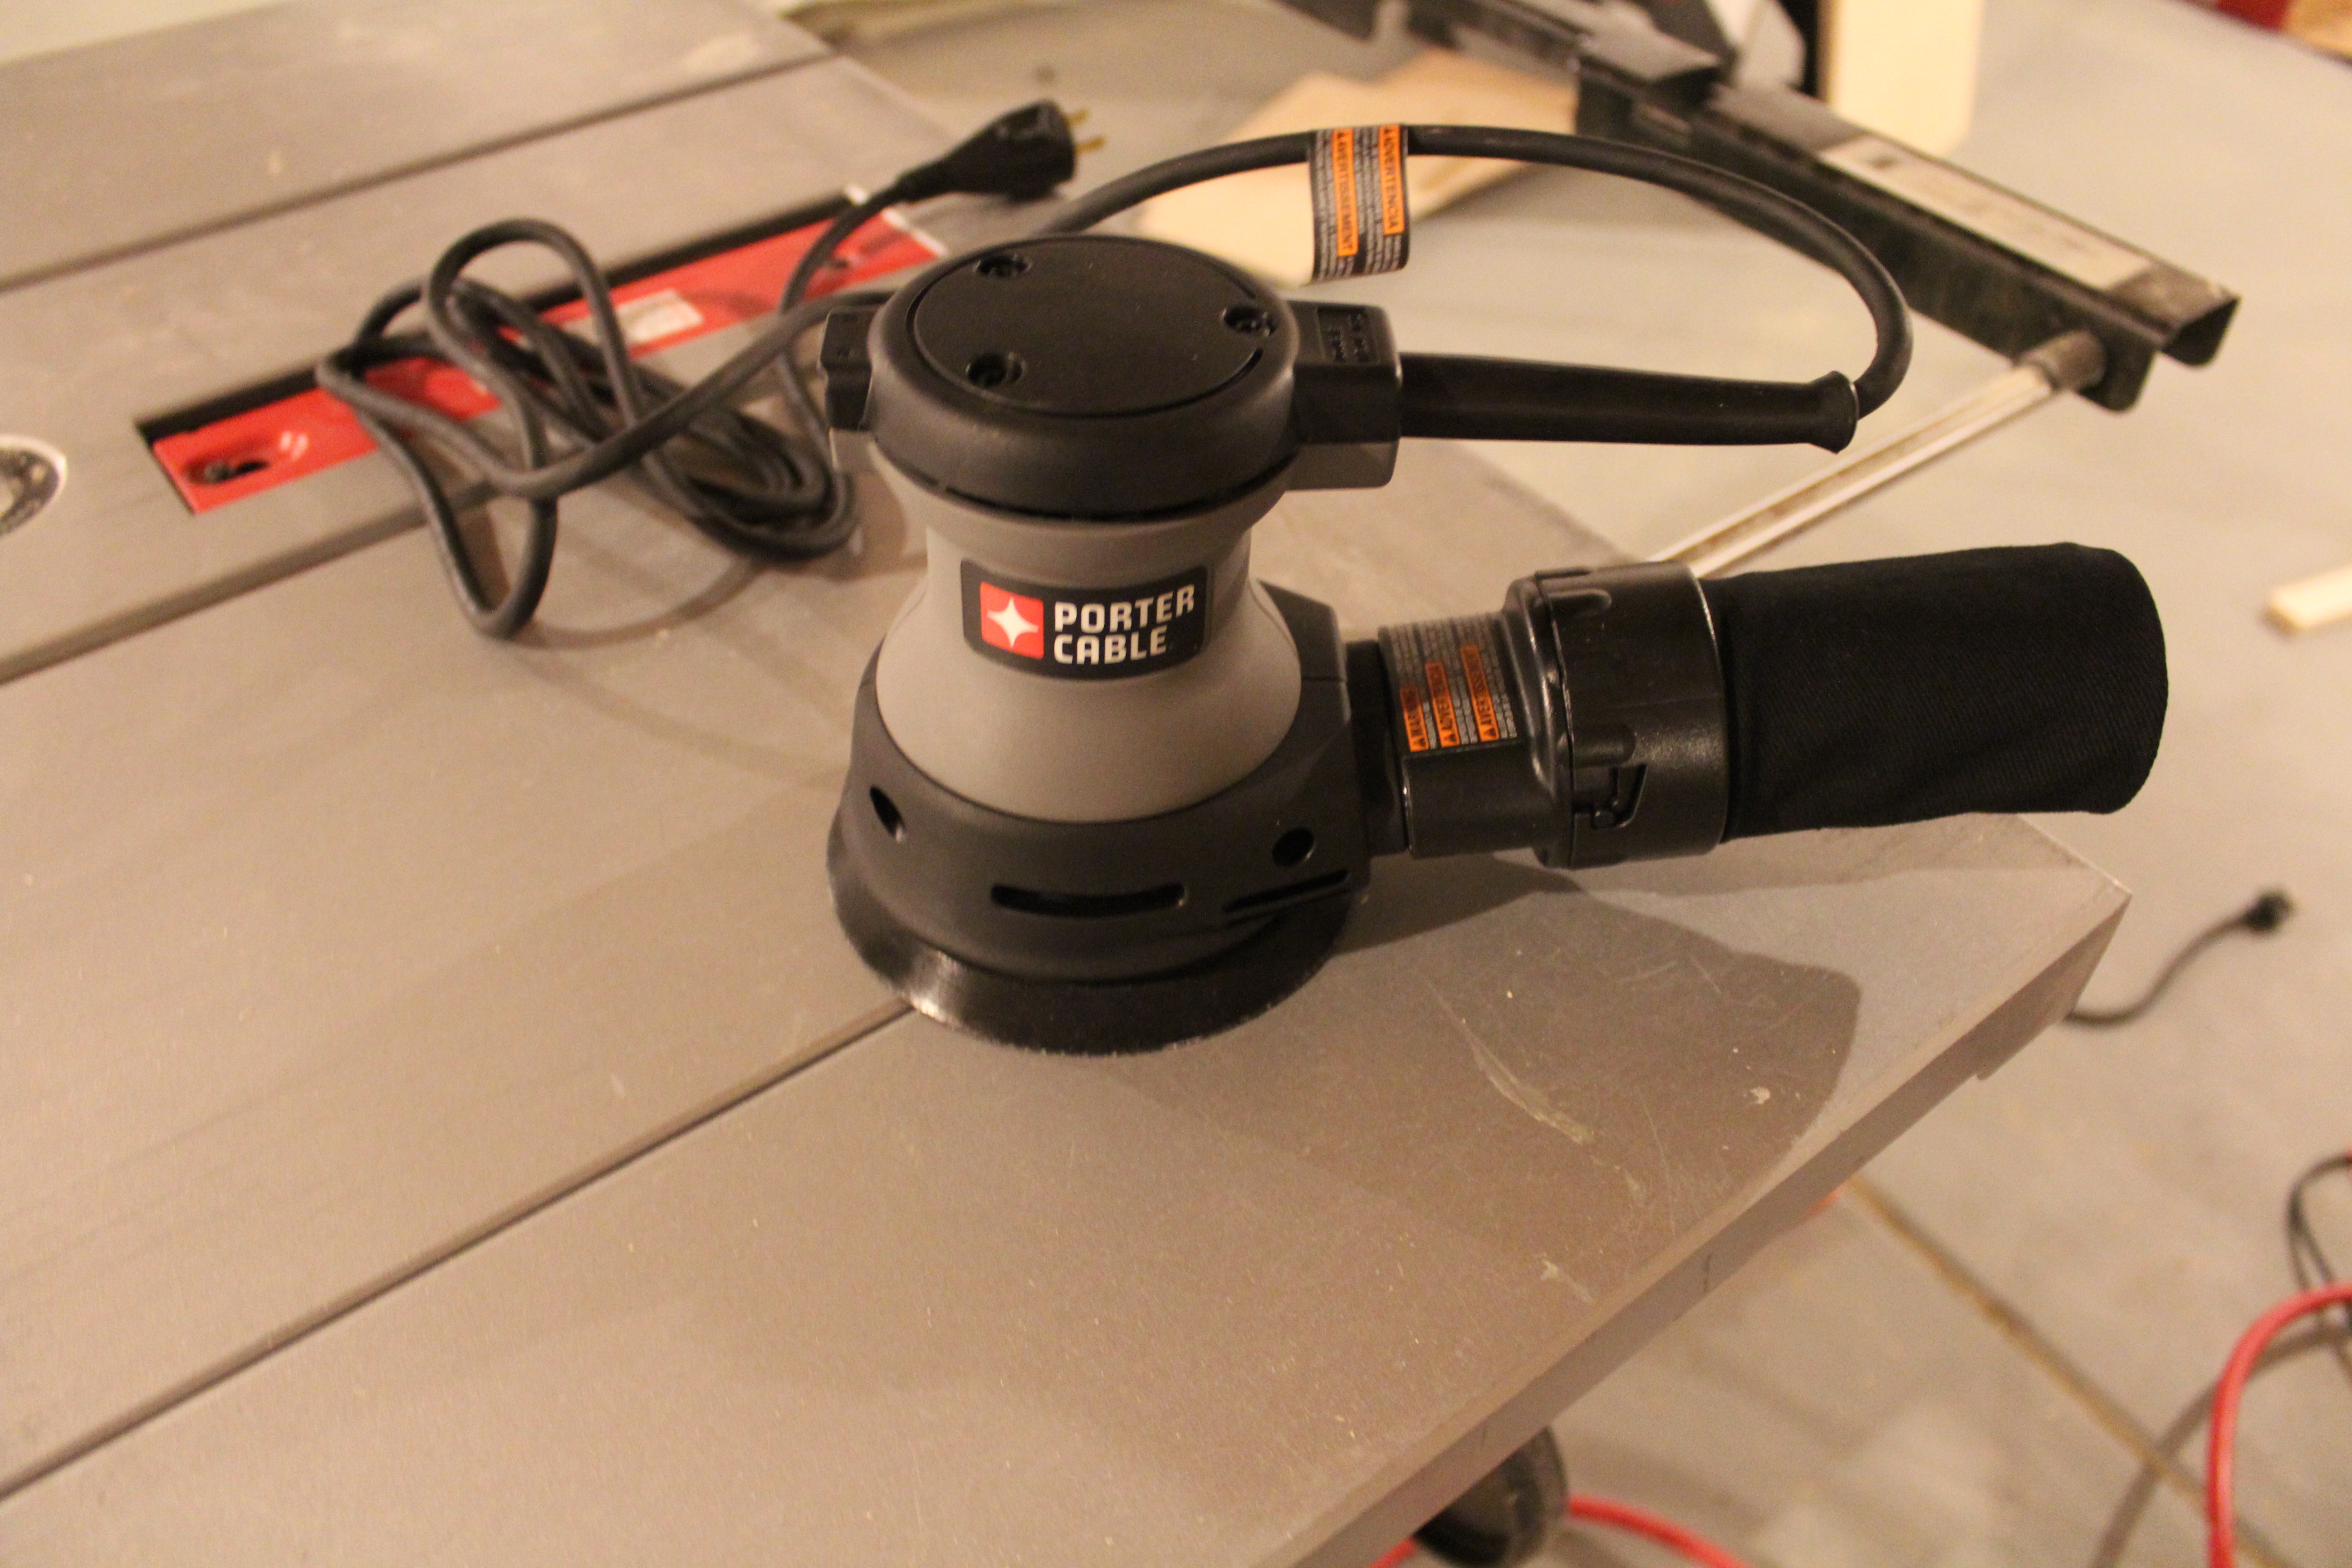
After letting the glue set up over night, it was time to sand them. I used a random orbital sander for this job. I started with a 100 grit paper and then switched to a 220 grit to wrap it up. I tried to round over most of the corners slightly to make it more comfortable to hold. I didn’t sand the plywood at all. I’m always afraid of tearing through the laminations. It was also the perfect time to actually buy a new sander!! My old one died after I accidentally sanded over an exposed nail. Apparently, that’s not good for it!
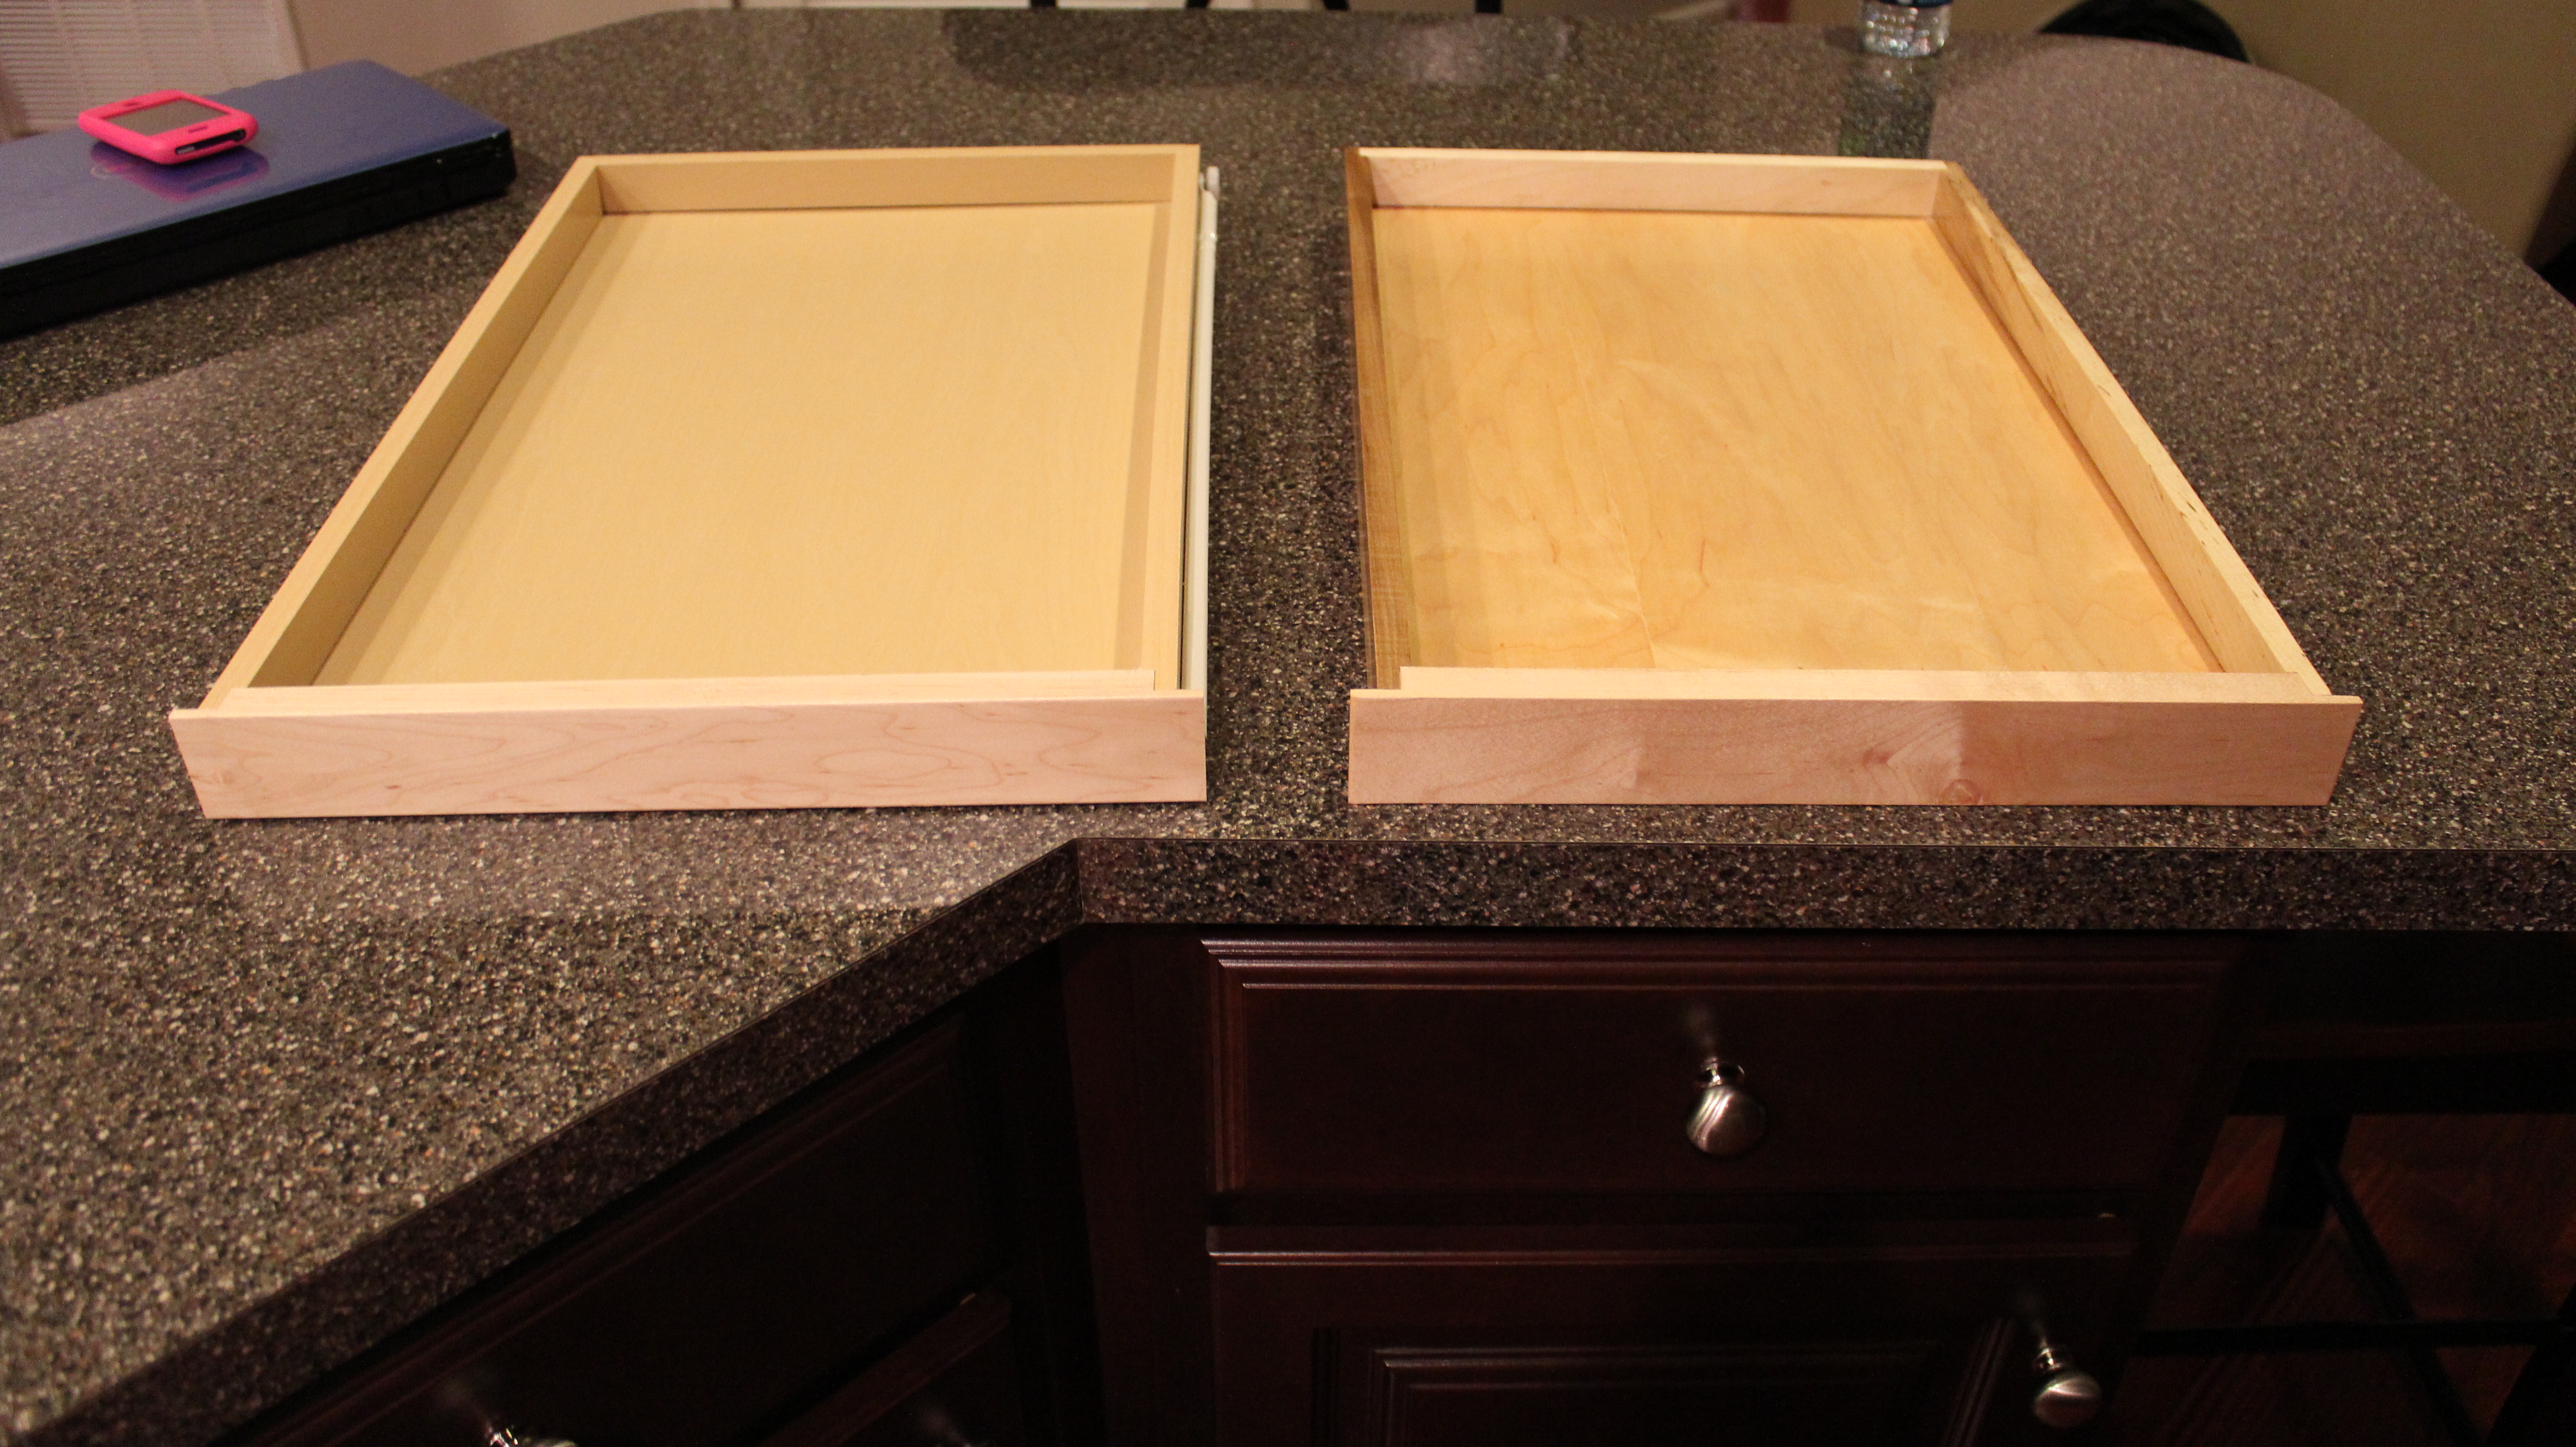
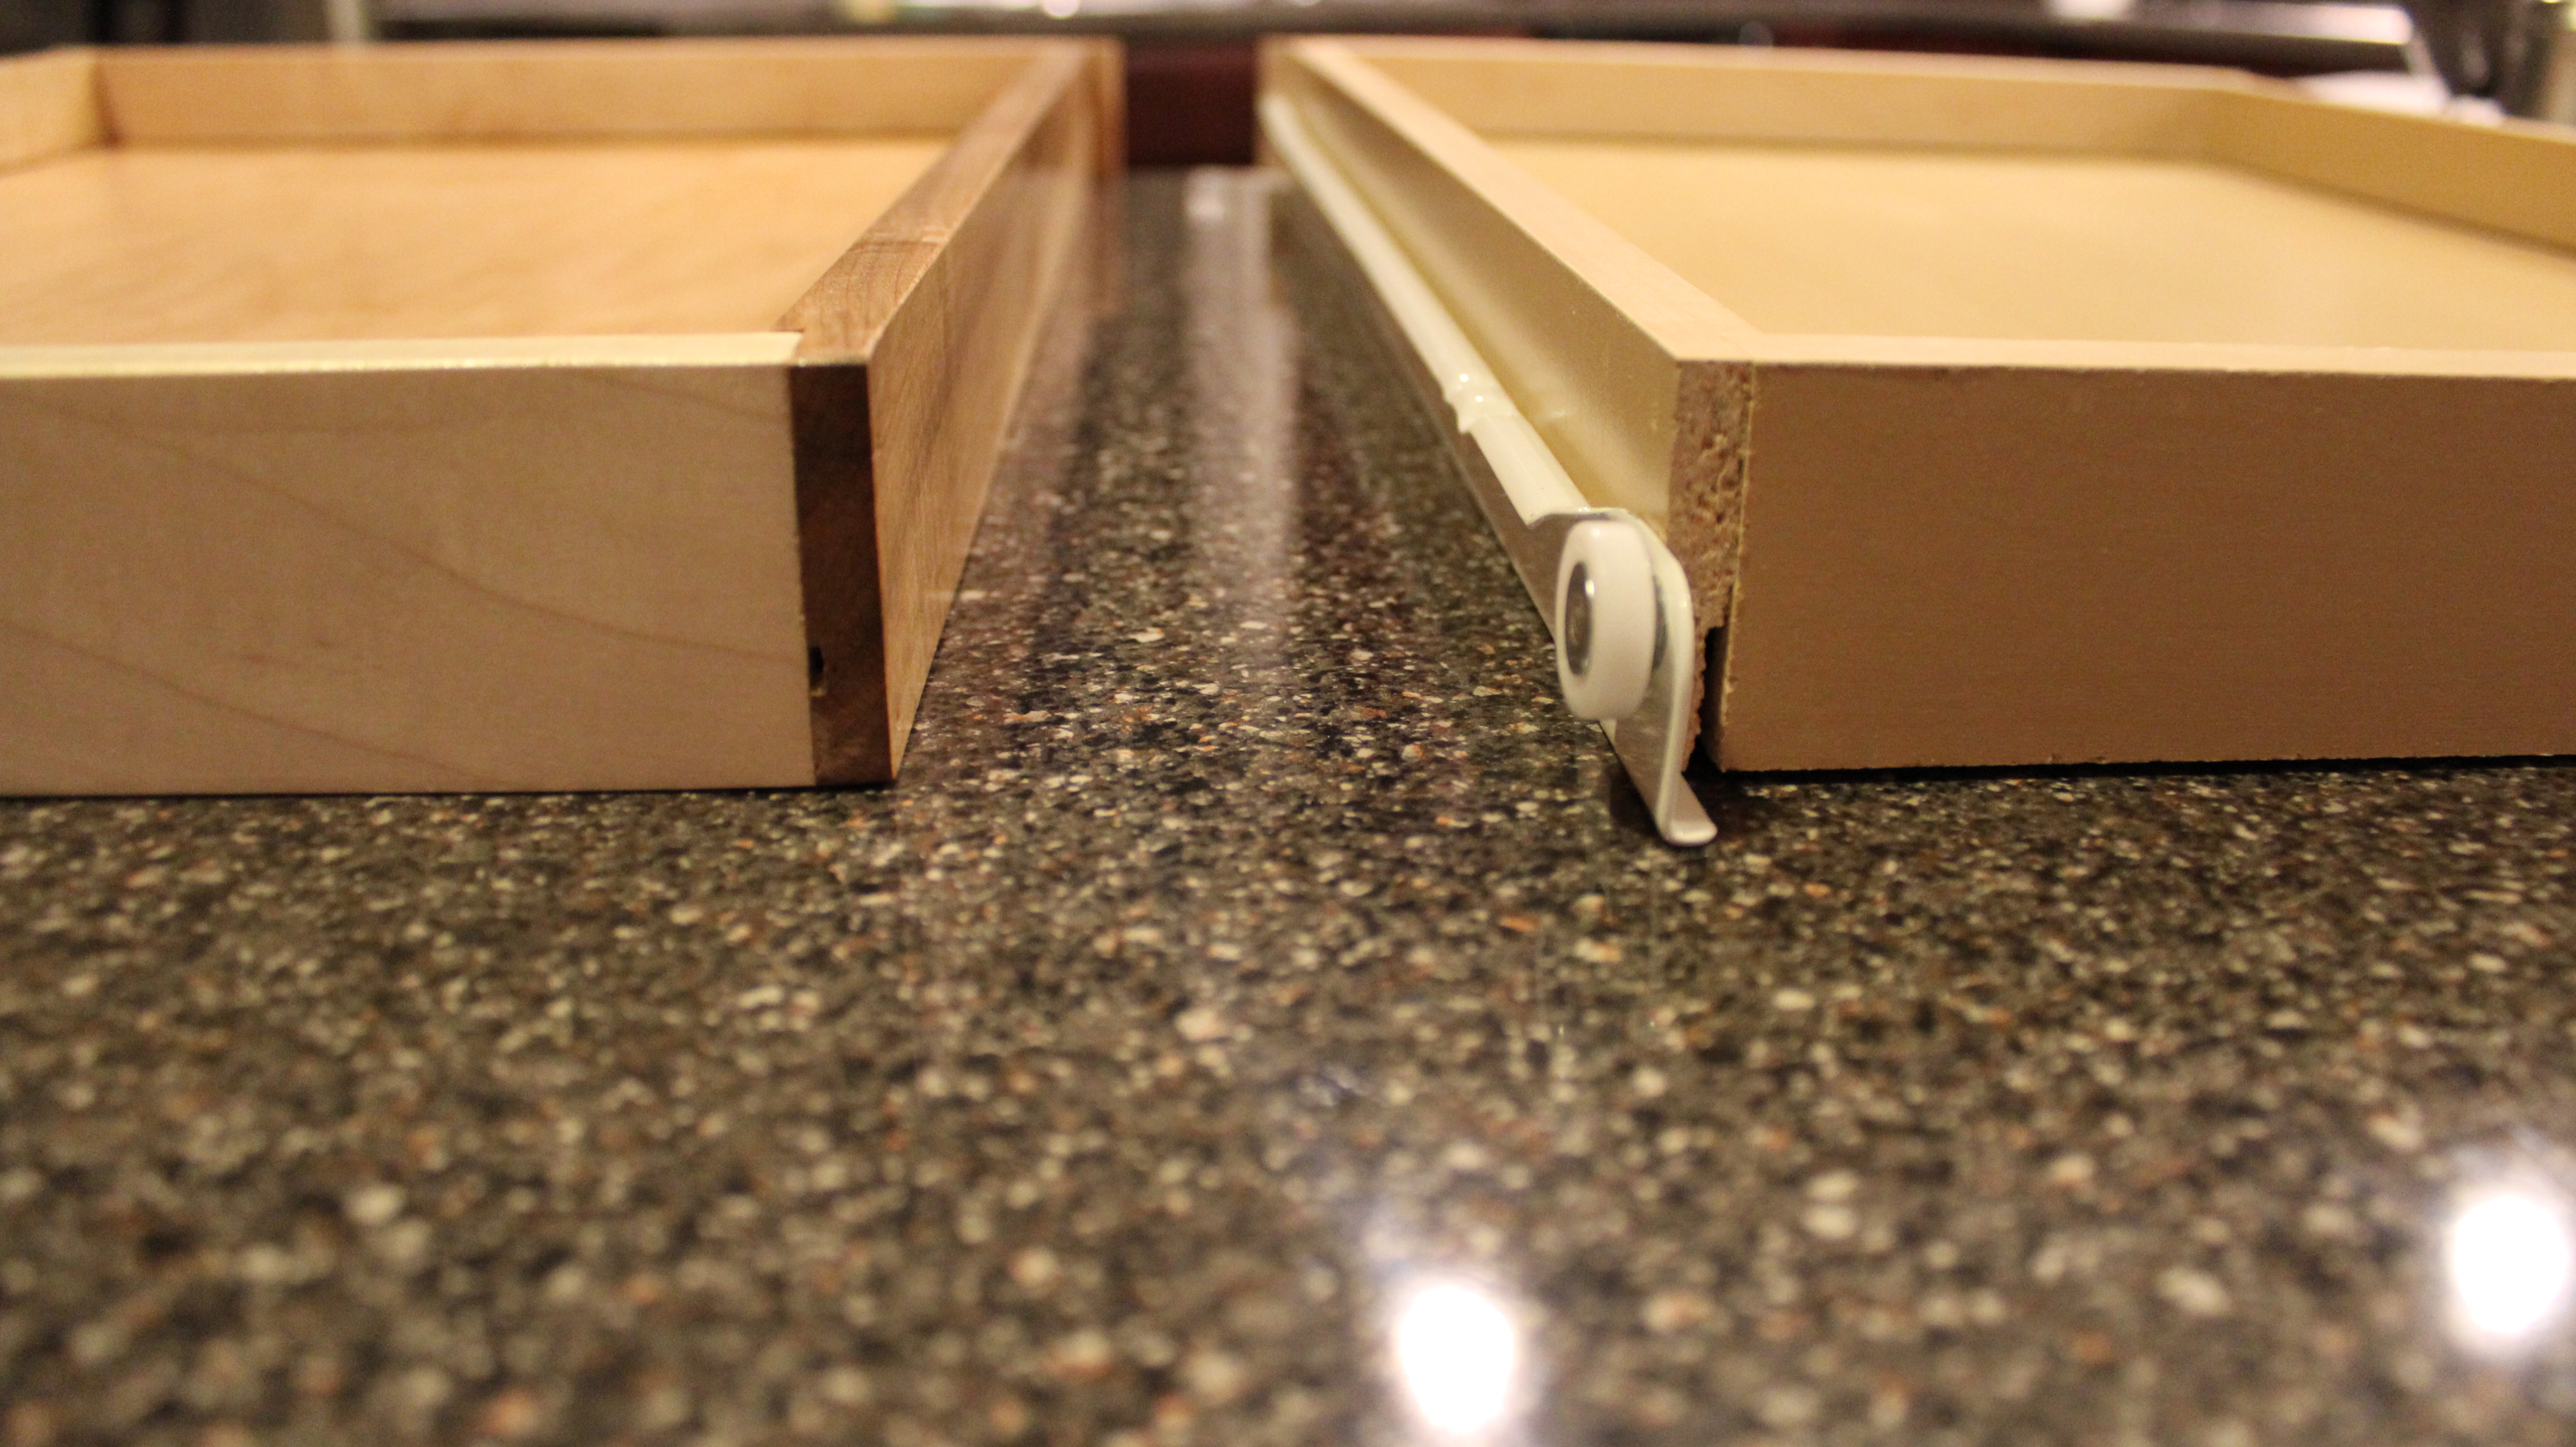
So after three coats of polyurethane. They’re all done. To show you how they look compared to the ones in the cabinet, I’ve done some side by side photos. My drawer is on the right. One thing I notice is the builder grade unit is actually mostly particle board except for the front board. That particle board has a perfect laminate cover that makes the entire piece one even color. My drawer is mostly hard maple and has a lot of natural color variation. Because we’re using that hardwood, it should hold up better over time compared to the particle board.
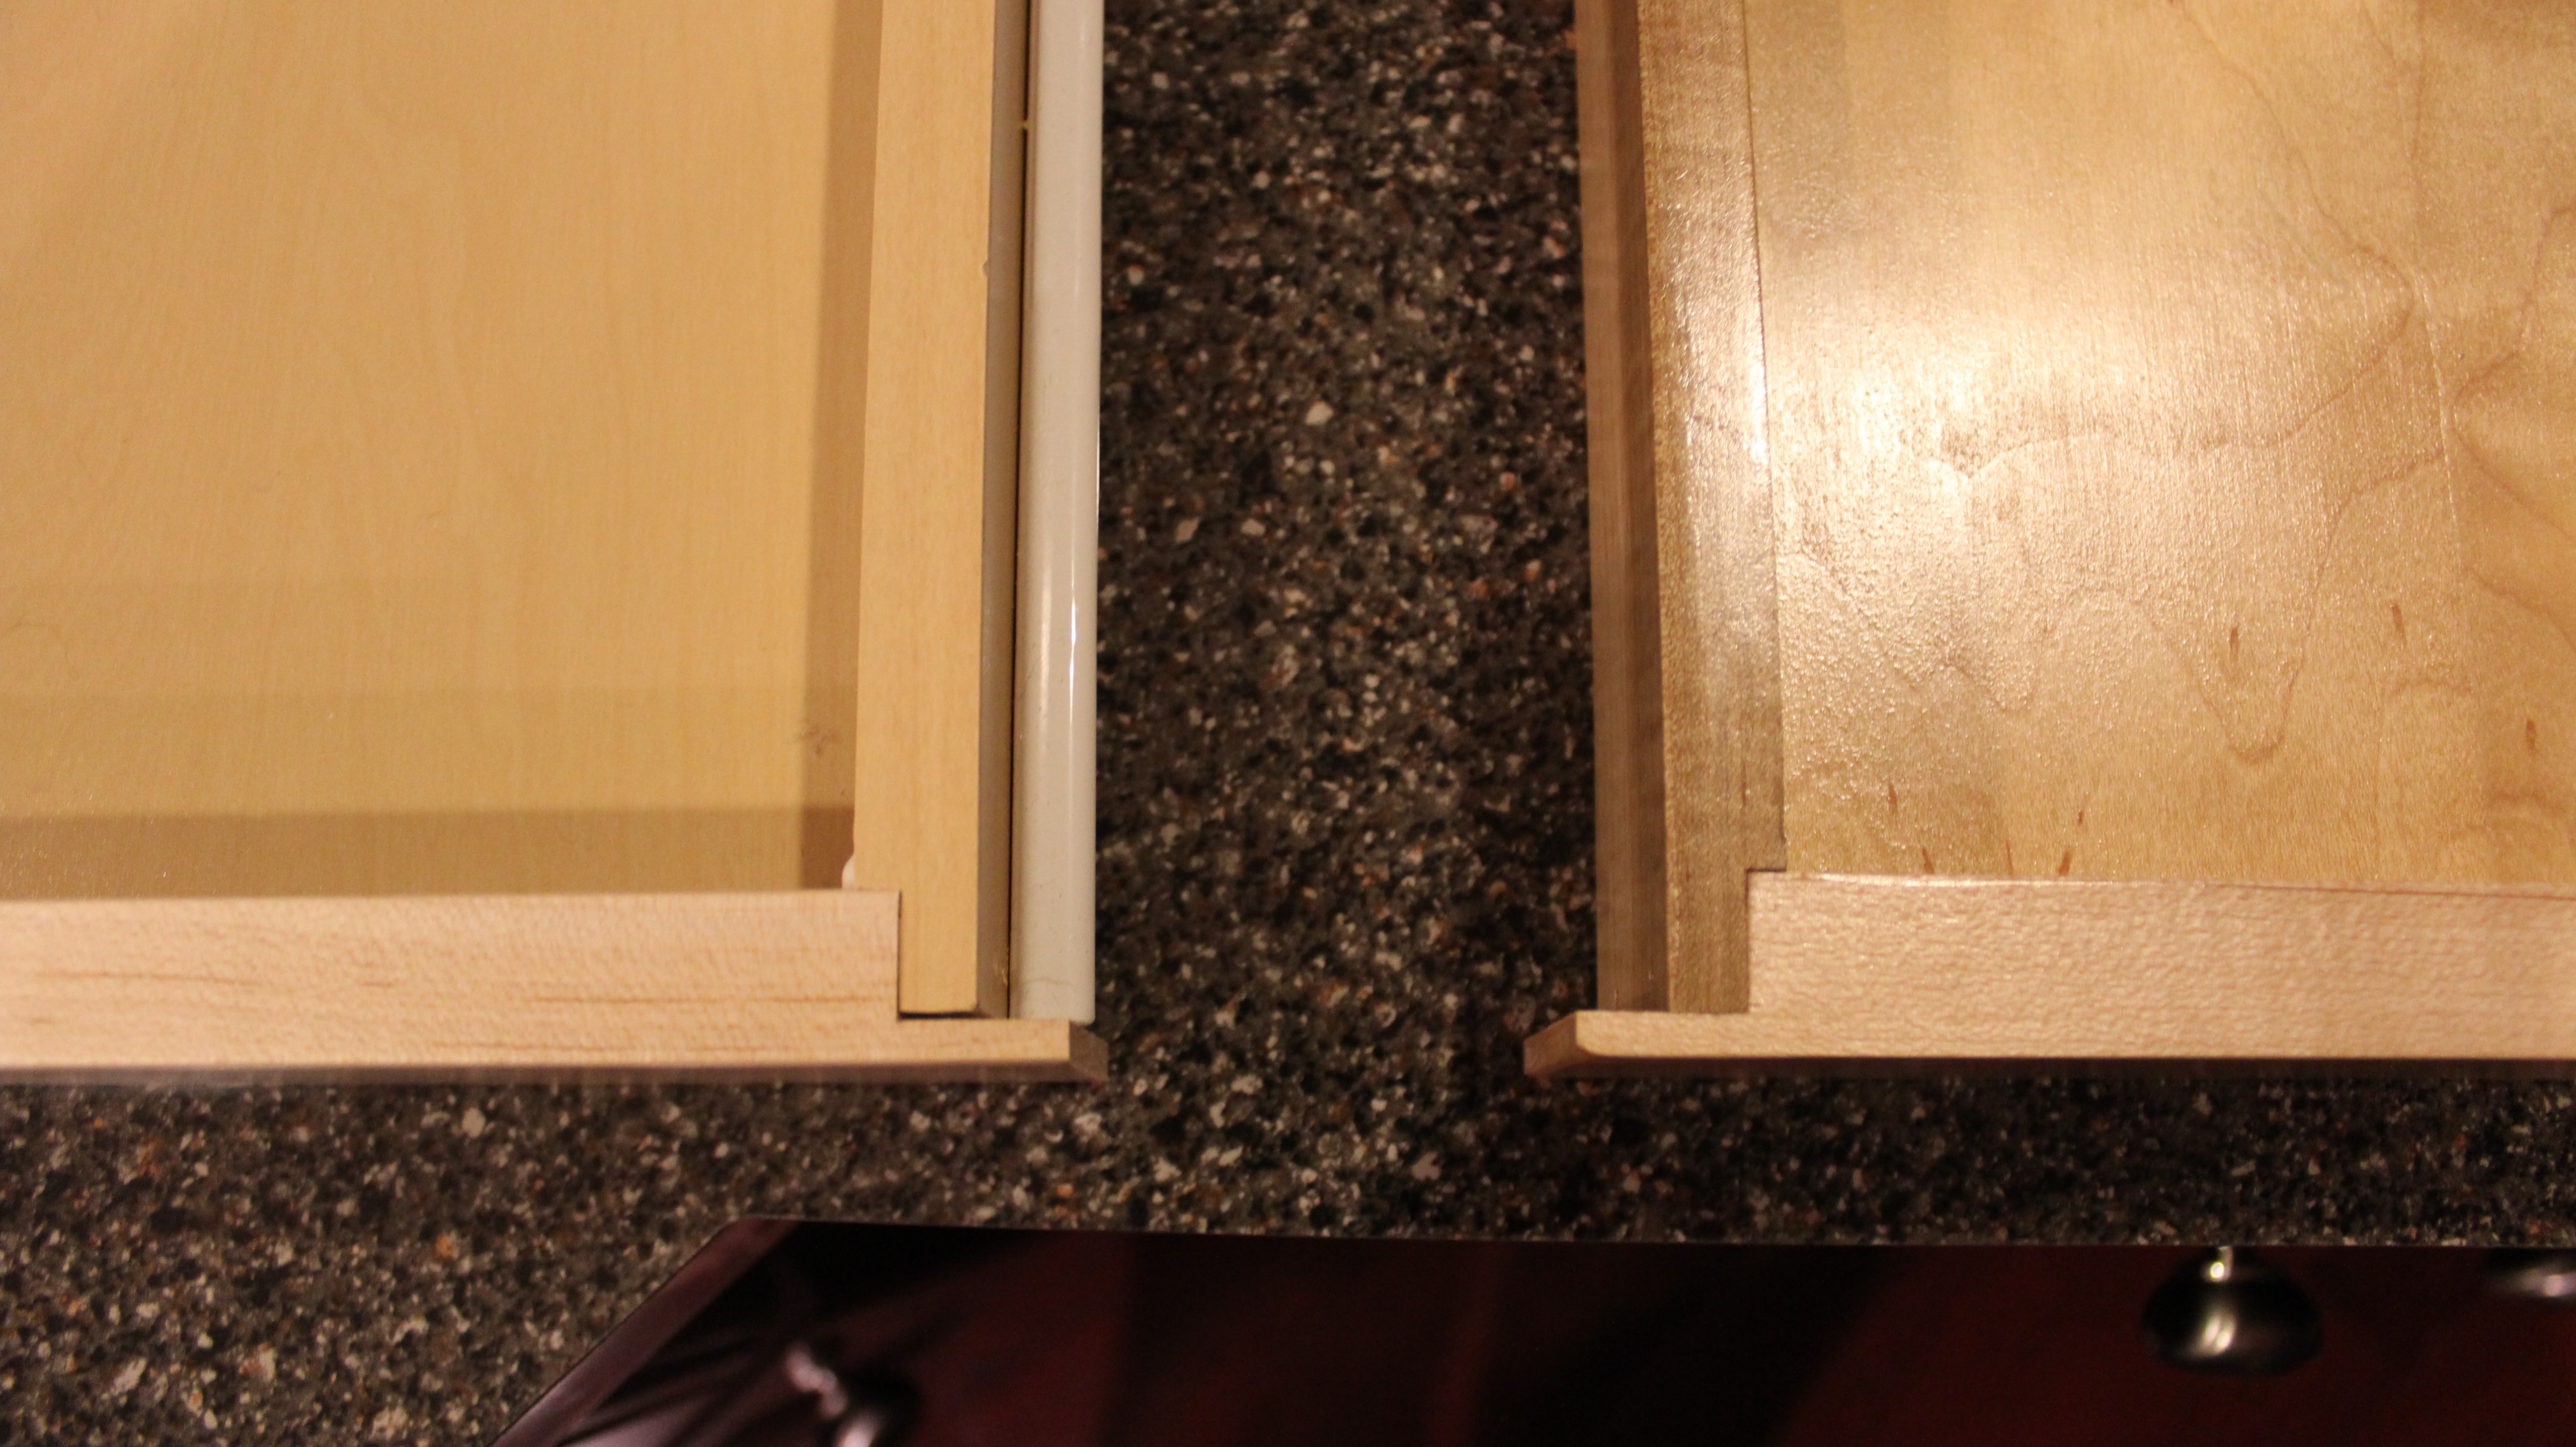
In this photo, you can see my joint compared to the builder joint. Actually, my joint looks a little tighter!! Woot woot!! BUT, my poly job could use some improvement. If I had to do this again, I might have sprayed the poly on, like I did in the bedside table post.
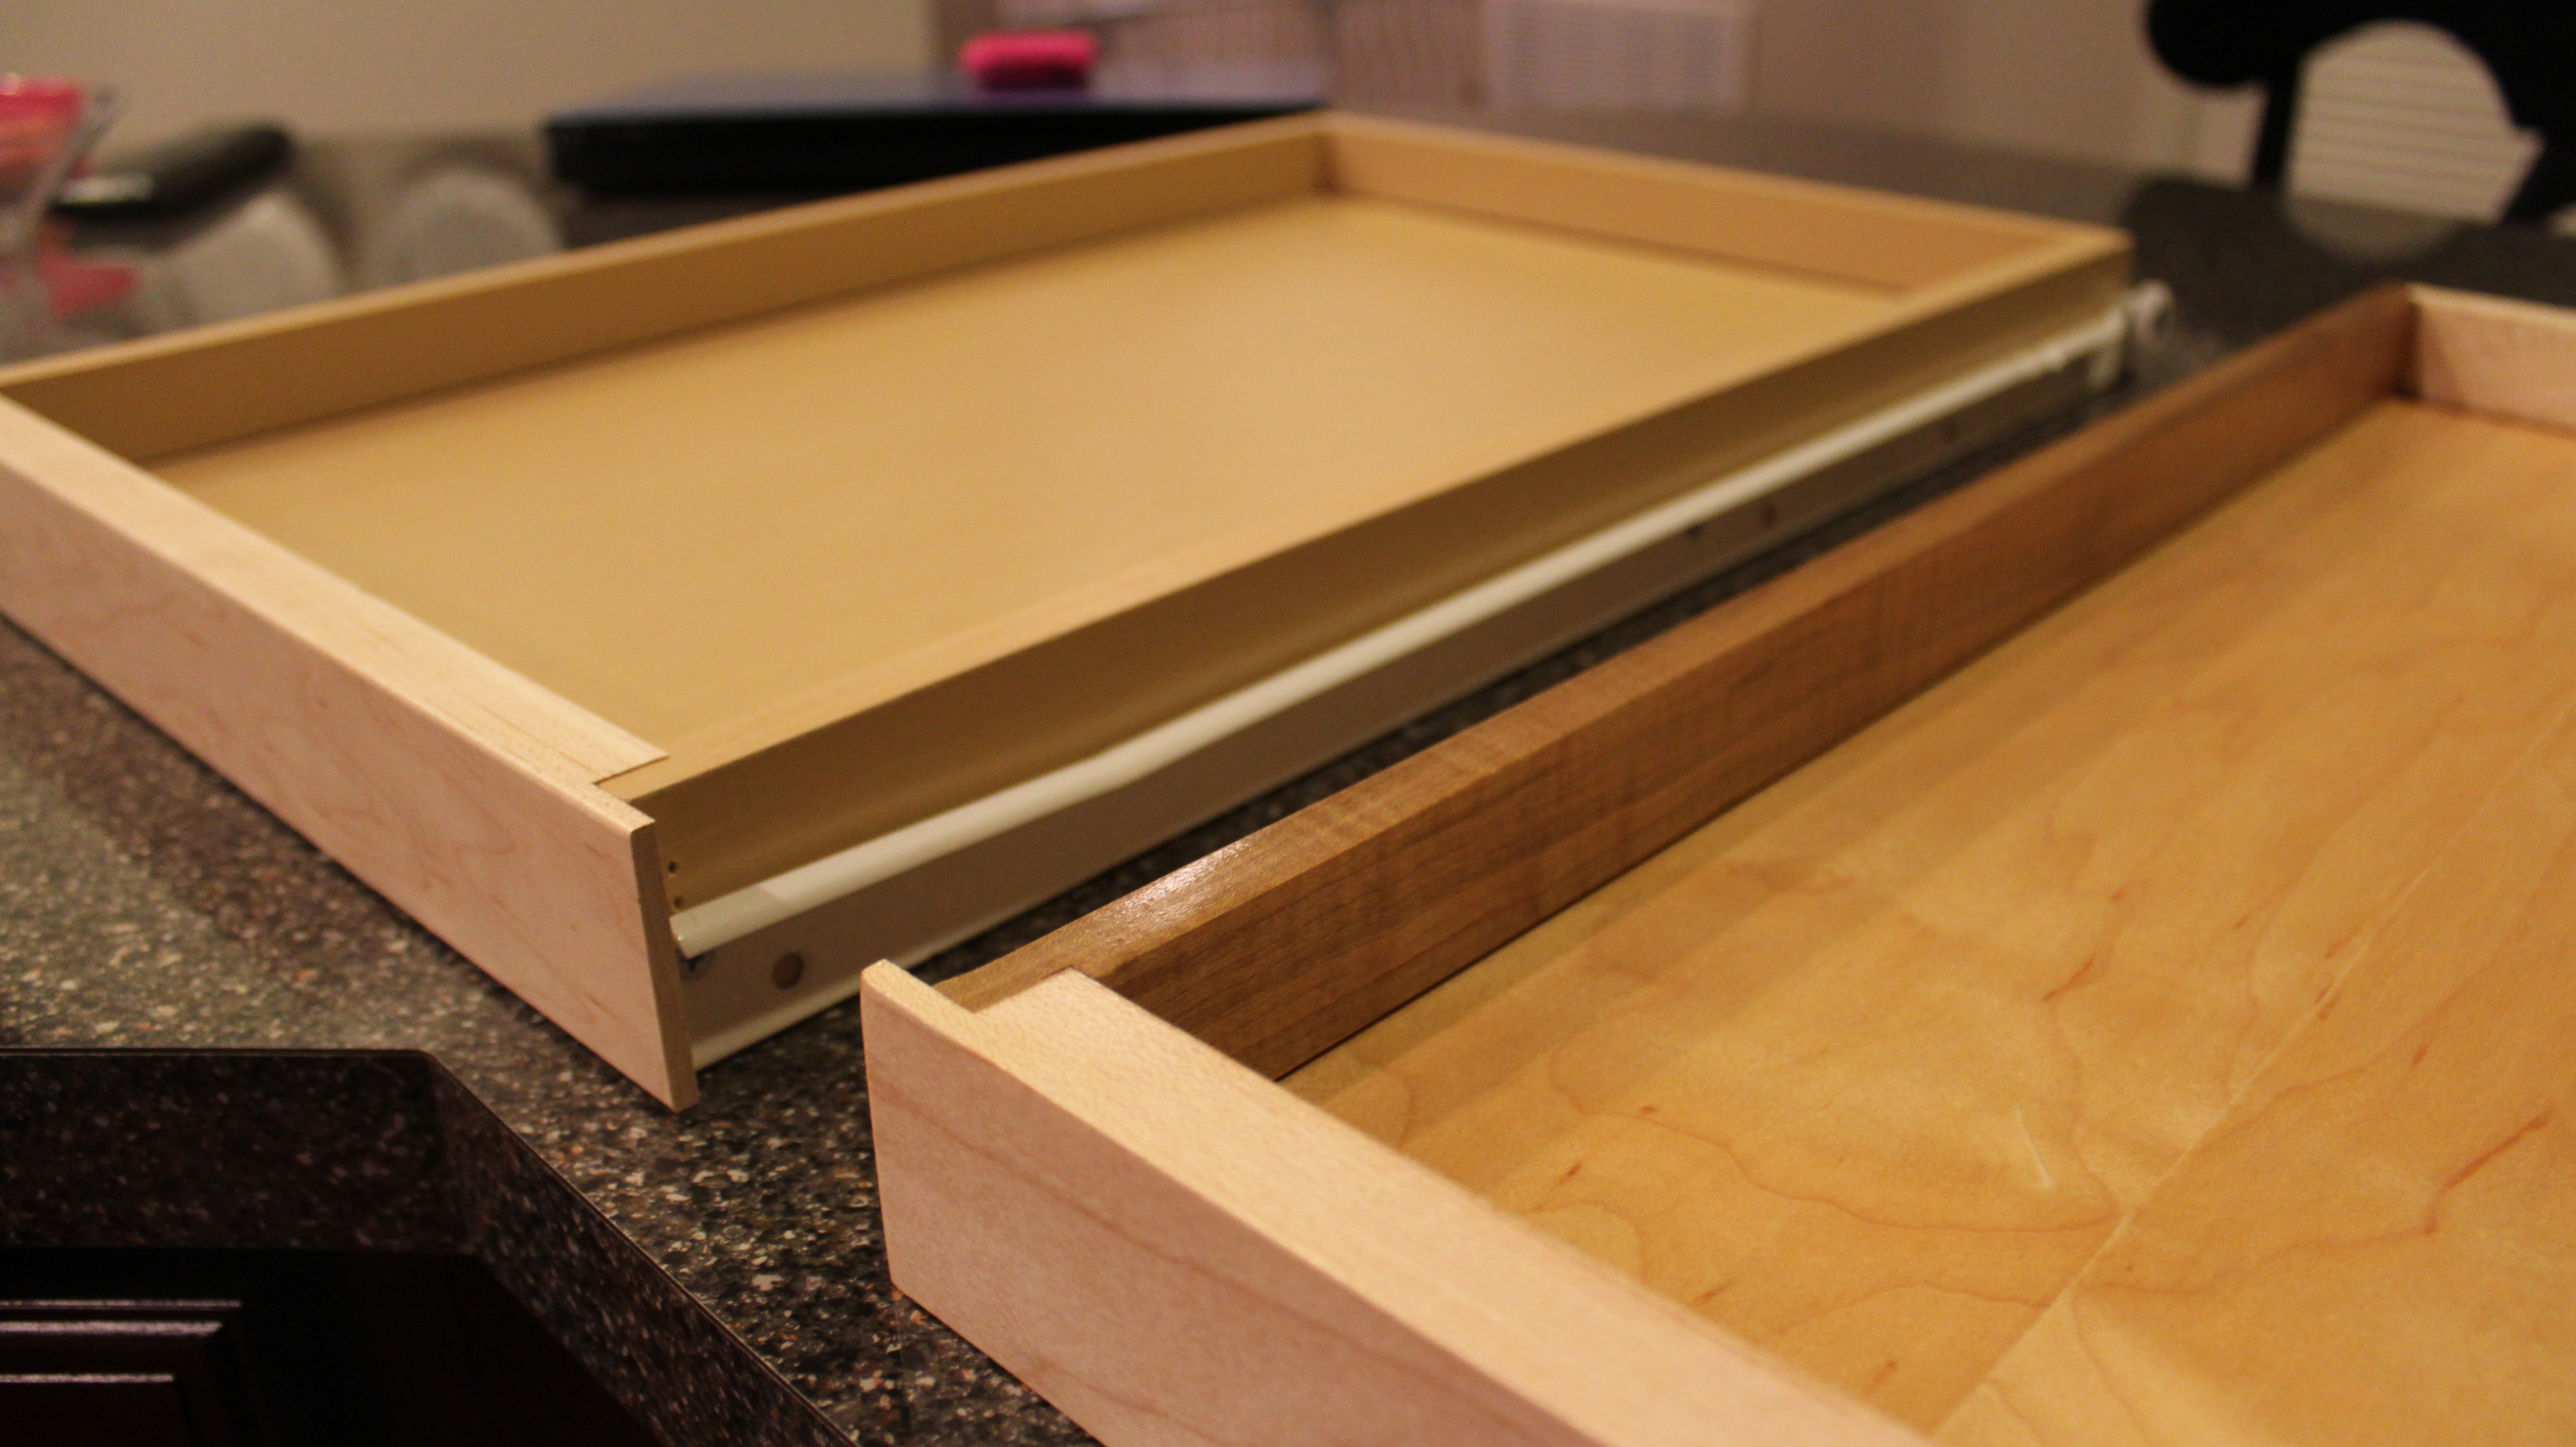
Here’s a shot of the back…
So, hopefully in a couple days, we’ll be putting these drawers in!! Stick around and we’ll show you how we do that! How was your weekend? Wrap up any projects??


