Well this project sure feels like it’s dragging on a bit!! It really shouldn’t take this long to finish, but between work trips, booked up weekends and normal parent-life activities it’s hanging around a little longer than I’d like. But that’s okay! I would like to stress that if you have a free weekend, you could easily knock this entire project out in a few hours. I think in total I’ve invested nearly three hours worth of work with about another hour or so to go.
In my last post on sliding drawers, I machined the rabbits in the end of the side and front pieces. I did those using my normal 10″ table saw blade. This time around, I’ve switched to a dado blade set. If you’re not familiar with dado blades, they’re nothing but multiple blades sold together than you put on the saw to make the cut wider. I decent set from Freud will run you under $100. Here’s my set..
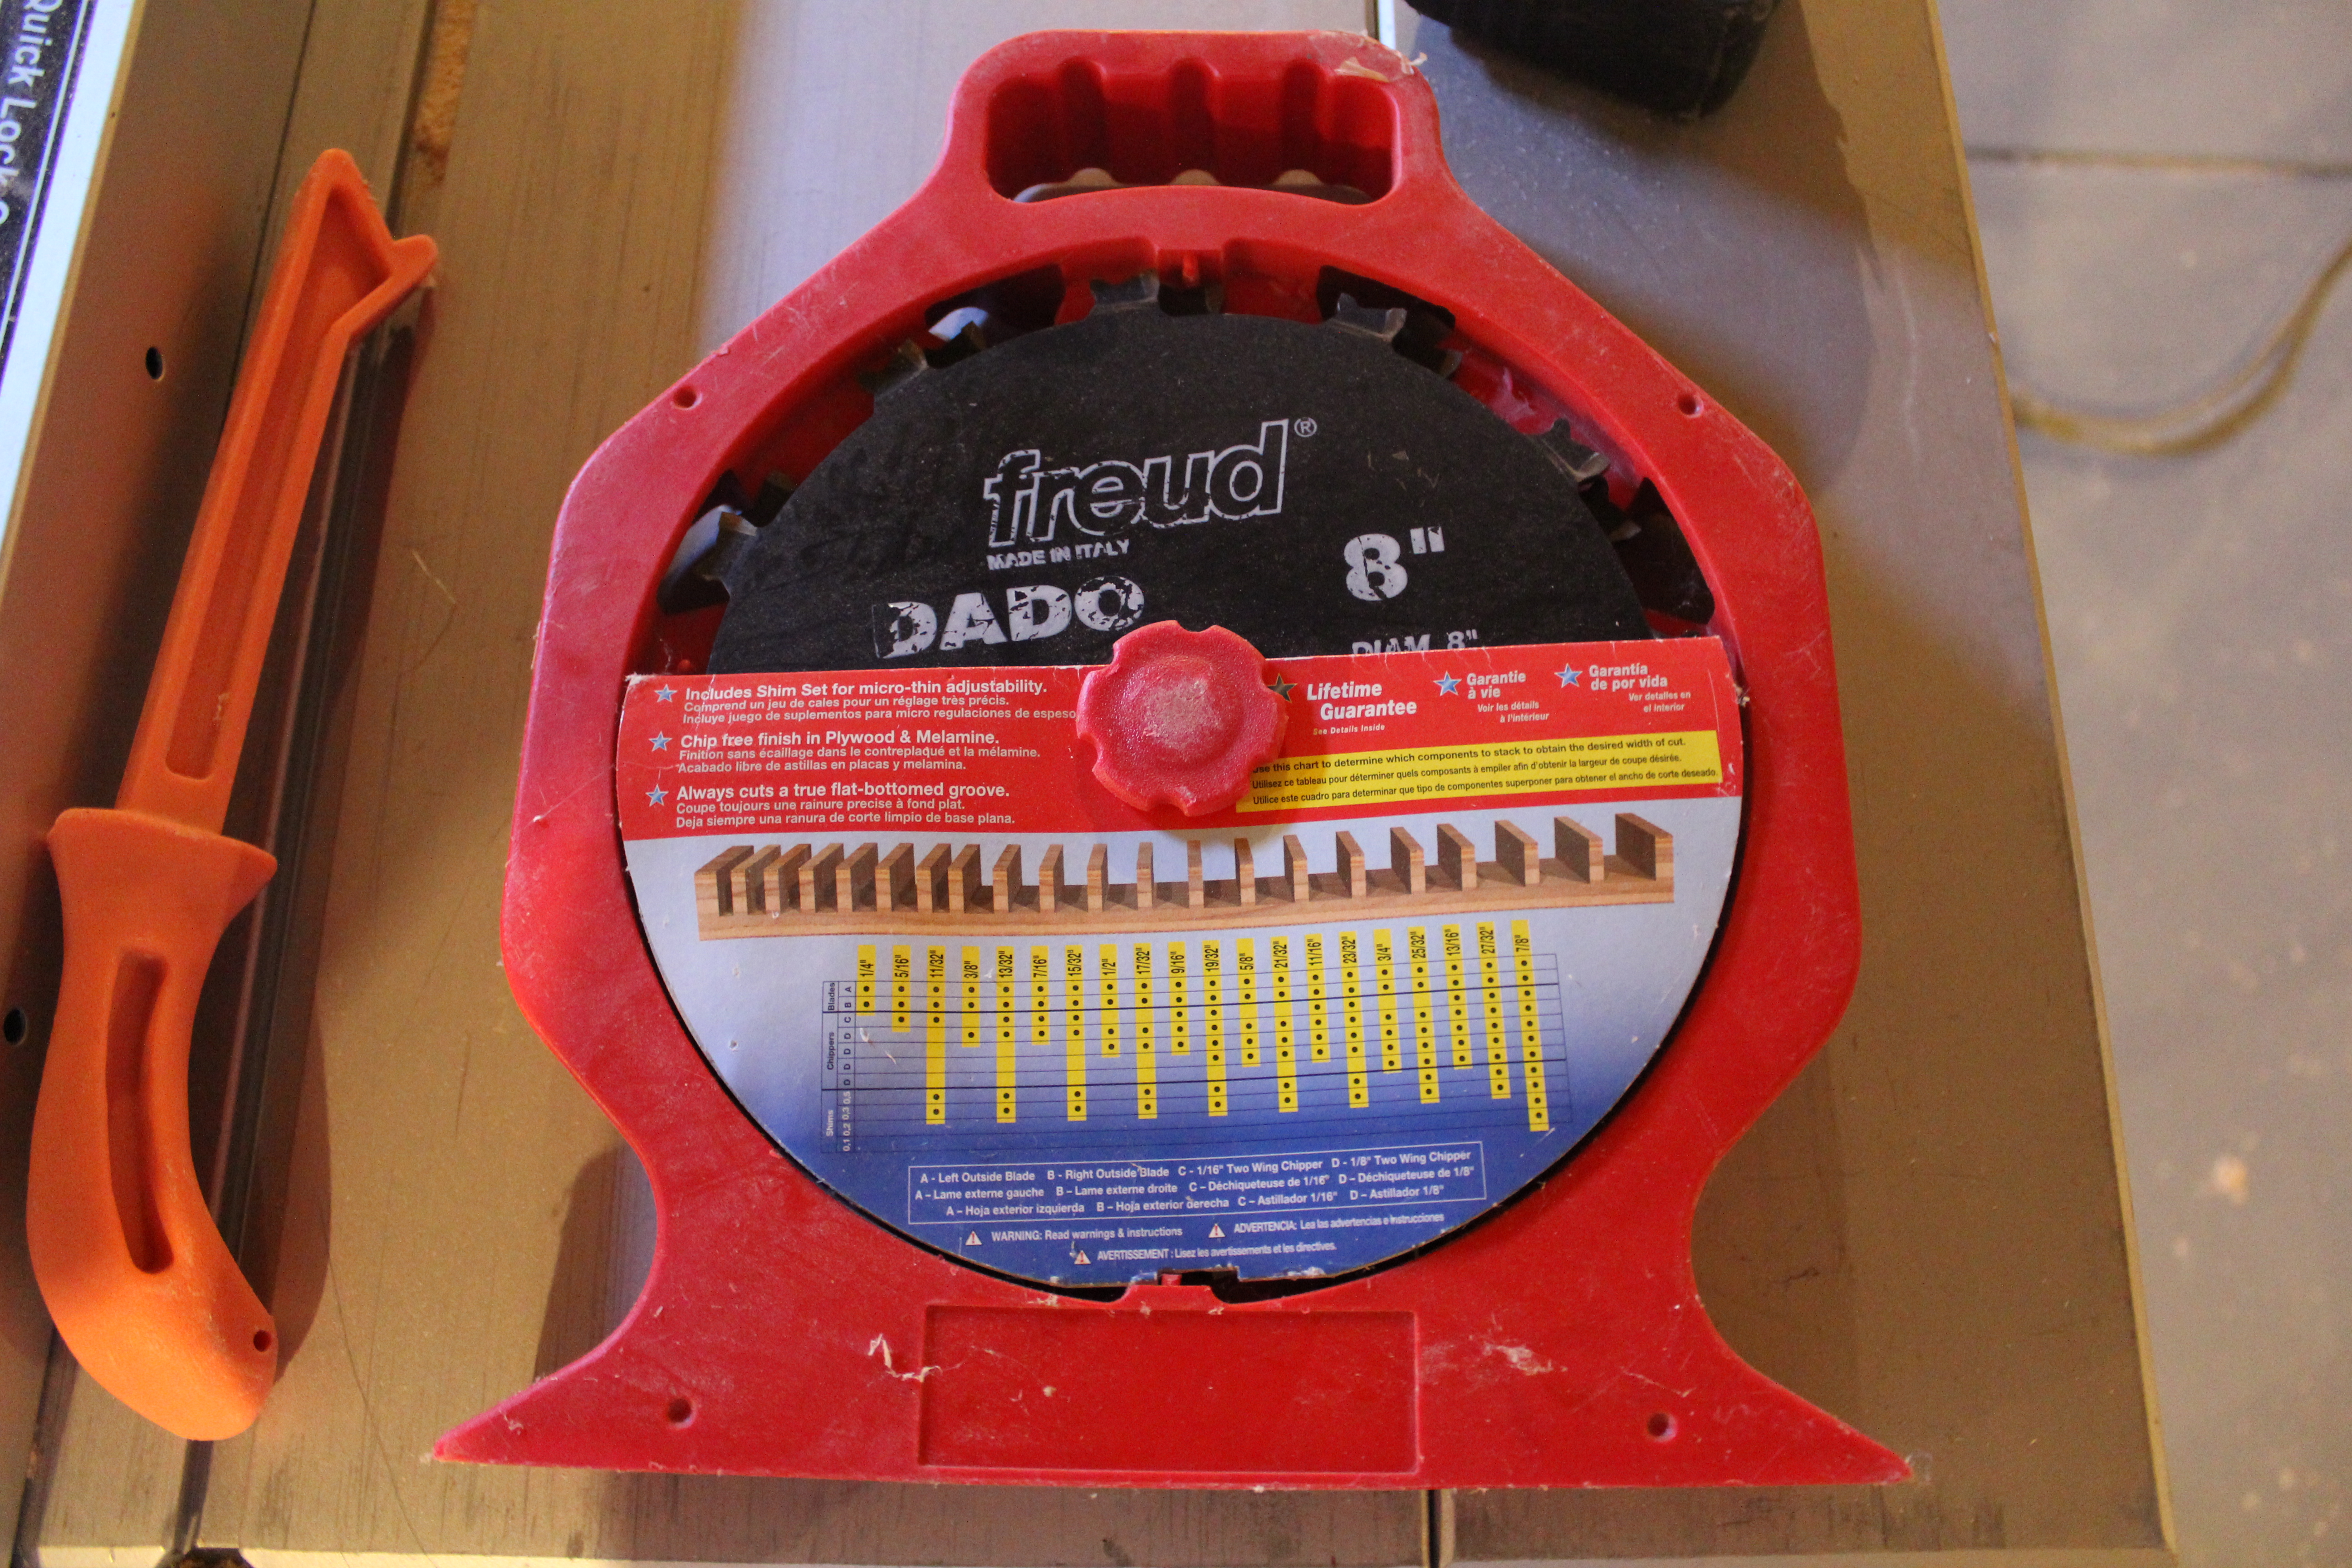
You just add or subtract blade sections to get the desired thickness you’re looking for. They make cutting grooves really easy. In order to cut grooves with a normal blade, you’d have to repeat the cut multiple times each time adjusting the piece. For narrow grooves, it’s not a big deal, but for wider cuts it’s a pain. The dado makes short work of it.
We need to add a thin groove all along each drawer section so the drawer bottom has something to slide into. The drawer bottom will end up being a little larger than the opening so as to fit into that groove. Since three sides of my drawer are 1/2″ thick, I’m going to put a groove half way into them and so I’ll set my blade height to 1/4.” Here’s how the blades look on the saw.

I’ve stacked two blades together also for a total thickness of 1/4,” which is about the same thickness as the plywood I purchased. I’ll set my fence distance to correspond to how low the bottom piece sits in the drawer. Then it’s just a matter of running each section through the saw. The nice part about this step is it’s the same for all four sides. The finished side sections appear below.
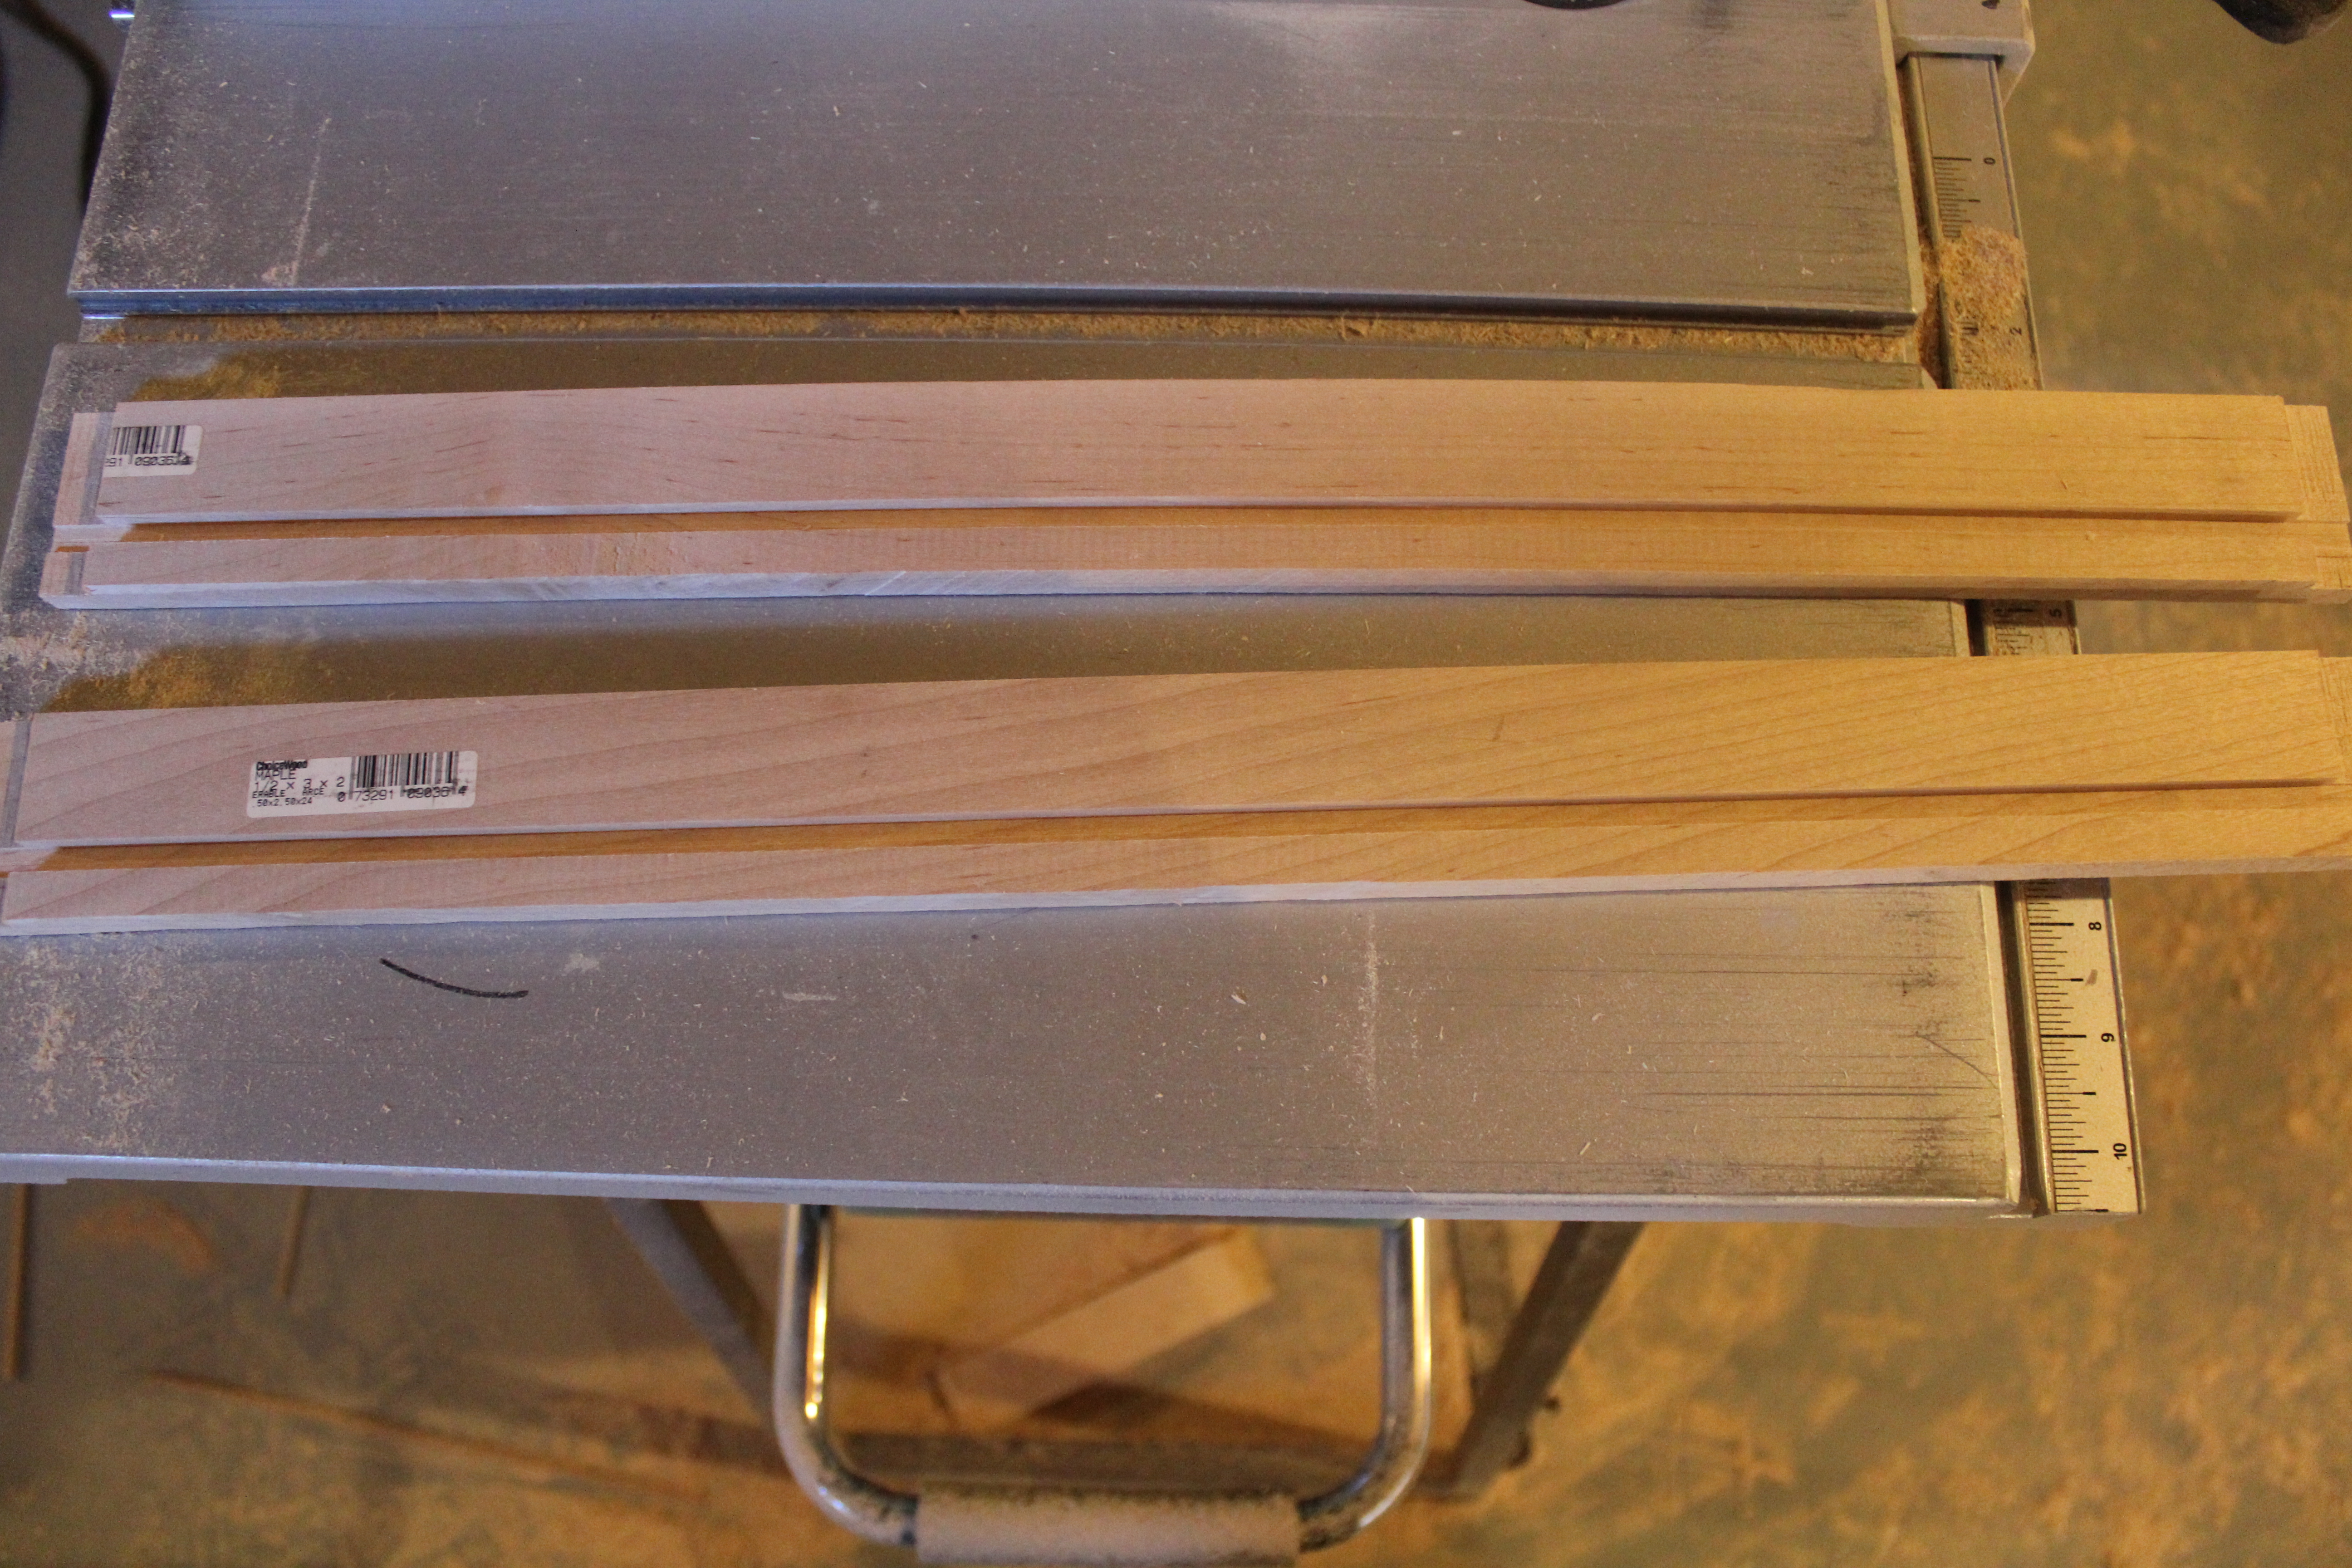
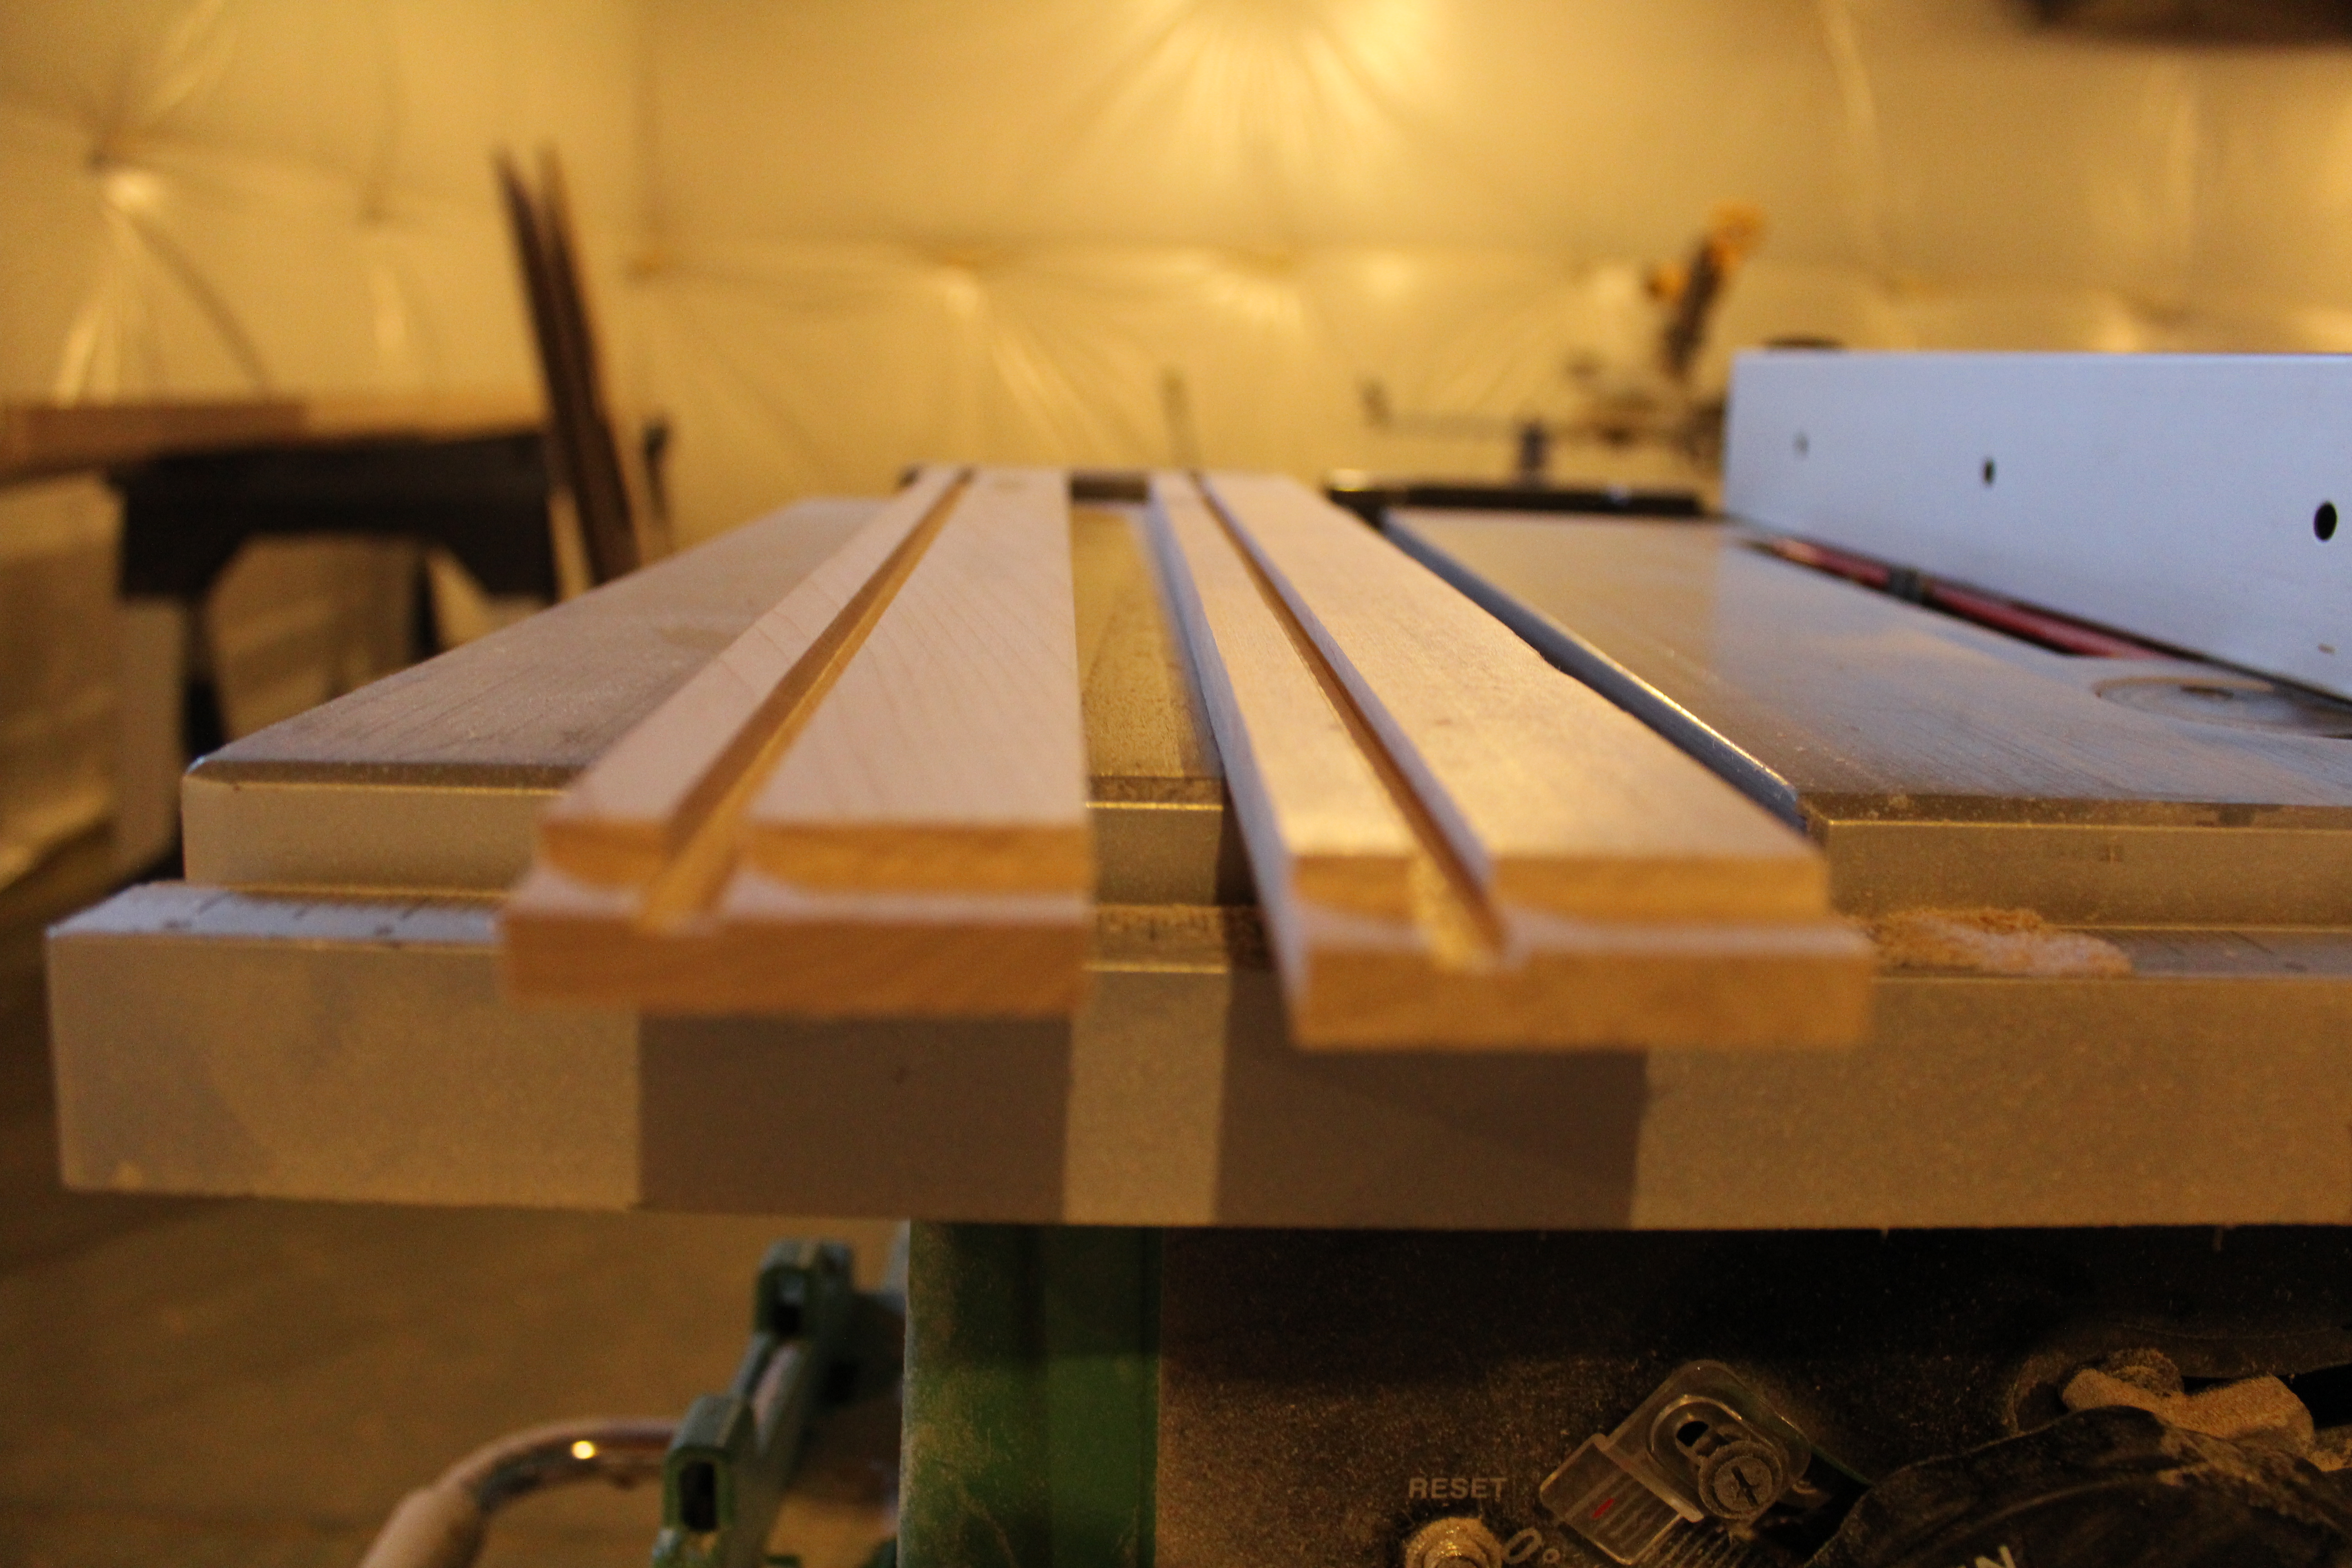
See those grooves? Now you know what a dado blade does! You don’t use them to cut off or go all the way through a board. You only use them for grooves or rabbits. Remember, not all table saws can use dado blades!
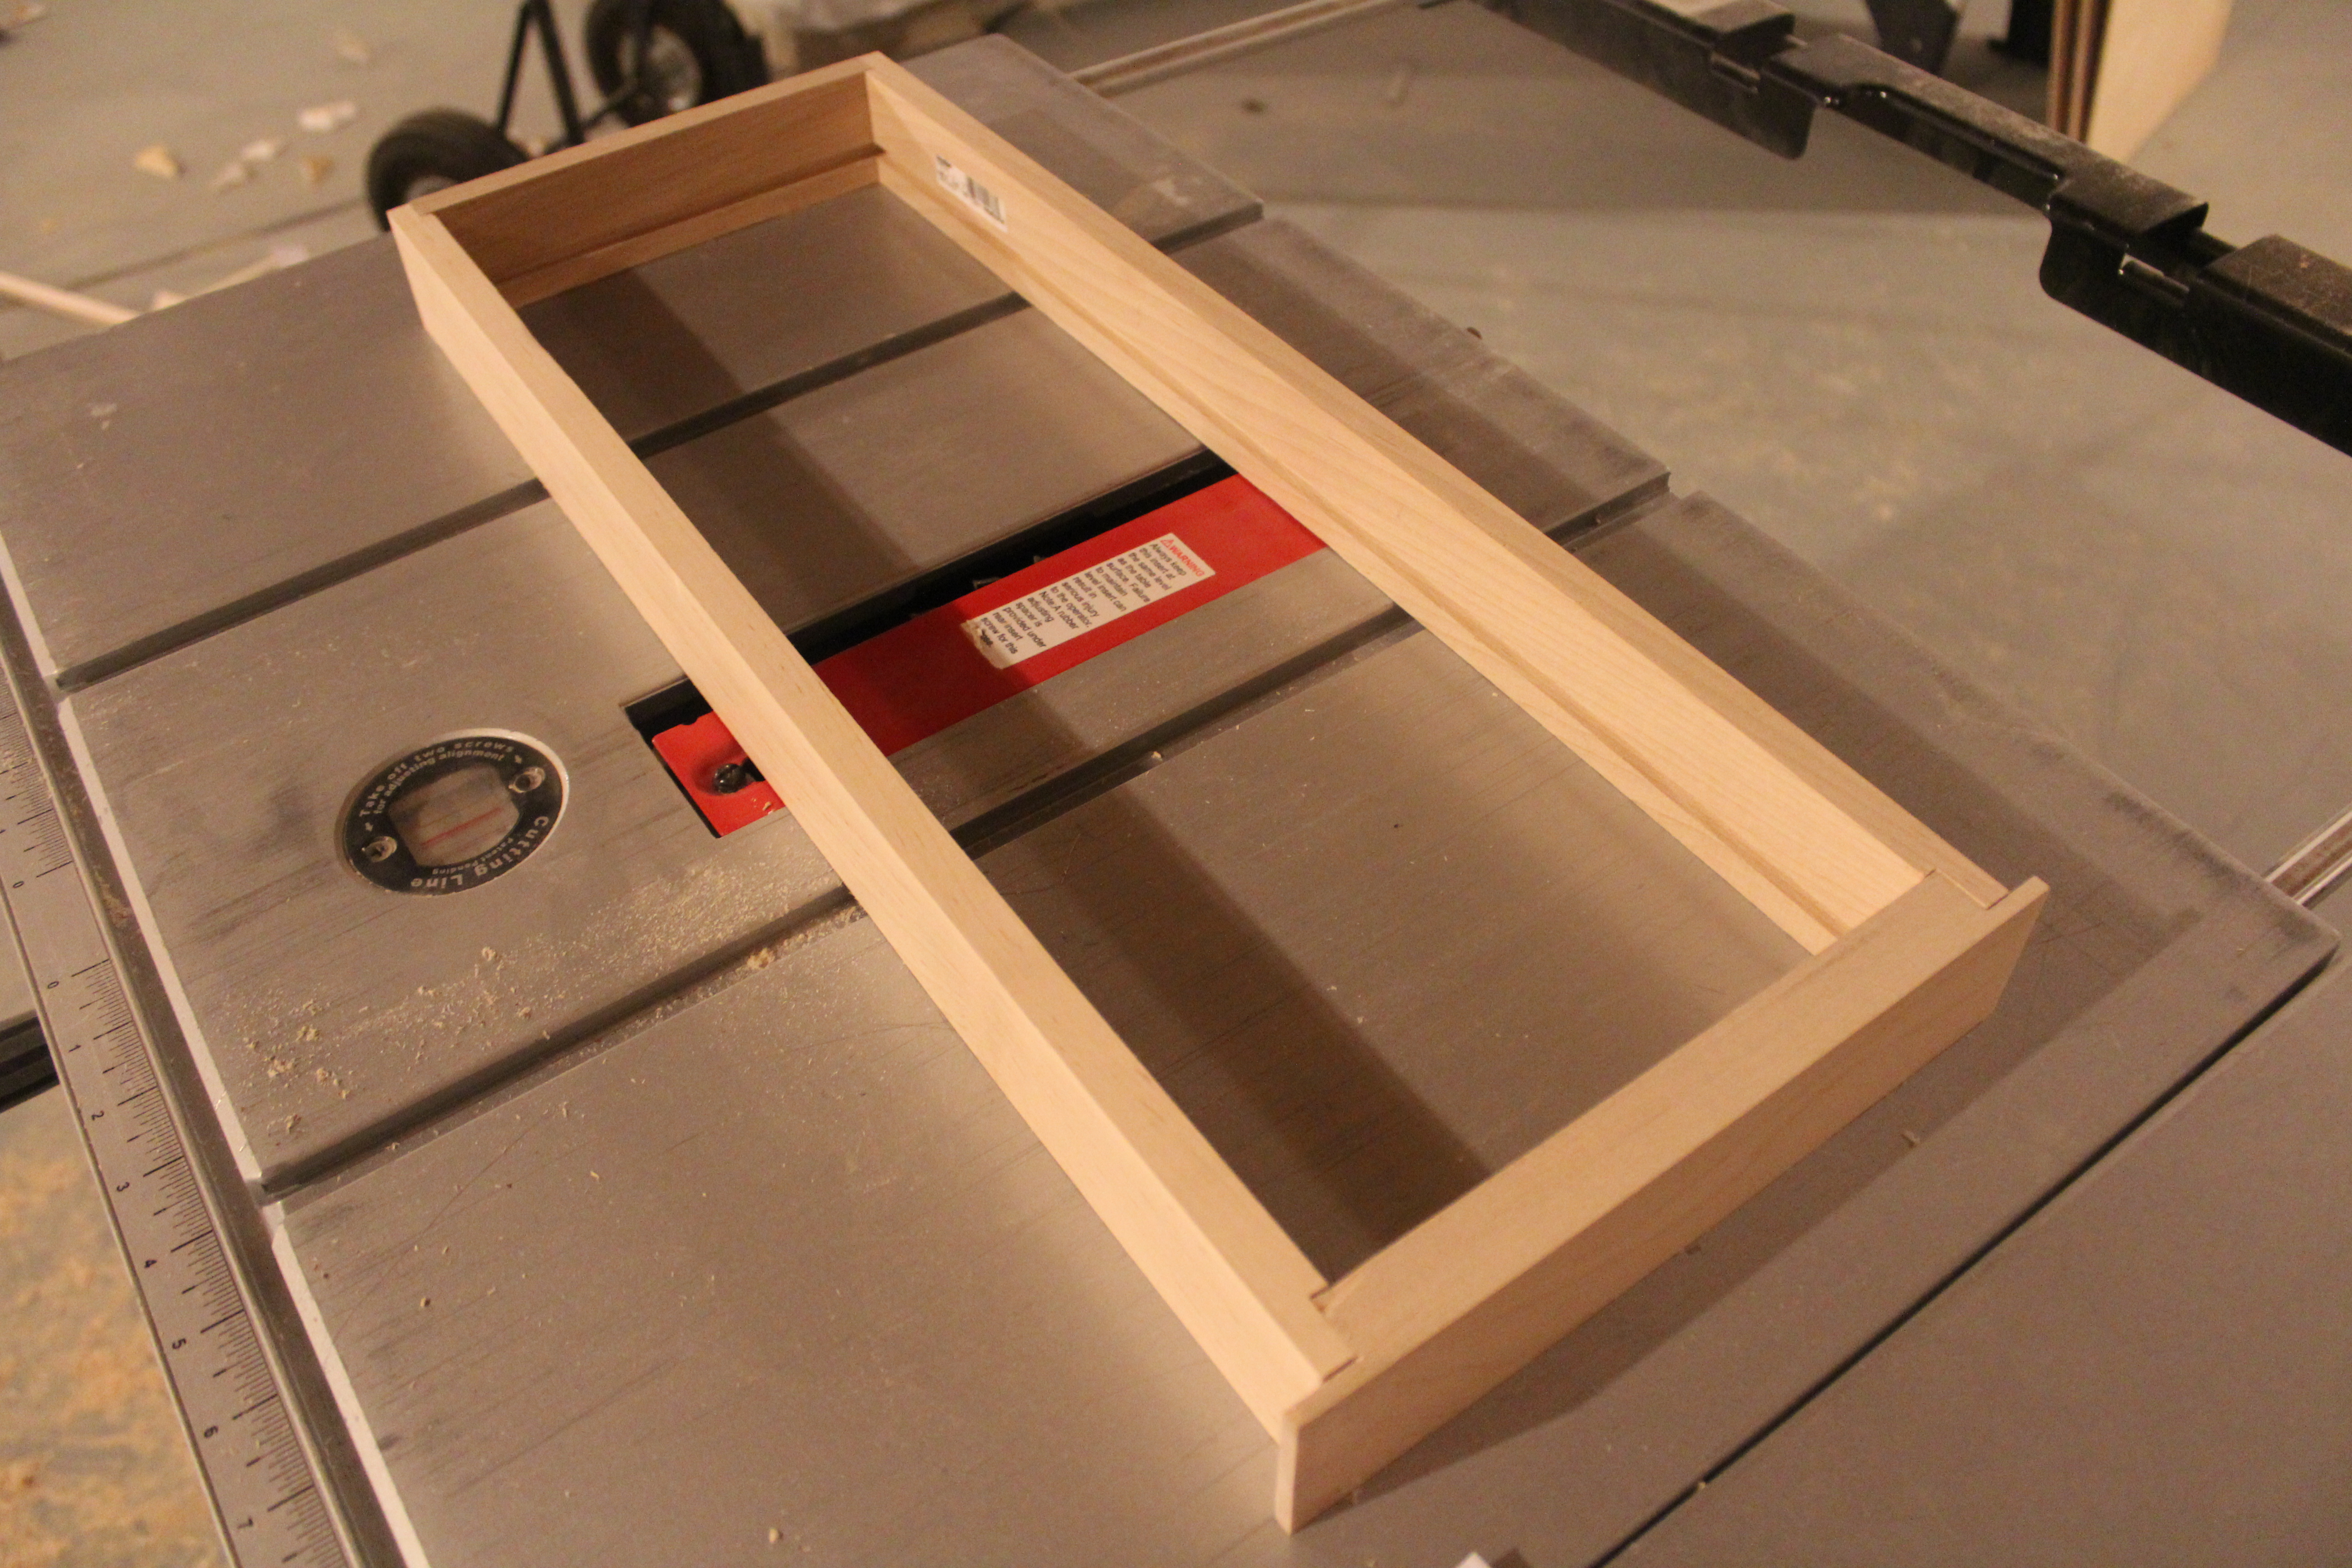
With the grooves made in all four sides, I can start seeing what the finished project will look like. I’ll setup each drawer as if it were assembled and take measurements for the bottom section.
Next post I’ll discuss cutting the bottoms, assembly and finishing! Still working on getting some hardware from the OEM of my cabinets. Hopefully they’ll have some good news for me!! Any questions?


