Ahhhhh. Feels good to finally write that title. This project has been on my wish list for this house since we moved in. It’s been apart of our Grand Plans for several weeks now and I can put a check in the box. As I write this though, I still have to add the quarter rounds on the perimeter of the room and do a couple stain pen touch ups before I can REALLY call it done, but otherwise I’m happy as a clam. Oh and Lisa and I will be replacing our family room carpet with hardwood this coming weekend, so I still have to get my hands dirty again with hardwood floors very soon. I’m already excited!
*** I’m going to break this flooring install up into a couple posts, because there’s a lot to write about, so check back later for more info and tips.****
Before I get into the nitty gritty, I’ll give you the why’s and what’s. The reason we’re pulling up the carpet is really due to the fact that we both love the look of it over carpet and it adds a lot of value. Moreover, we have a small dog that does shed a wee little bit and occasionally barfs, so keeping hardwood clean is a little bit easier. It may help with some of our allergies as well, although they’ve been minor to begin with.
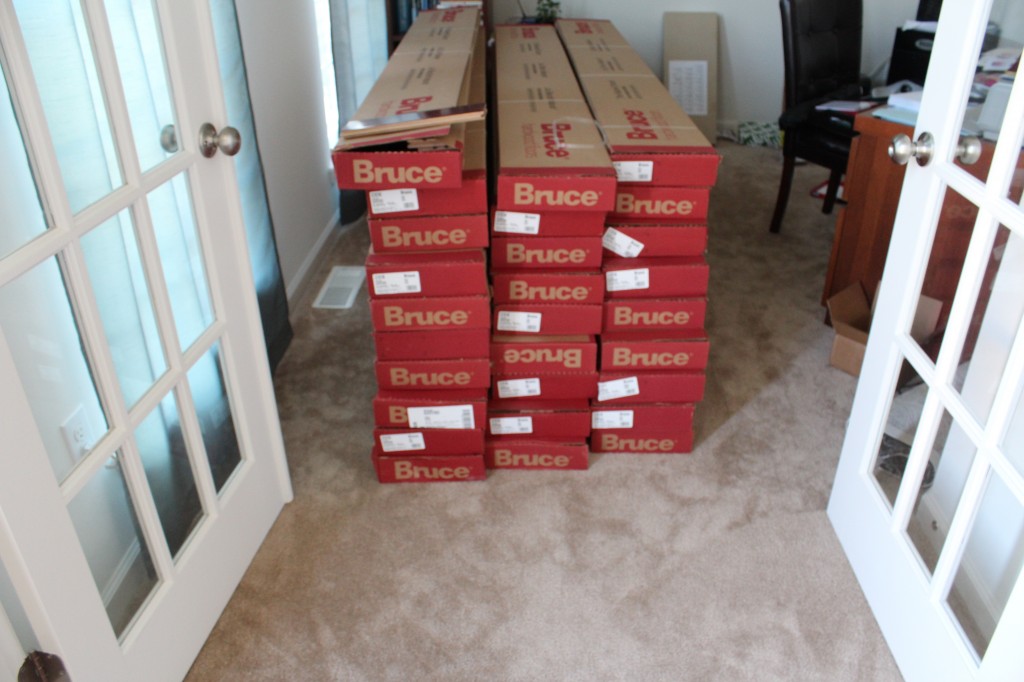
The floor is a Bruce hardwood called Manchester and it is a 3 1/4″ wide oak floor stained cherry in color. It’s the very same floor that we have in the rest of our house. We bought it from an online distributor called QualityFlooring4Less and picked it up at a local receiving warehouse in PA. Here’s the kicker… the challenge to this project begins before you even lay down one board. The boxes weigh around 70 lbs a piece. I needed 600 square feet plus 5-10% extra, which totaled 28 boxed. That’s nearly 1 ton! This isn’t going to fit in the back of my grand cherokee!! We had to rent a Uhaul to get all that wood home. Plus try carrying that all in. Not. fun. I was exhausted before I even began this project!! We threw the boxes in our first floor office to get them out of the way.
Another very important requirement when installing hardwood floors is to let the material adjust in your home for a few days before you start the job. The wood must adjust to the temperature and humidity properly. If you just install them right away, they’re liable to expand or contract after you’ve installed them, possibly ruining your work and the wood. We let ours rest around 4-5 days. Kinda annoying, but you deal.
So, let’s get to it. How to replace your wall to wall carpet with hardwood.
Part 1: Carpet Removal
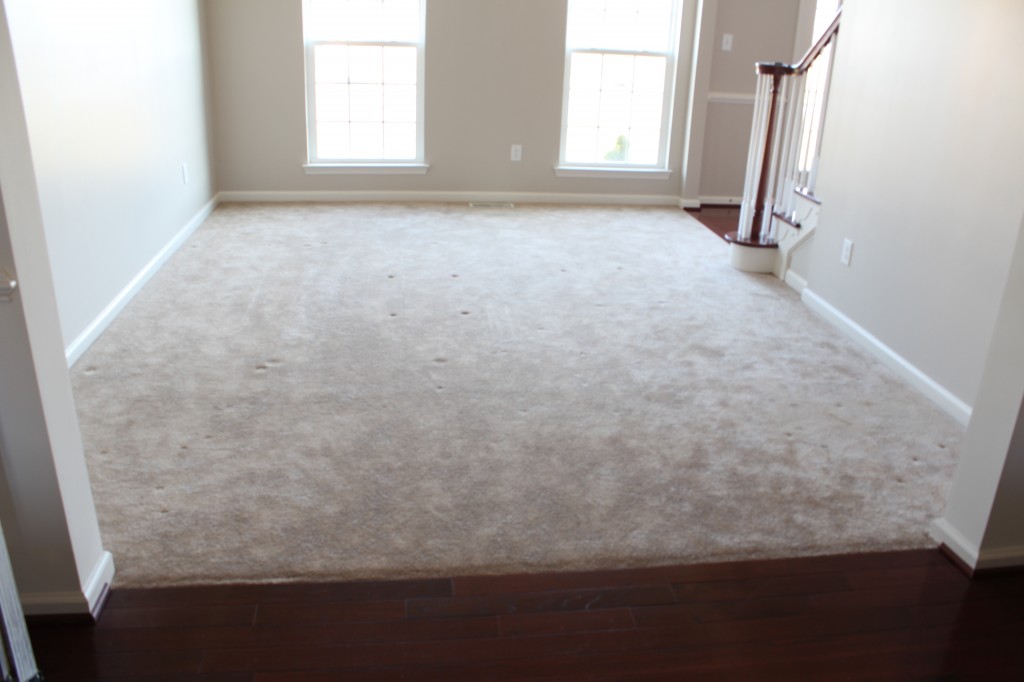
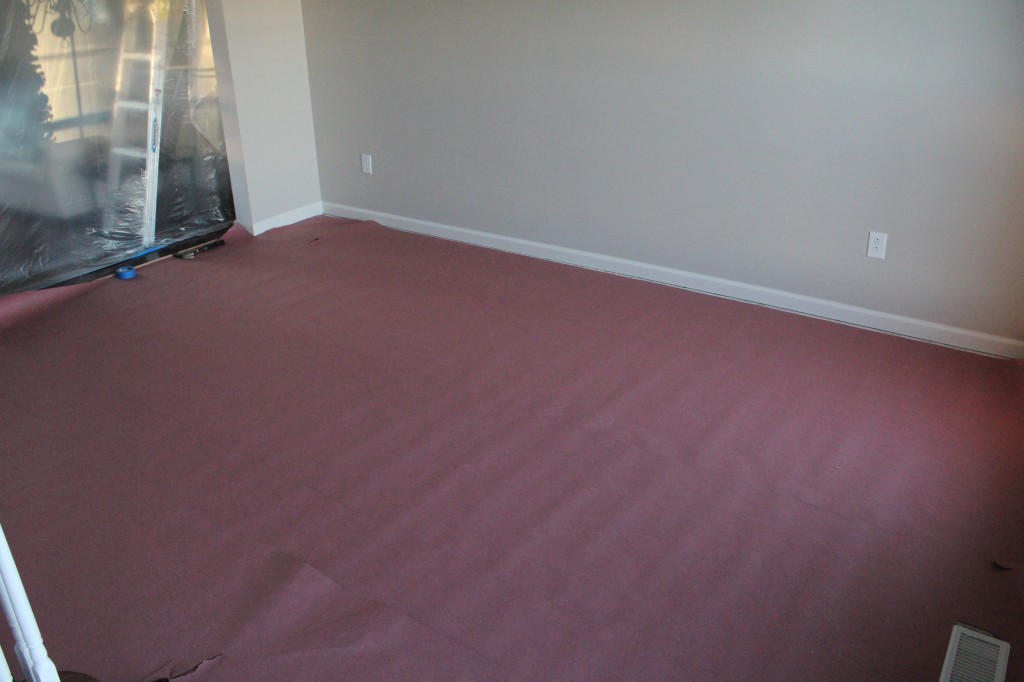
Here’s what our living room looked liked before we started. This was taken even before we painted.
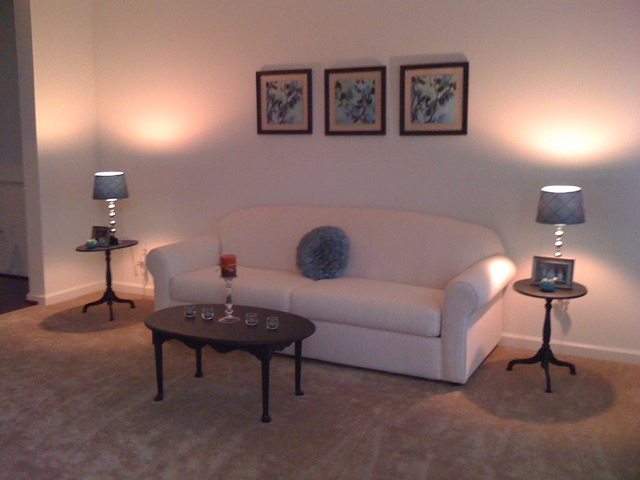
Once we removed the furniture and the pictures, we were ready to rip up the carpet. Well, really I’ve been ready to rip it up since we moved in, but that’s another story.
Removing the carpet is pretty easy. Just pull up on the corners and the carpet will come right out. I used a box cutter to cut the backside of the carpet and I cut it into two large sections that can then be bound with duct tape and discarded. We’re going to try to donate ours.
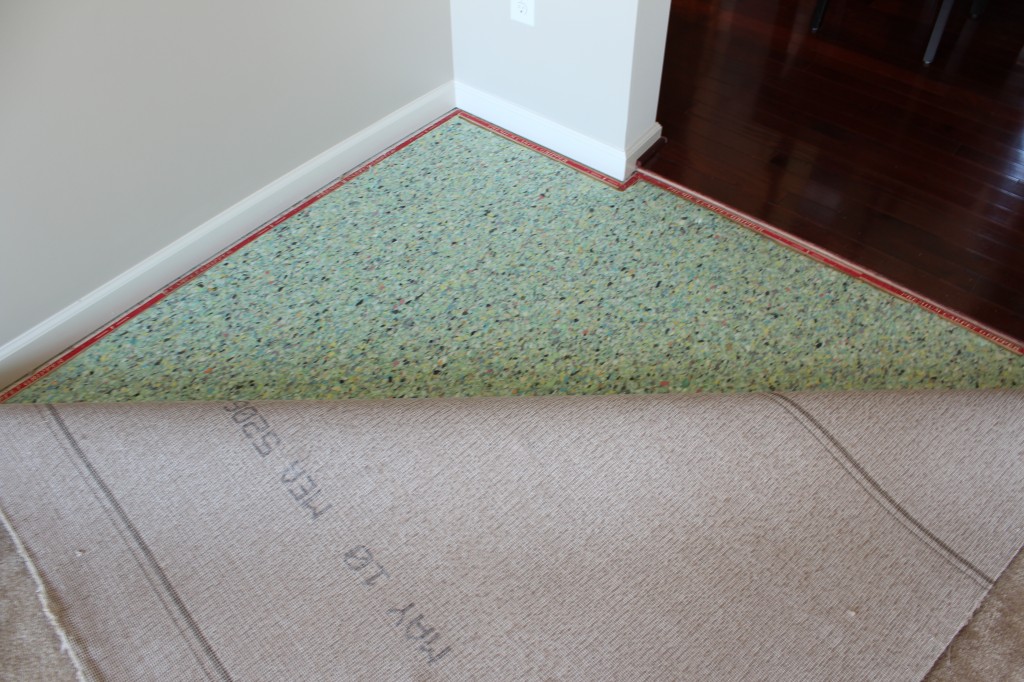
The carpet is adhered to the subfloor with a thin nail strips that runs the entire perimeter of the carpet area. Also underneath the carpet is the carpet pad. The pad can just be ripped right up from the floor. It’s held down by staples. We’ll remove those later.
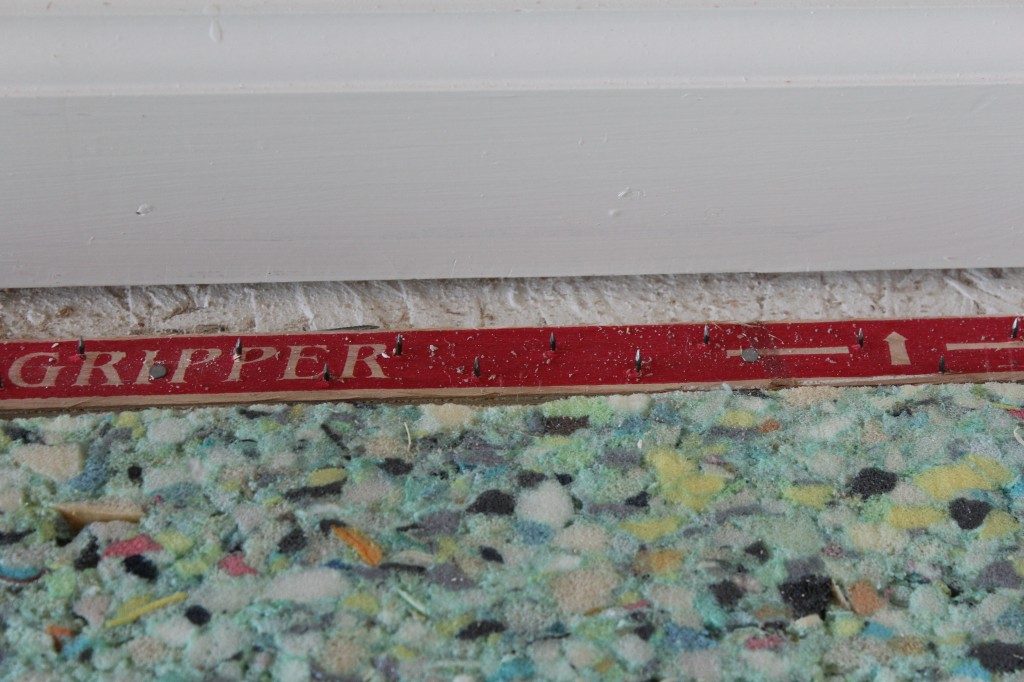
The nail strips can be taken up with a small pry bar. Be careful though, as the nail strips are sharp!
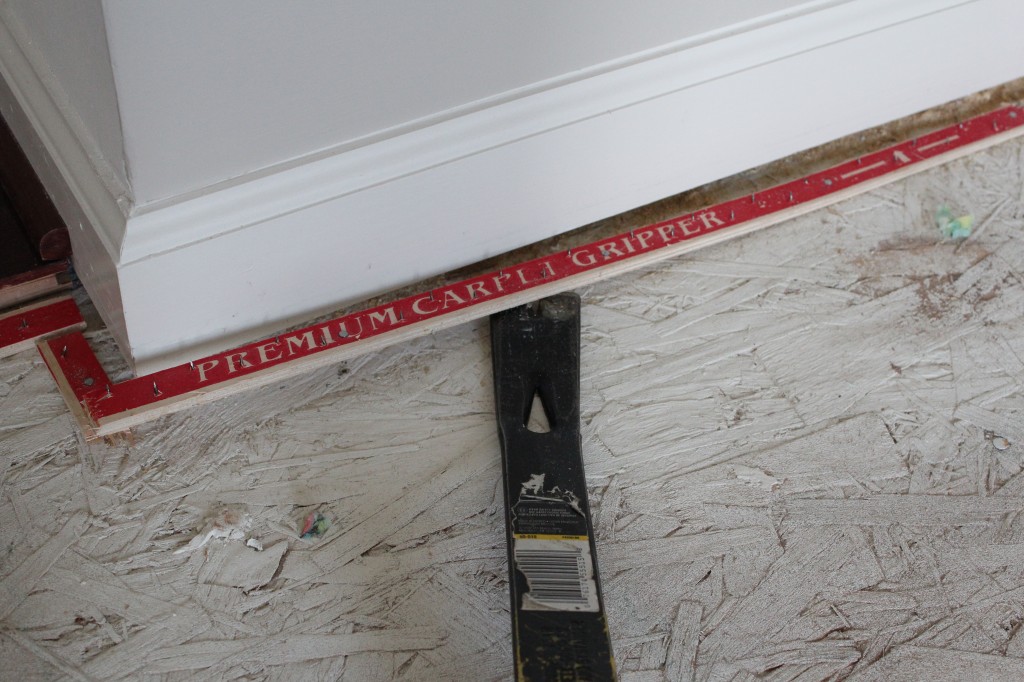
I put all the removed strips into the center of the floor and then threw them into a cardboard box for disposal. You don’t want to accidentally step on one of these!
Now for those pesky staples. Little bits of the carpet pad get stuck under the staples that keep it tied down to the floor. I removed as much of the pad from the staple as I could with my bare hands and then I turned to a pair of needle nose pliers to remove the rest. Wear gloves if you’re going to remove the staples. I didn’t and got a blister!!
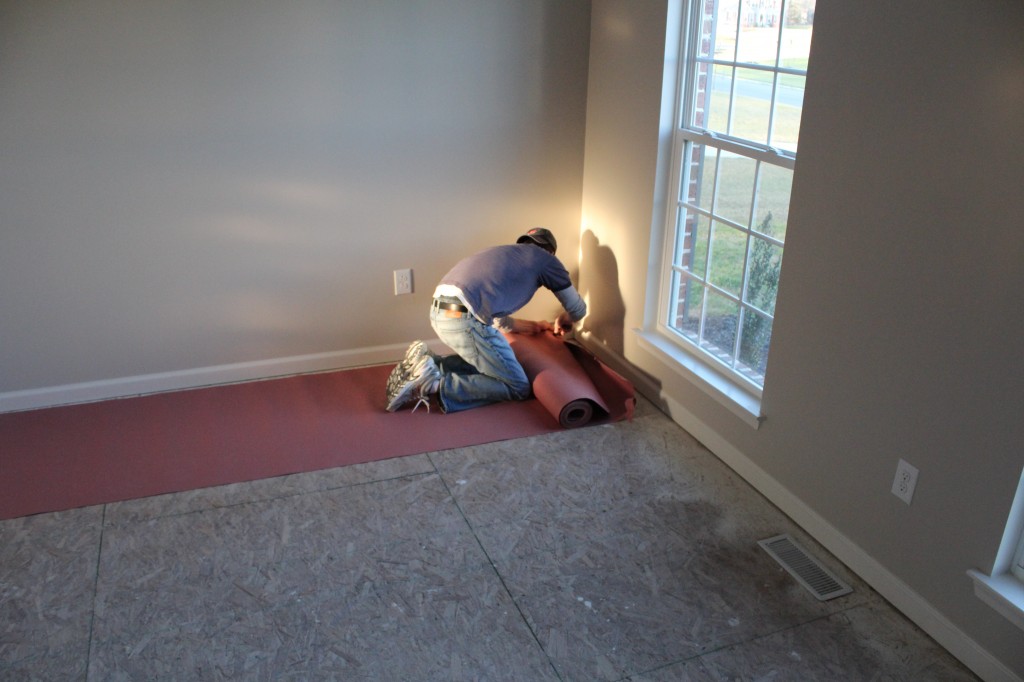
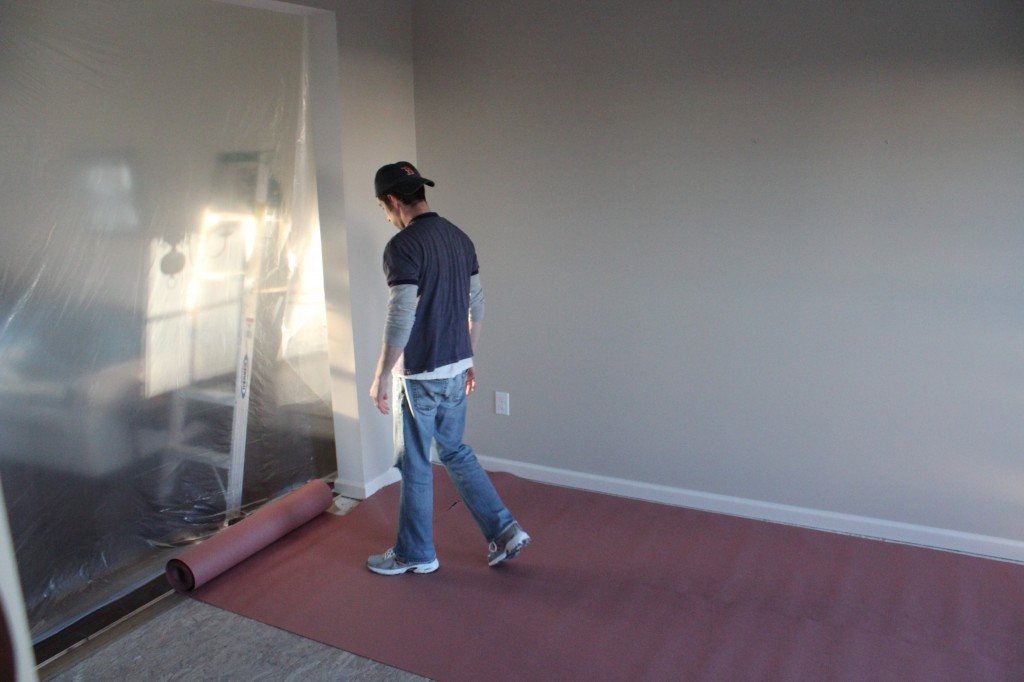
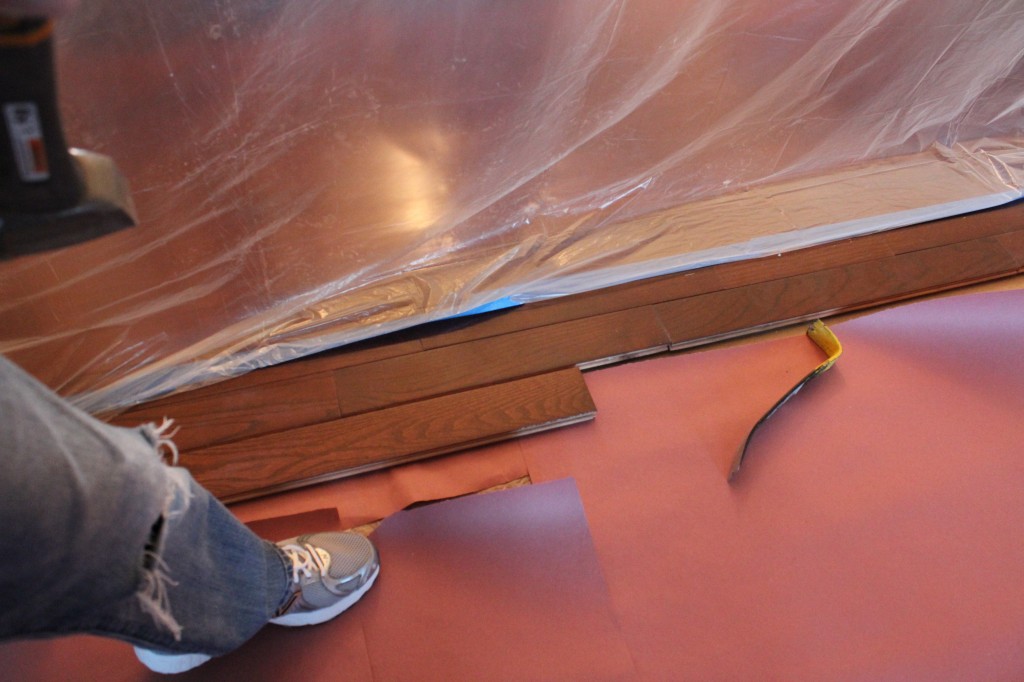
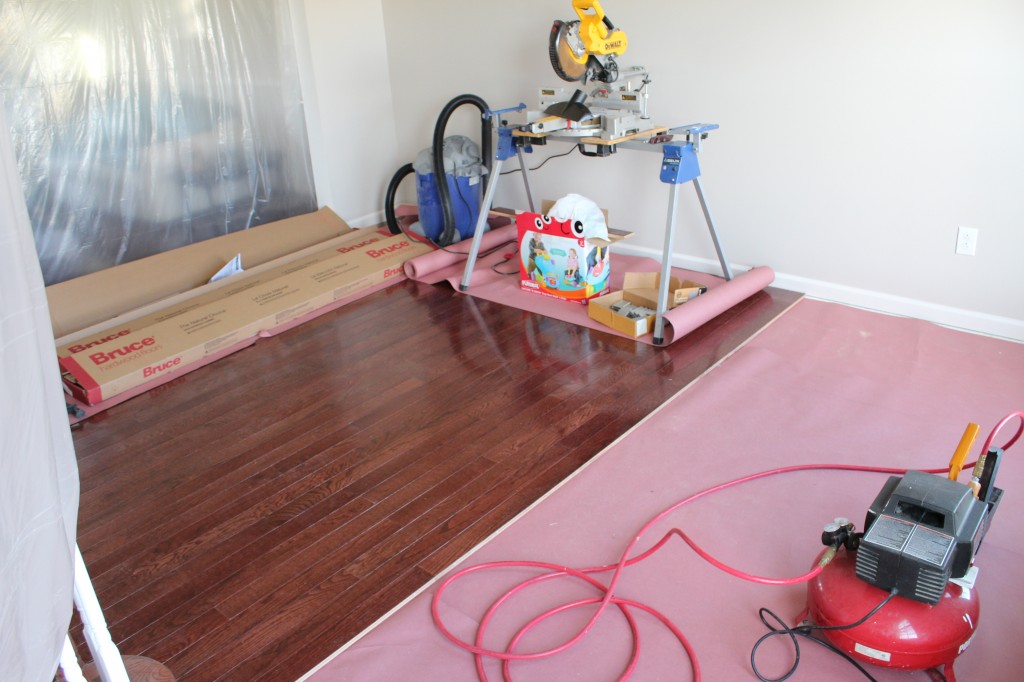
Once the floor has been prepped by removing the carpet, the pad, the nail strips, staples and any other debris or garbage, it’s a good idea to sweep and vacuum the subfloor clean. After it’s been cleaned, it’s time to lay down the rosin paper. There are a couple different types of hardwood underlayment paper that you can use, but I like the regular red rosin paper because it’s cheap AND I had some left over from our first home.
Just roll it out and overlap the seams by a few inches. It’s necessary to use because it acts a buffer between the hardwood floor and the plywood subfloor, which eliminates creeks and squeeks and makes for an easier floor installation. It doesn’t have to be perfect, it just needs to be in place.
Part 2: Installing the Floors
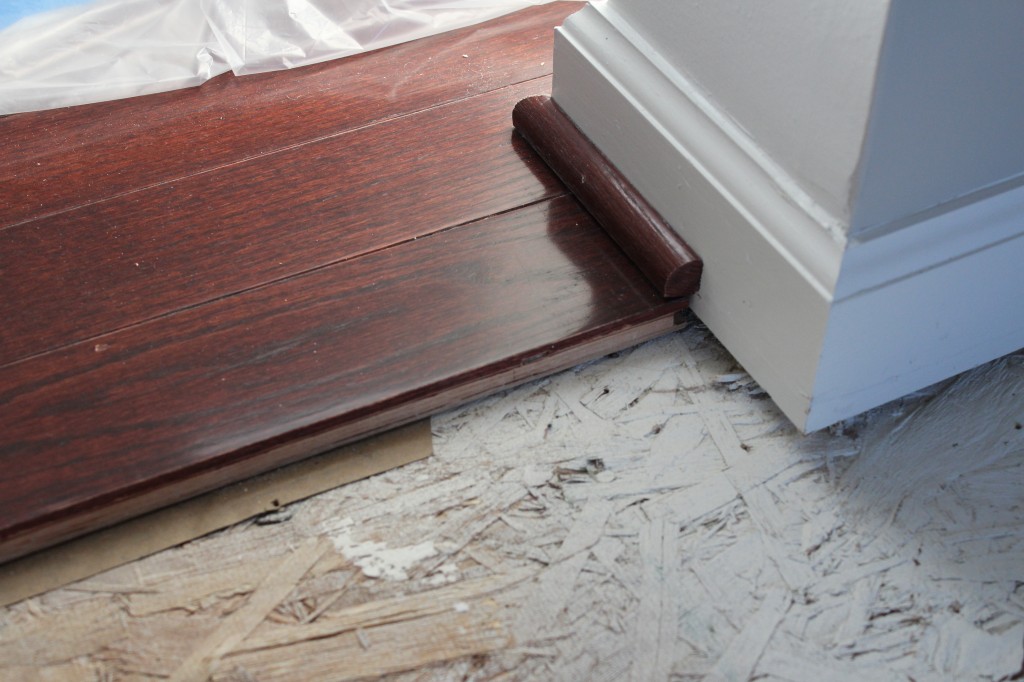
Now to start the flooring. Since I’m directly tying my new floor into my old, I’m going to continue my planks in from the dining room. Eventually, the floor will have to be integrated into the floor in the vestibule, but I’ll save that info for my next post. You can see in the photo below, that the old floor had a small quarter round that will need to be removed. I popped mine off with a pry bar. Came right off. Guess it wasn’t glued. Thank God for short cuts. Also, my last dining room floor board doesn’t have an obvious tongue or groove, so it won’t be able to intersect MY first board. It has to go. I also removed it with a pry bar. Be careful when you remove boards. If you don’t do it right, you can damage the board behind it!! Then it never ends, so be careful!
Let’s throw down the first board. I pick my boards soley based on length. I don’t want any of my boards to have an end seam within 2″-3″ of an end seam on an adjacent board. You can see that my first board is well clear of that on the dining room floor board. For the first board, it get’s butted up against the wall on the left and then pulled away about 3/8″. Wood generally doesn’t expand in the lengthwise direction, but a little gap won’t hurt.
I’ll bang the board into place with a rubber mallet that came with my nail gun and nail it into place with my nail gun.
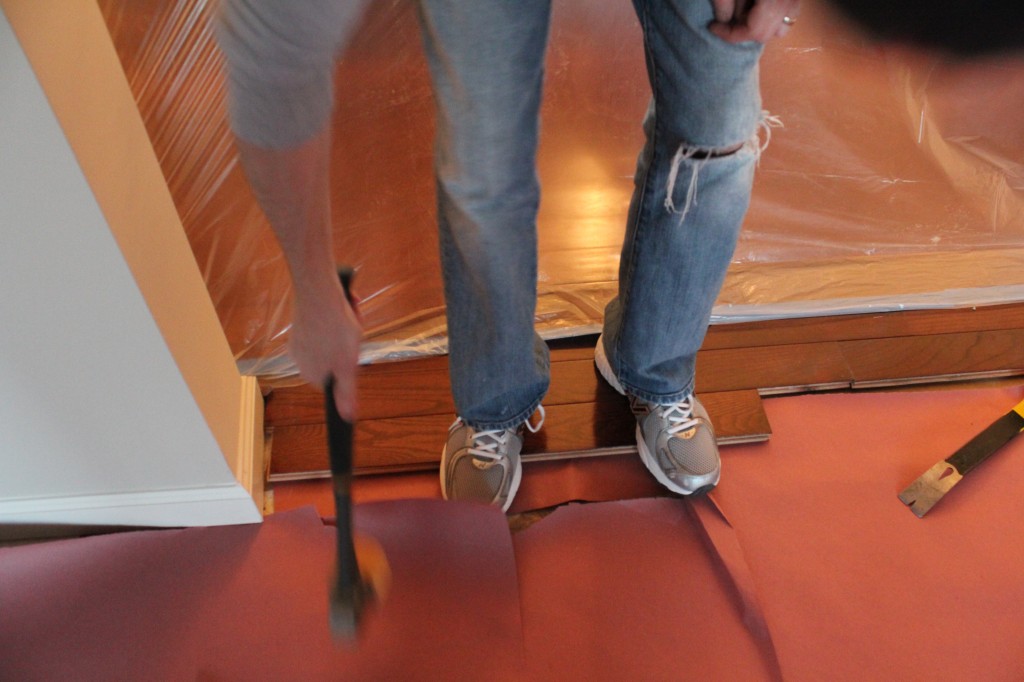
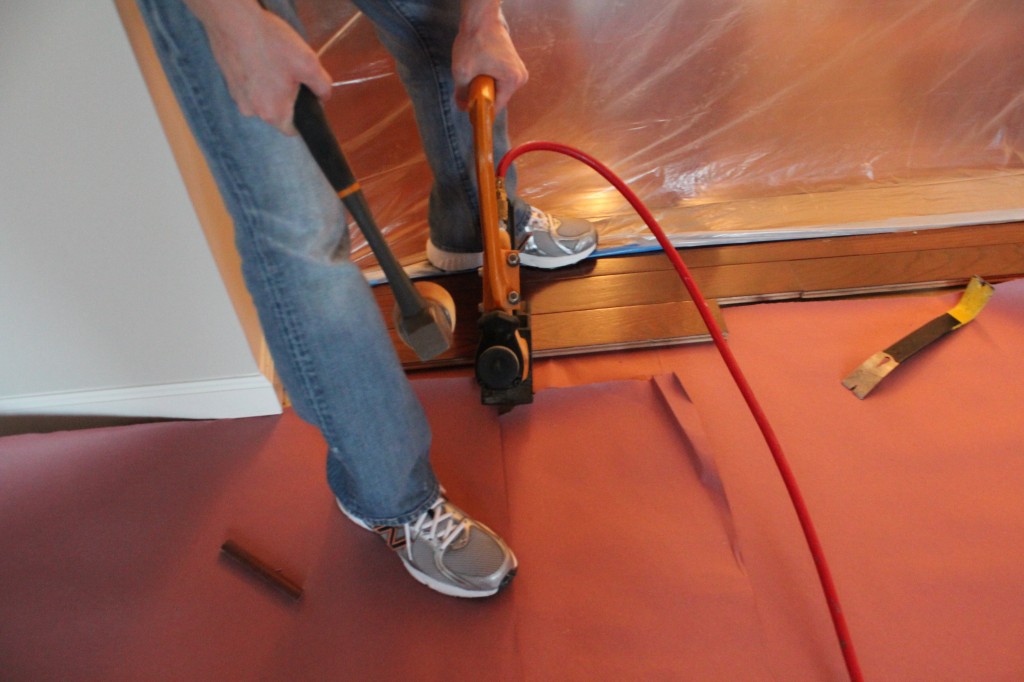
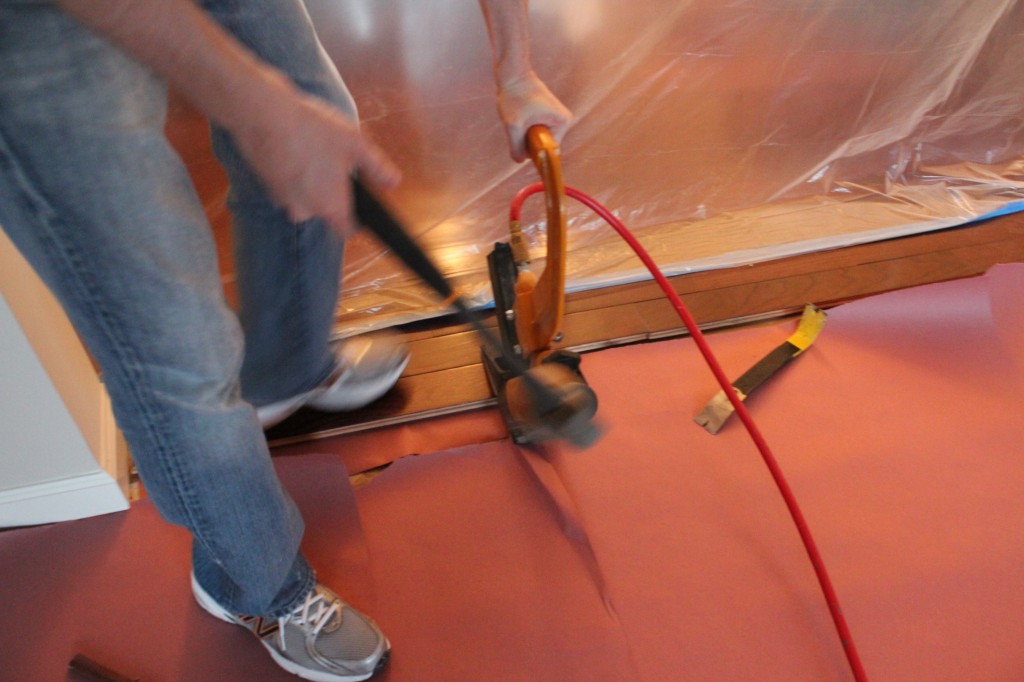
Like that action shot? After the first board is in, you just lay down the next board and continue down the line. If you weren’t installing hardwood against an existing hardwood floor, then the first row will need to be face nailed and not angle nailed.
When you get to the end of a row, you can either measure the gap to the wall with a tape measure to determine the length of your last board OR you can use this little trick.
Pick out your floor board and lay it next to your row.
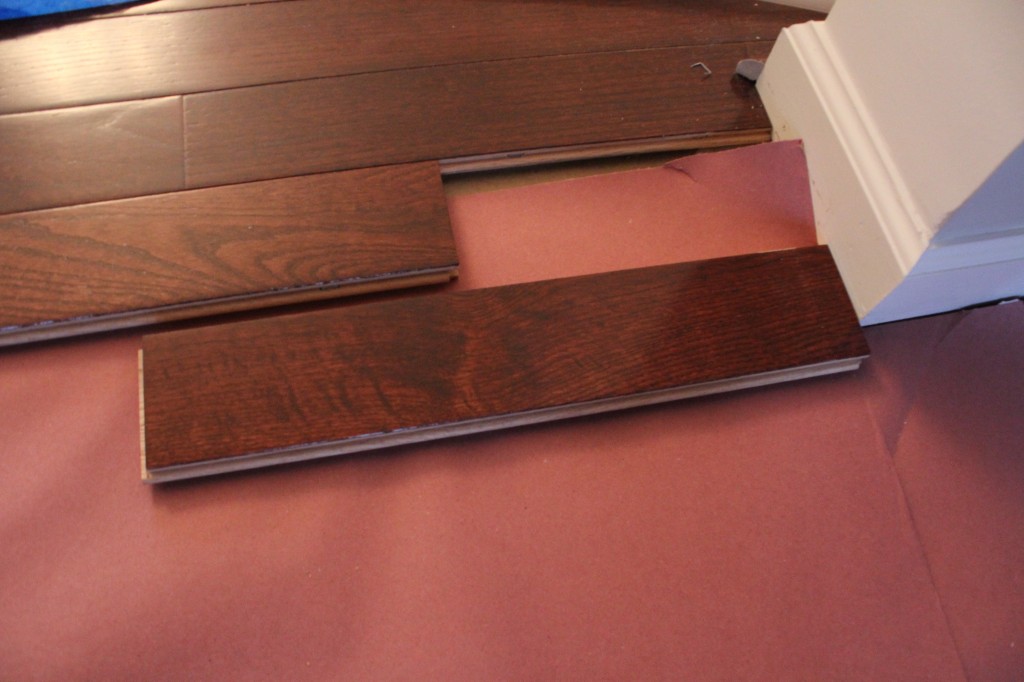
Now flip it over lengthwise and pull it away from the wall by around 3/8″. Mark the backside of the board where the end of the previous board meets it and cut on that line.

Now you can install it. Quick and easy!
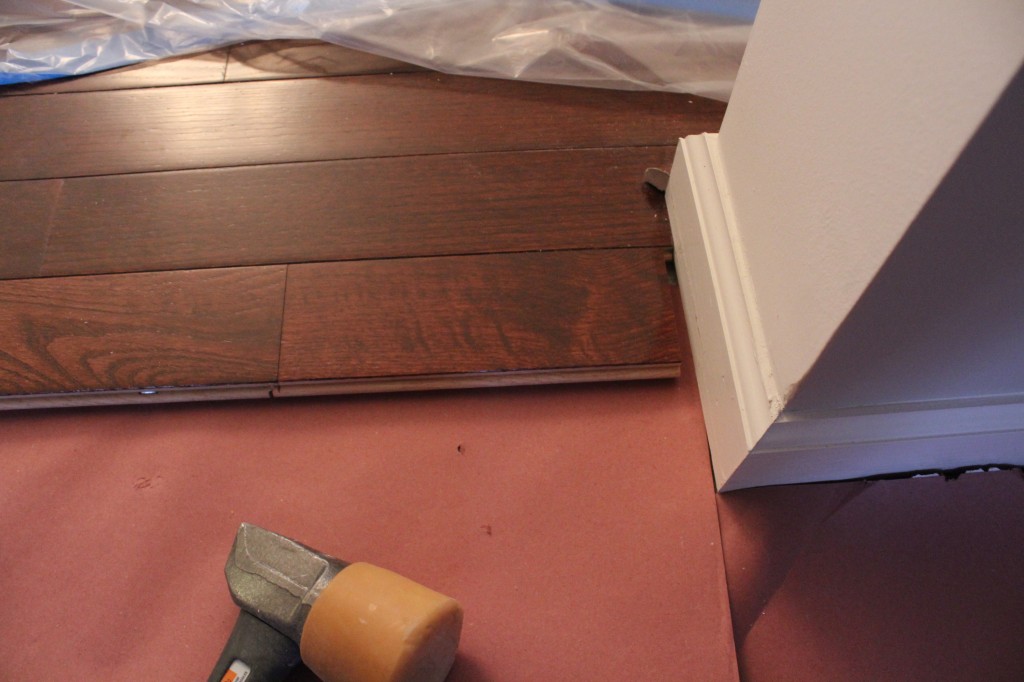
After several hours of continuing this I was able to get the floor to a good stopping point.
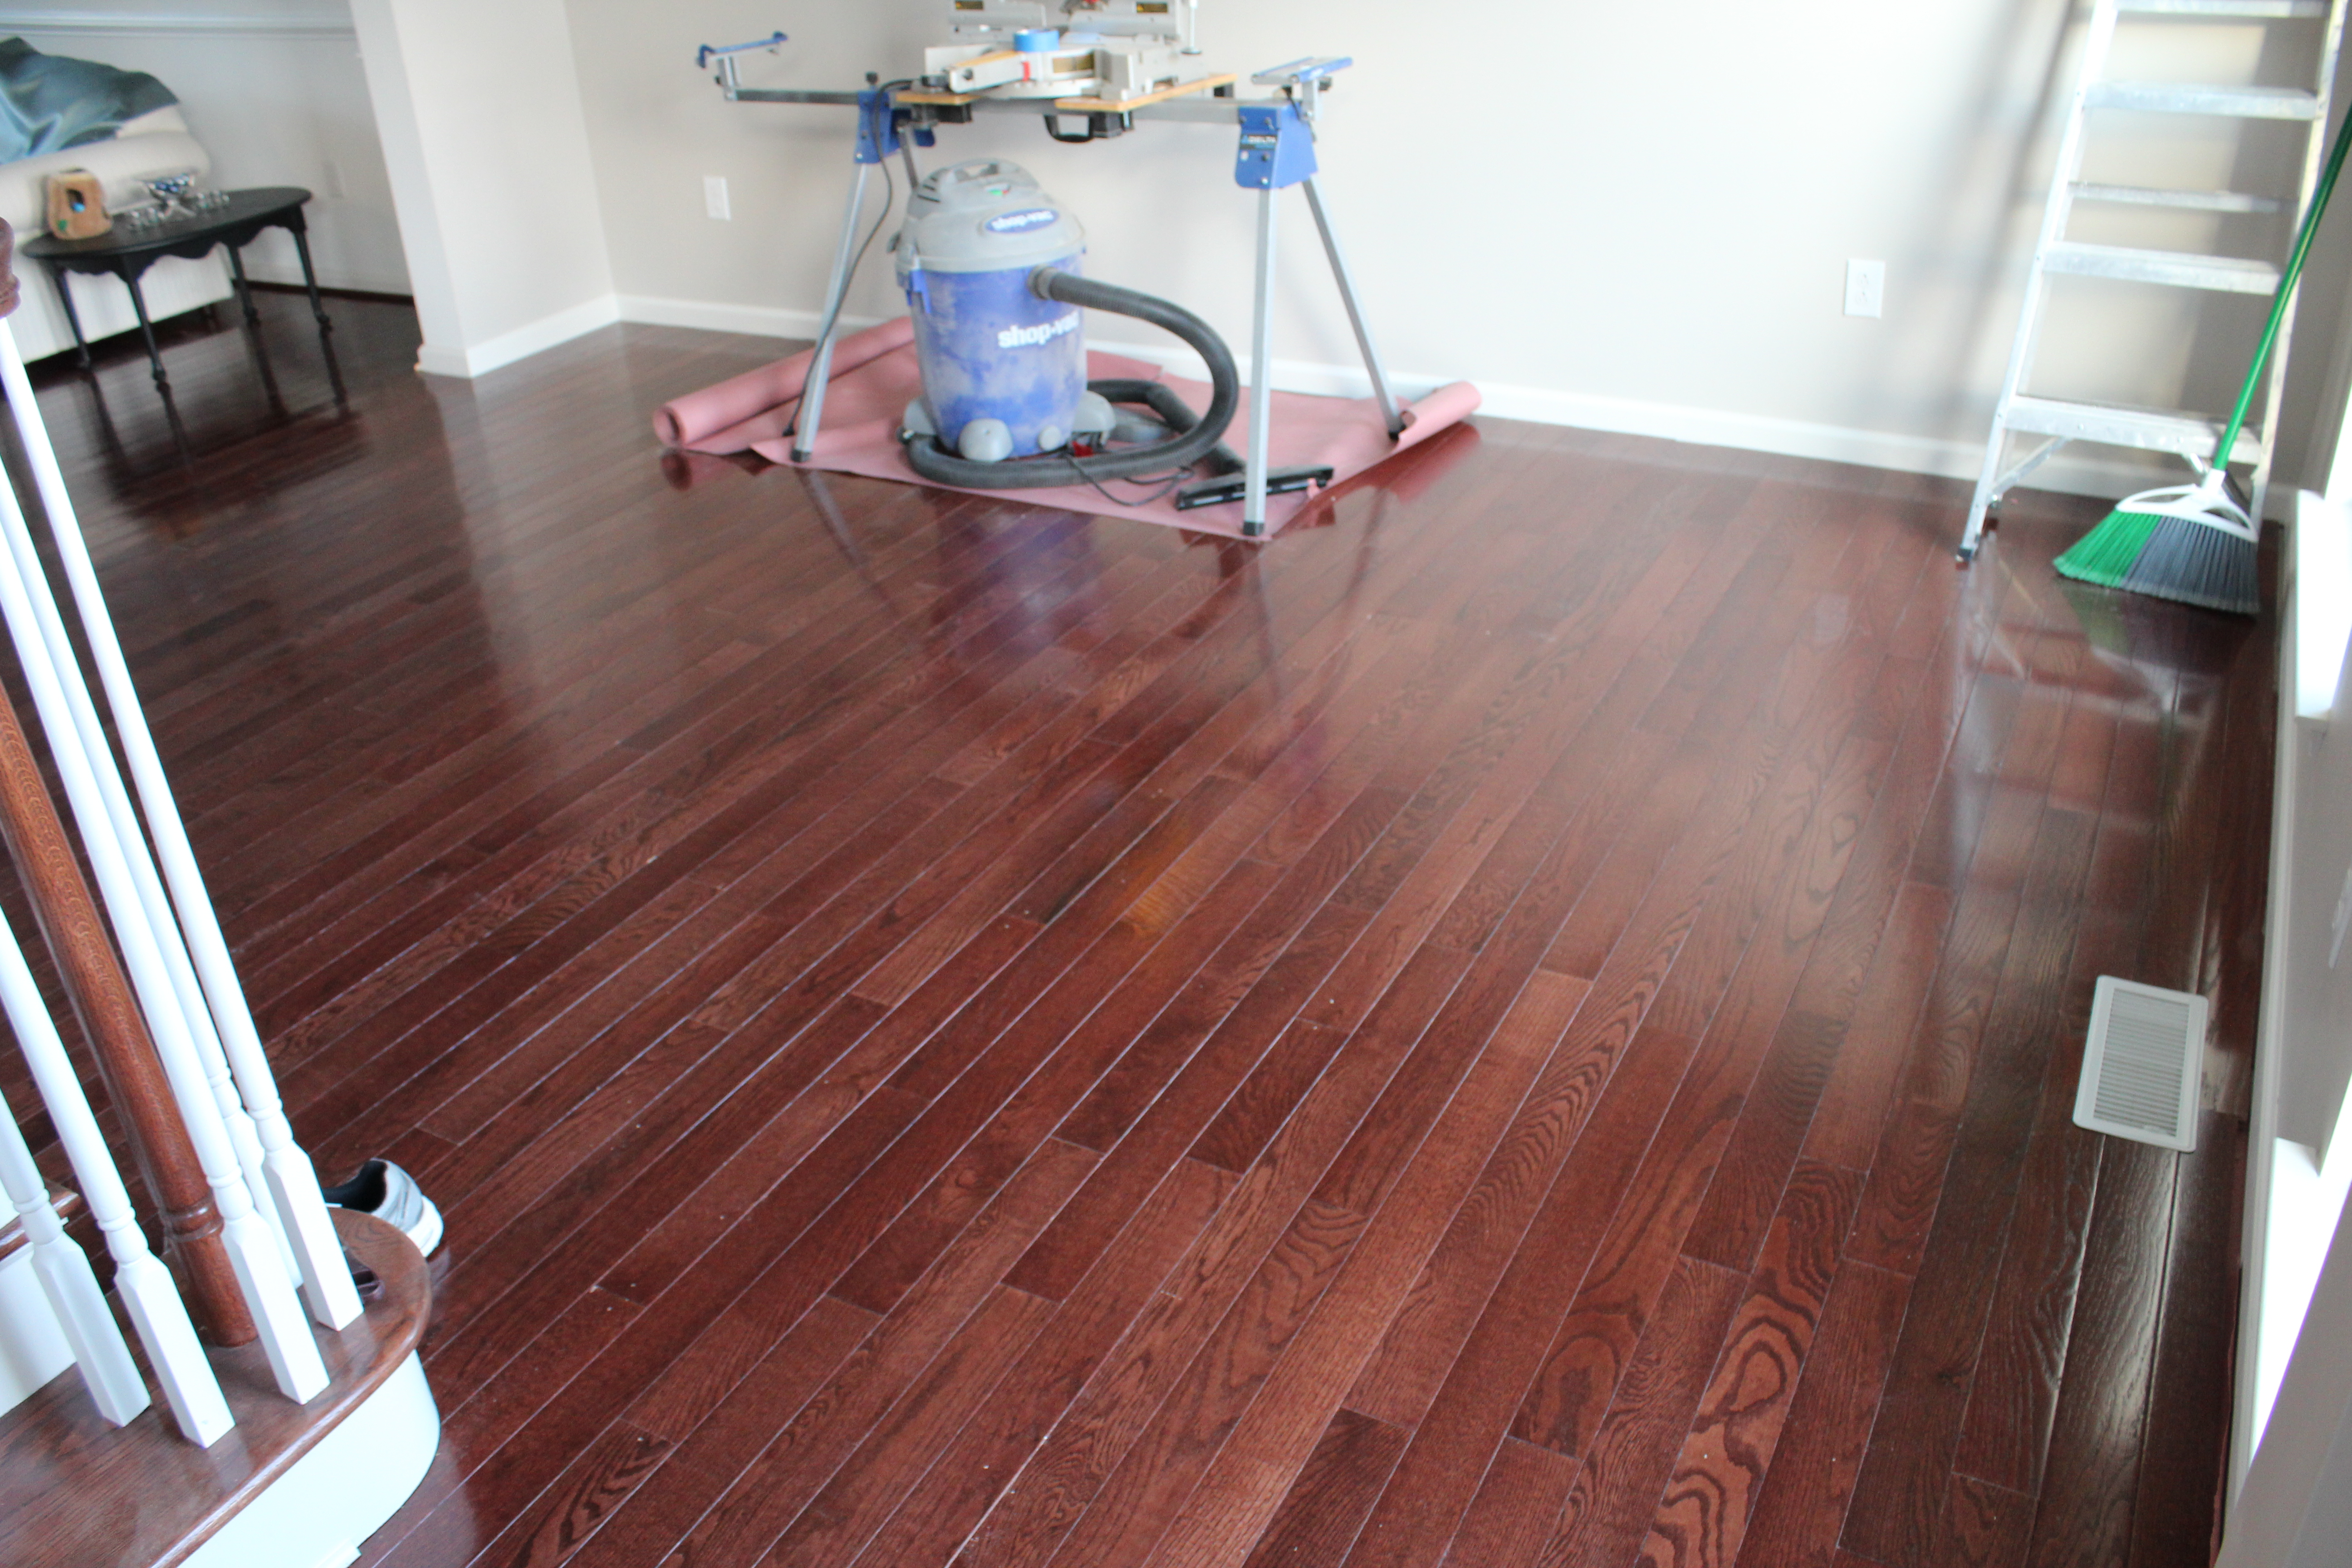
Later this week, I’ll show you how to integrate the floor into boards that run the other way!! Trust me, it’s much harder than it looks!!
Have you ever installed hardwood floors or are you planning it?


