Forgive me if it seems like I’m milking the hell out of this hardwood floor installation. This is probably my fourth post on the subject and I’m trying to write as much info as possible to make the job go smoothly for any readers that are considering trying it themselves. This post will serve as a must read before attempting a similar project.
Here’s a list of things you need to have before you install hardwood floors.
1. Tools
– A pneumatic floor nailer (or stapler). Usually set to nail on an angle, these nail guns are an absolute essential item and you can’t install a floor without them. Consider buying one or borrowing one from someone you know if the project will take you longer than one weekend.
– Rubber Hammer for the floor nailer. They are usually given to you when you rent a floor nailer. Make sure you get one.
– A pneumatic finish nailer. For your first row AND your last couple rows, you can’t use the angle nailer. You can’t use it on the first row because the angle nailer will move the board too much. You also can’t use the angle nailer on the last three or four rows because it simply won’t fit. However, you CAN use a smaller finish nailer to angle nail the board. Can you just use a hammer? Of course you can. However, you’re going to be slower and you’ll have a harder time doing an angle nail on the last few boards. Consider renting one of these as an investment in time savings.
– An air compressor. Necessary for operating the above nail guns.
– A miter saw (aka a chop saw). Also a necessity.
– A table saw. Yep. You need one of these for cuts around objects. The last row is almost always a little more narrow than the rest, so you’ll need a table saw to rip it to a thinner dimension.
– A sharp miter saw blade with 40+ teeth. The higher the number of teeth and the sharper the blade, the cleaner the cut. If you use a dull blade, you’re liable to have a harder time cutting the boards.
– A circular saw. You’ll only need this if you’re removing older boards. If you find out that a board needs to be removed and it’s five rows deep, you’re going to need one of these.
– A pry bar. I use this a lot when I’m putting a floor in. It can help remove boards that get messed up and it helps tighten the last couple rows by squeezing and turning it between the last row and the baseboard.
– A good pair of wire cutters. If you mishit the angle nailer, it can under-sink the nail. You won’t be able to remove the nail by prying it out and you won’t be able to sink it deeper without messing up the board. A good way to deal with these occassional hiccups is to just snip off the staple or nail with a pair of wire cutters.
– Shop Vac. A shop vacuum is always helpful after a floor install to help get up all the construction debris.
– A sharp pencil or a fine pen. For marking the length of the last boards.
– Wood glue and scotch tape
– Wood putty. All the boards with face nails, need the nail holes filled. (See below)
– Stain pen. Any small shards of floor missing can be colored in with a stain pen to hide the mistakes. (See below)
2. A Game Plan
Before you put down that first board, you need to know how the work is going to proceed. Have a realistic expectation of how long it will take you so you can plan tool or equipment rental properly. It look Lisa and I about a full weekend to finish our 400 square foot family room and this isn’t the first time I’ve done this job. Also worth considering is what floors you’re removing or replacing. Ripping out carpets is quick, but linoleum or older hardwood is slower and more laborious.
Make sure you check with a reference manual as well to get a proper perspective and instruction on how to run your floors (left to right or front to back) and how to get your first board down. Our posts are just an example of what Lisa and I did and isn’t meant to be purely instructional. We’re not going over every single detail. You need to do your homework
It’s also important to consider how you’ll deal with obstacles like vent holes or bump outs in the wall. We had to interface with our fireplace so we decided to frame it out in flooring first.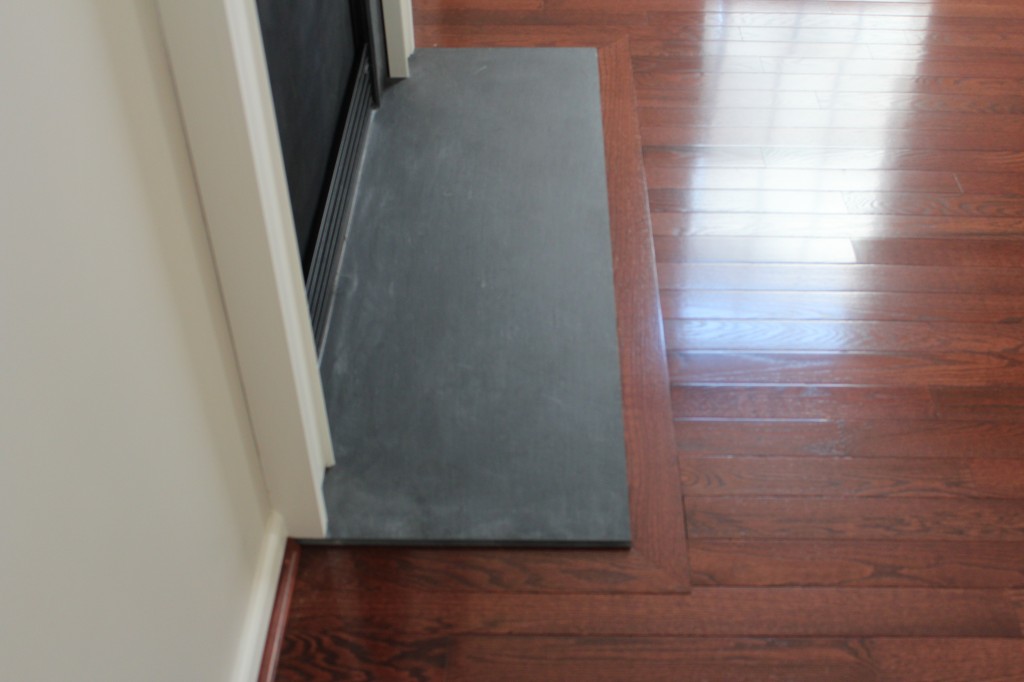
3. Proper Workplace Setup
A properly setup work space will help reduce the amount of work time and provide for a more efficient installation. If someone is helping you, make sure you have assigned roles and you’re not tripping over one another. Good teamwork will go a long way with this job. For our family room, Lisa picked out and laid down the boards, while I hammered them into place and nailed them down. We were able to get into a groove and really move through the job.
Make sure you setup as much equipment in the space as safely possible. I ALWAYS setup my miter saw in the room I’m working. If I left it in my basement or my garage, I’d have to stop and go down stairs every 5-10 minutes for cuts. That will wear you out very quickly. Having it right there in the room adds sawdust, but it saves a ton of time.
Keep all your hand tools in one spot. If you use your pen once a row, keeping it in one spot throughout the job will prevent you from having to scour the room looking for it every ten minutes. Same goes for your hammer and pry bar.
4. Dealing with Mistakes
No matter how careful you are, mistakes will happen. Boards will get slight surface cracks on corners and splits that reveal unstained wood. Those mistakes will be visible and can mar an otherwise perfect floor job. Add to that visible nail holes on your first and last board rows. The important thing about dealing with mistakes is knowing which boards can be saved with small repairs and which ones need to be removed. Some boards will get damaged well after they’ve been installed and removing them isn’t even a practical choice. If you think you can fix it and the damage is minor, leave the board in and keep moving with your install. Don’t make cosmetic repairs until your done the whole floor if you can help it.
For small corner tear outs or minor cracks, there is an easy way to fix them permanently. You can apply some wood glue into the crack, wipe off the excess glue and keep it secure with a piece of scotch tape if it’s hanging on for dear life. You can even wrap the edge of the board in the scotch tape and bury it with the next board row. Once the glue dries, you can use an exacto knife to score and remove the tape. You’ll never be able to tell.
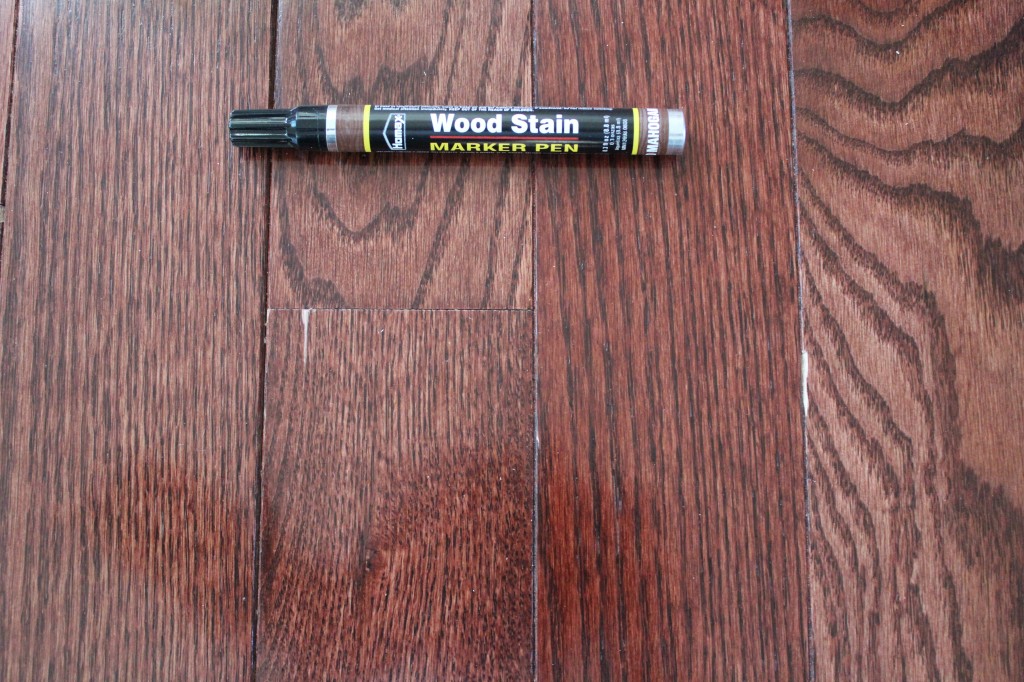
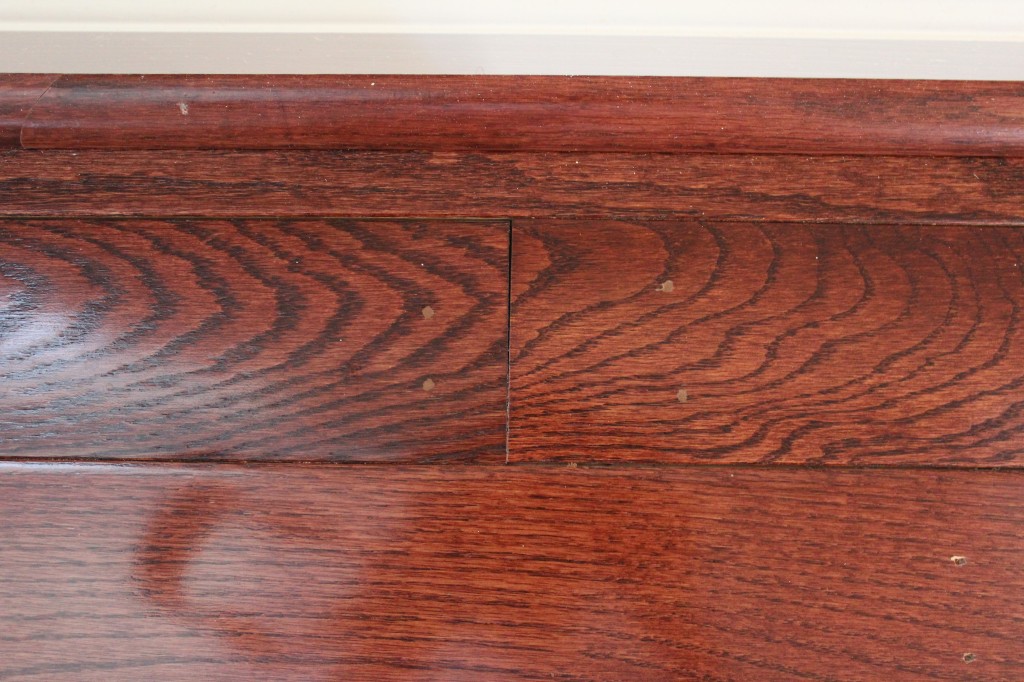
For hiding the visible scratches and tear outs, I used a stain pen on our floor. You can see this in action in the photos below. I used a Red Mahogany stain pen even though my floors are stained Red Oak. Why? Because it seemed like it matches the color of my floor the best.
Before
After
For nail holes, I just used a Walnut colored wood putty. The putty I bought is stain-able and will require a touch-up pen in order to be invisible.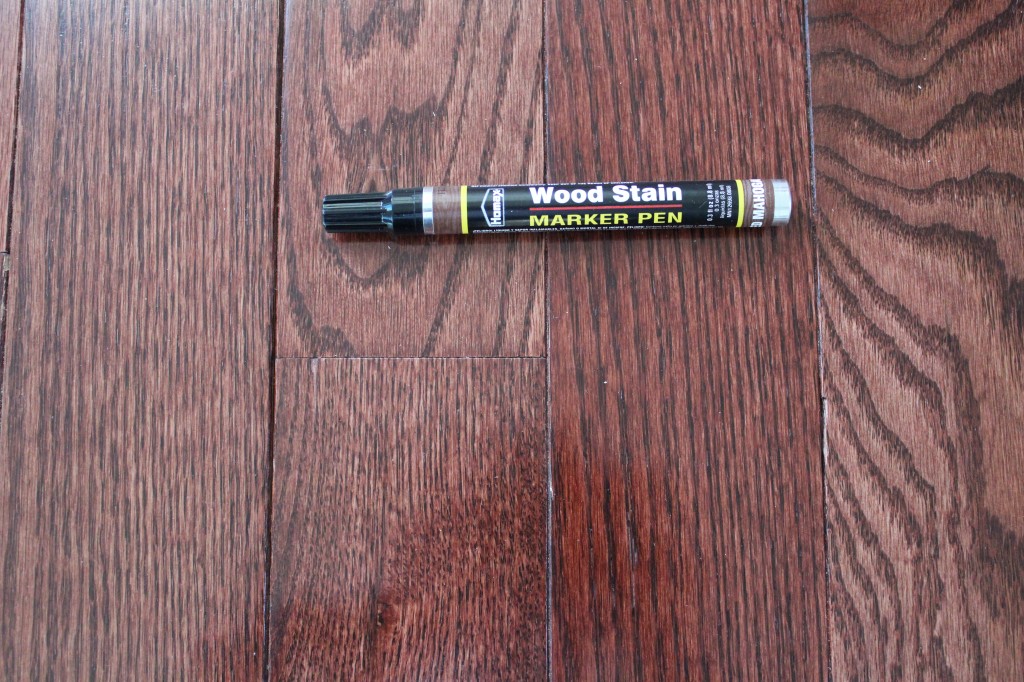
Before: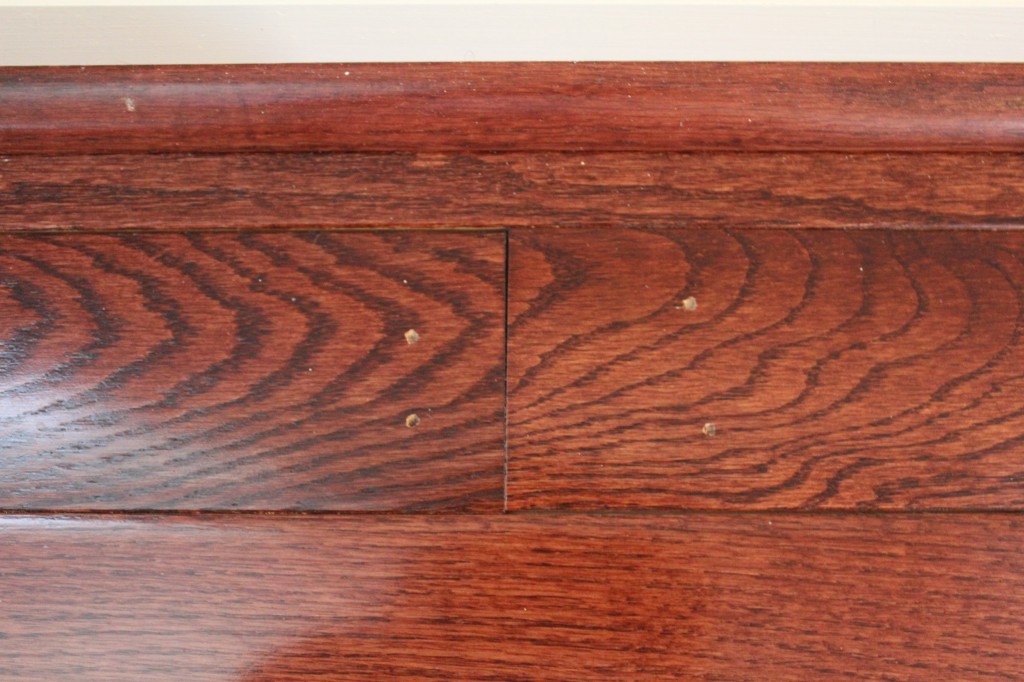
With Putty:
After Stain Pen:
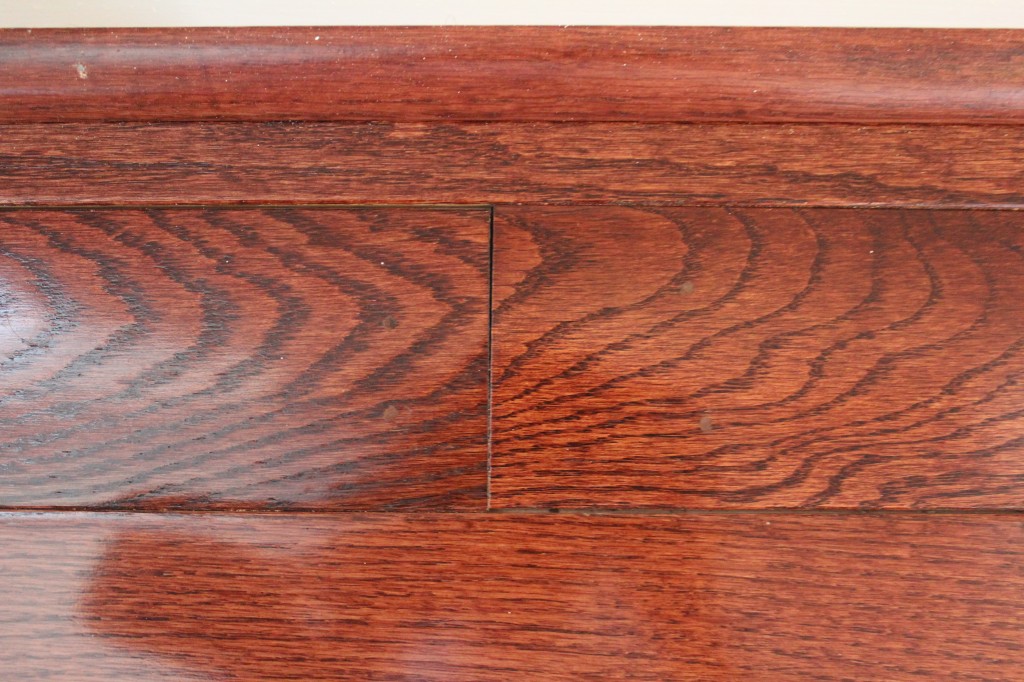
From a few feet away: They become completely invisible. Obviously, the holes on the bottom right haven’t been done yet, so ignore those!
So that’s all I got on hardwood floors. At least until we redo our home office! Now onto finish some painting and trim. Anyone else have off today?!


