Today we’re lucky to have our very first guest post by Ethan from One Project Closer. I’m totally impressed by the quality advice Ethan dispenses below. I’ll be building a workbench sometime next month (hopefully) and I’ll be incorporating every one of his tips. Check it out!
I feel like the workbench is the focal point of any shop because that’s usually were most of the action takes place. If I’m gluing the pieces of a new woodworking project, I’m at the workbench. If I need to use my vice or bench-grinder, it’s on the workbench. It’s also where I go for fresh batteries. I share all this because a good workbench can make such a huge difference. I would know; I’ve used good ones and bad ones. This guest post is going to focus on what I think makes a good workbench, and I hope you’ll add your thoughts too.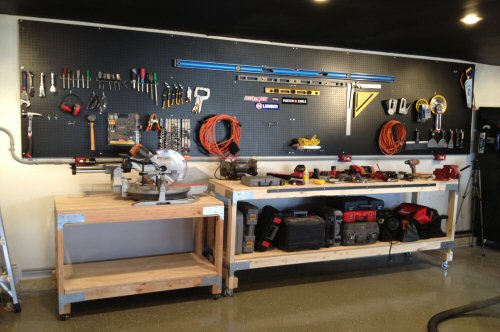
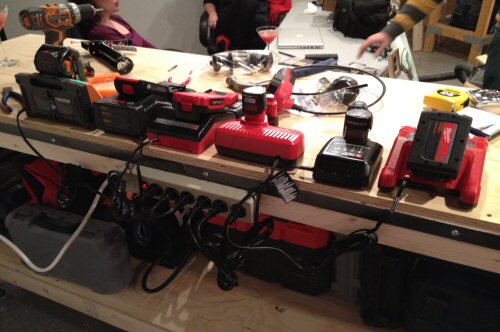
I mentioned that my workbench also doubles as a charging station. Manufacturers keep introducing new battery technology every couple of years, and that means I’ve got at least 5 chargers going at any one time. To keep all these batteries fresh and not tie up a bunch of outlets, I’ve mounted a power strip to the backside of my workbench. I’ve also seen power strips mounted on the underside of the workbench so that you don’t have a bunch of plugs protruding off the back. Either way, it’s very convenient and inexpensive to add one.
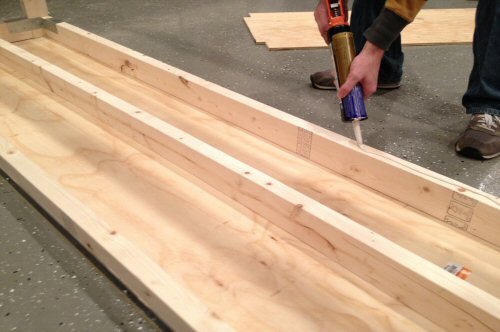
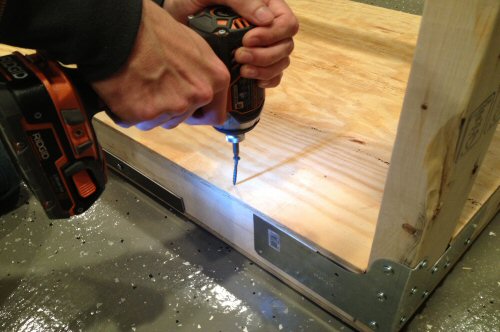
When my wife and I purchased our home, we inherited a simple workbench made from 2×4’s and plywood (which I later disassembled). Unfortunately, whoever made it didn’t bother to fully support the plywood and it sagged in the middle. Even worse, when I would hammer something, the entire bench would jump! The best solution I’ve found is to ensure your workbench is really well supported, and I recommend a torsion box design. Basically, you can create a torsion box by sandwiching the 2×4 supports with plywood. I’ve made two workbenches that feature a torsion box, and I’m amazed at how solid they feel.
This is a suggestion that I haven’t implemented yet but plan on adding to my current workbenches. Given enough time, the top of your workbench is bound to get stain, glue, grease and who-knows-what-else all over it. For that reason, consider adding a layer on top that is easily replaceable. Materials like Luan and Melamine are great for this application.
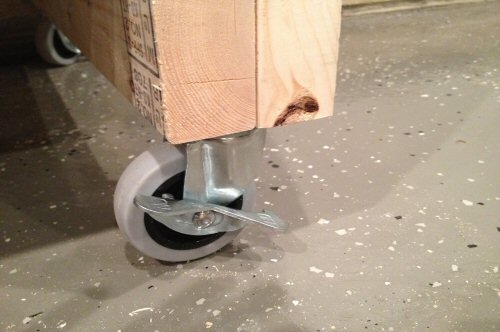
Casters are another really easy add-on that I recommend. Pickup a few 3″ casters and you’ve got a mobile workbench that you can move as needed. Just make sure they’re rated for the appropriate weight. Whenever I need to break out the miter saw, I wheel the workbench over by the garage door to minimize sawdust in the workshop (a.k.a. garage).
There are tons of different workbench designs and styles out there, and I hope you’ll share what makes your workbench unique. What features do you love about your workbench?
One Project Closer is a website where Fred, Kim, Jocie, and I share home improvement how-to’s, tool reviews, coupons for DIY centers, and crafty projects. I hope you’ll stop by OPC for resources like installing hardwood flooring, crafty gift ideas, and more. We also provide a list of discounts for home improvement stores like this Home Depot coupon page. Swing by and say hello!


