This is the second part of our hardwood floor installation. This project was started on the Monday after Christmas and I left it as seen in yesterday’s post for a few days until I was able to get back to it last Friday. There’s a LOT of hardwood flooring posts coming your way as we still have to start the family room floors and I’m planning on a “Lessons Learned” post at the very end to lay out all the little necessary tactics for making these type of jobs easier.
So here’s why we stopped for a couple days where we did (aside from the fact that it was nearly 10pm). At this point I hit a major fork in the road on how to proceed. The dining room floors have tongues that run toward the front of the house and the vestibule has tongues that run toward the back of the house. Now remember, this is relevant because I’m not leaving in the threshold, I’m removing it. If I left it in, this wouldn’t be an issue. IMHO, I think it will look better though if it looks like it was all installed during the build.
So after giving it some thought, I realized I had two basic strategies to mesh these floors together. The first option was to continue in from the dining room and modify each board as they intersect with the vestibule. OR I could bring the vestibule towards the dining room and only modify the very last board. The problem with the latter plan is it’s more risky. If I get down to the last board and it’s in the middle of these two floors, there’s the chance it will be majorly wider or thinner than one board. That would be horrible. If this were a floor with varying widths, great, but it’s not. The problem with the first option is it’s a lot more work as nearly every board against the vestibule will need to be sawed. Yikes.
Because I had faith in the quality of the installation by the builder, I decided to bring the vestibule towards the dining room. Here’s how I integrated these floors.
Part 3: Removing the Vestibule Floor Boards
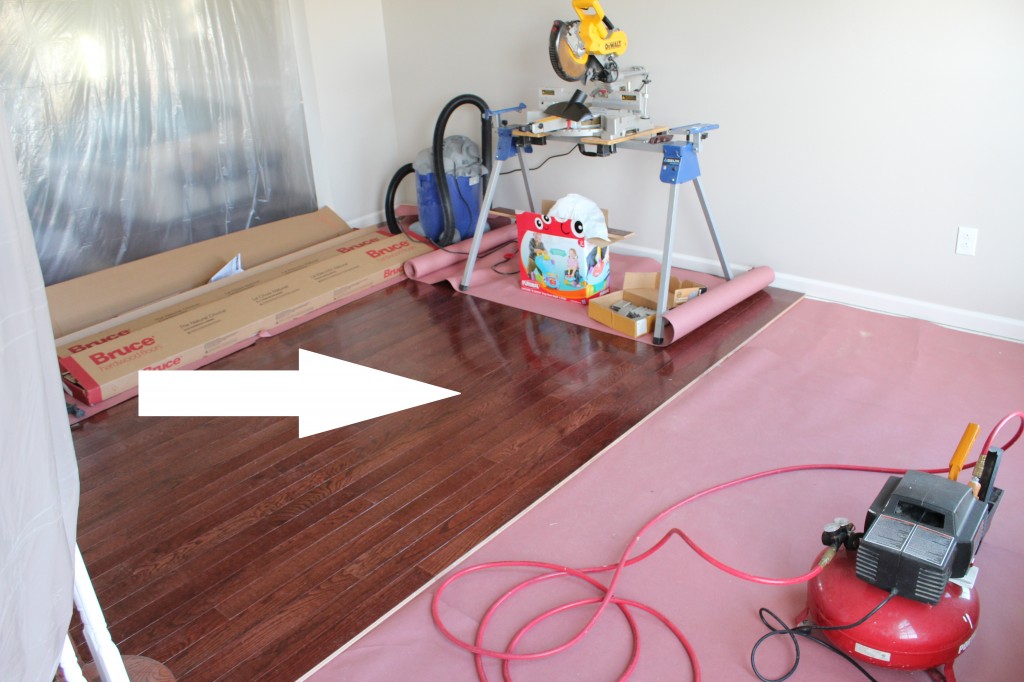
First and most importantly, I prepped the area with a solid wall of plastic tarps taped securely enough to prevent nearly all my dust from getting to the rest of the house. A normal floor installation isn’t too dusty even with some cuts. The dusty part is the removal of the floor boards. That will create a TON of saw dust, so buckle up.
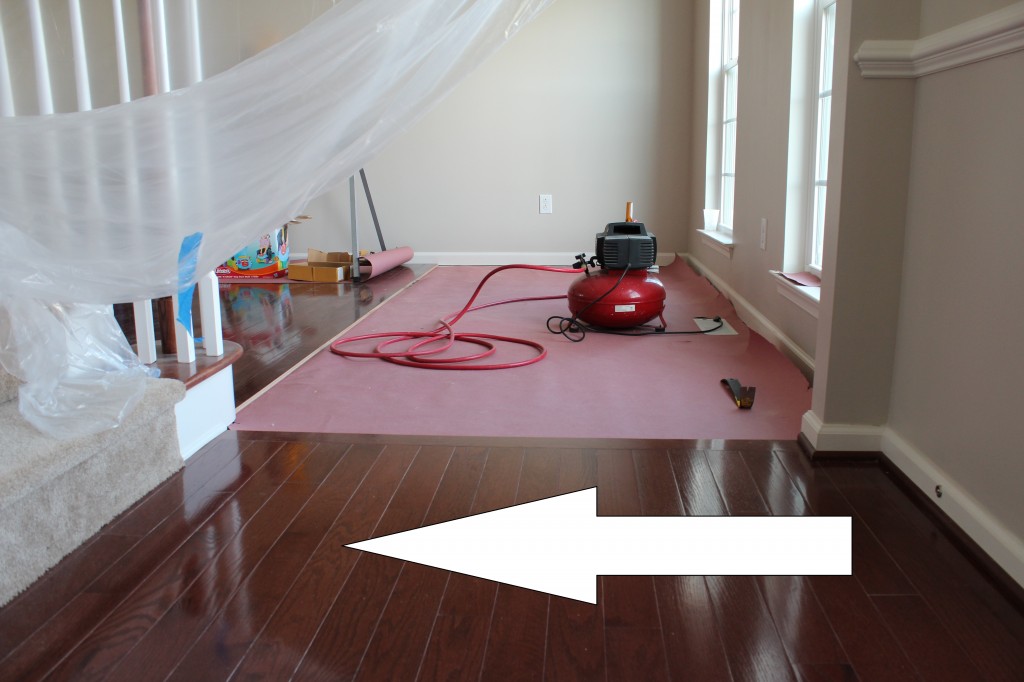
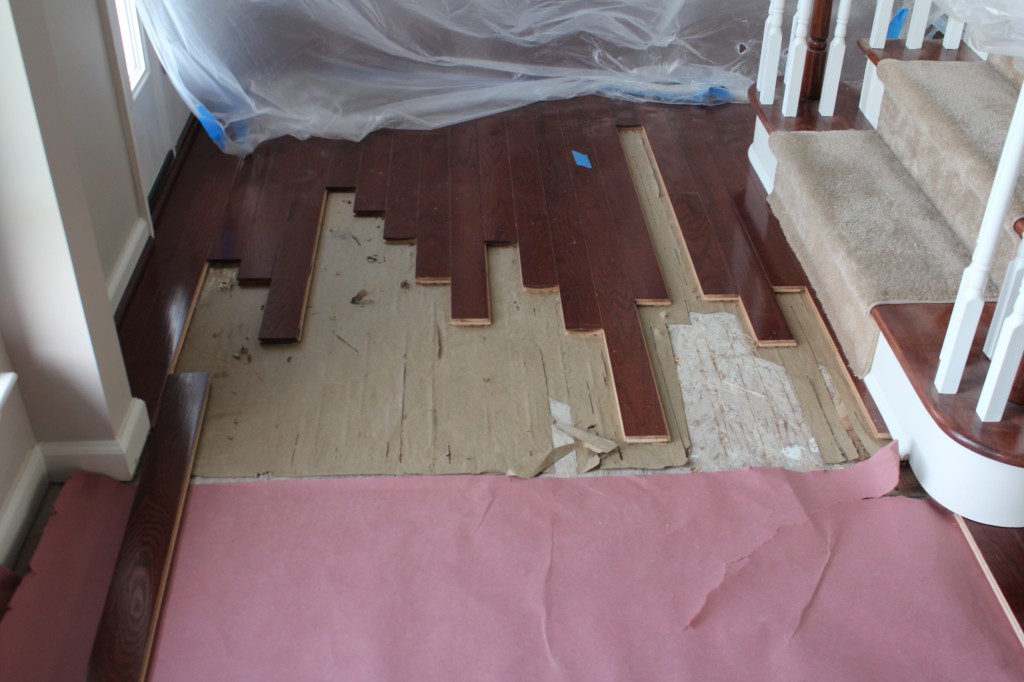
Here’s a shot of the vestibule floor before the work started. You can see that horizontal board that acts as a threshold or a transition. It get’s taken out. 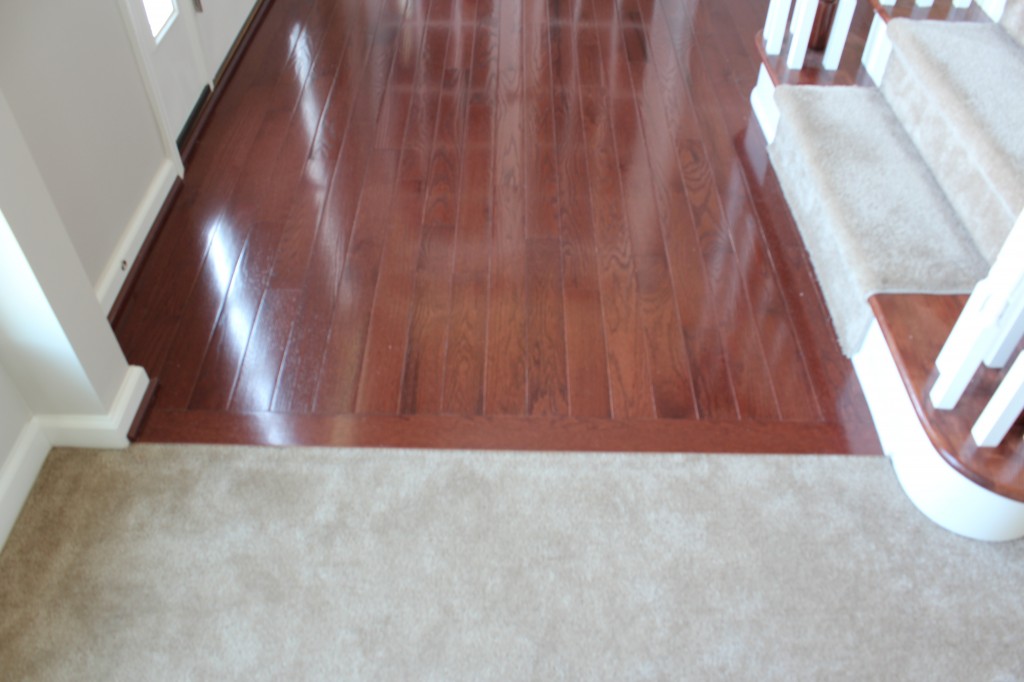
Without the carpet:

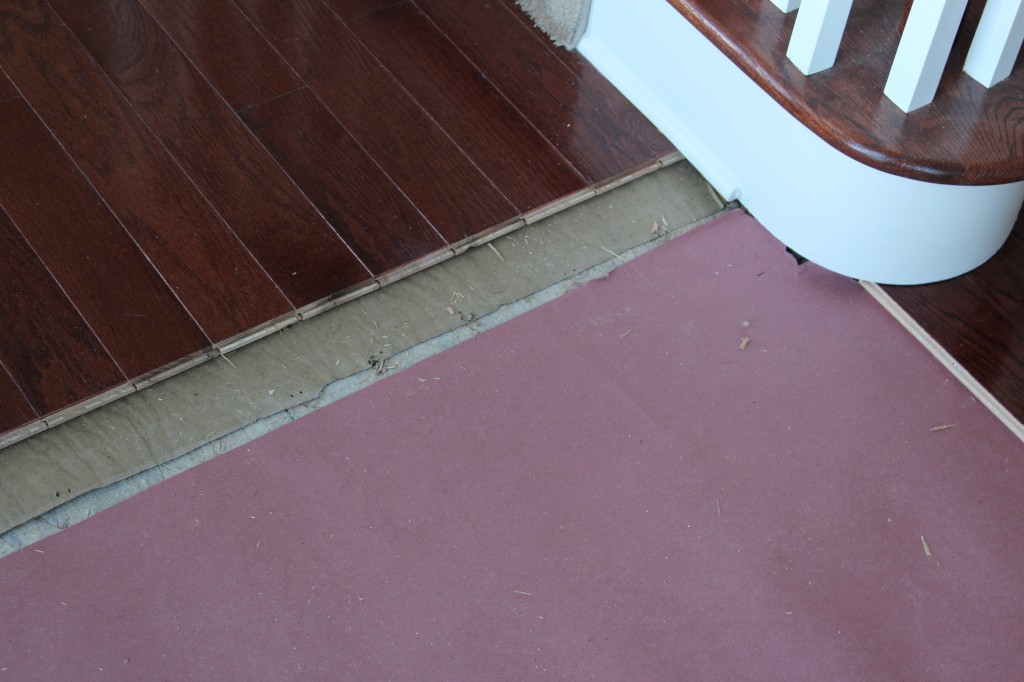
Board popped. This is where i learned which way the tongues were running. You can’t tell until you see the board from the side.
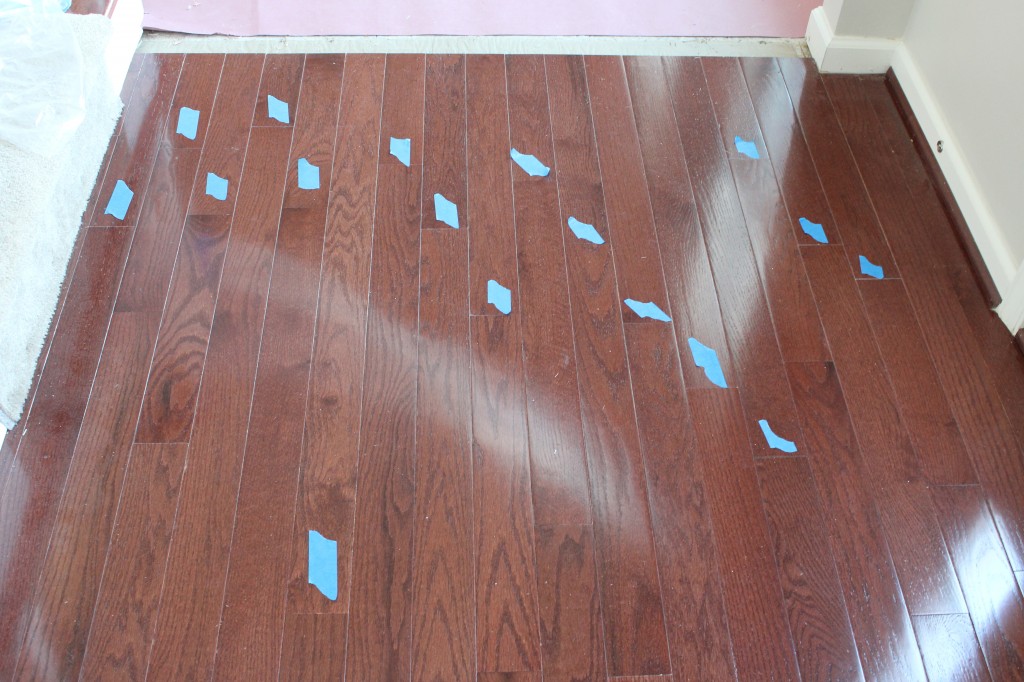
Now I need to remove the last board from each row. I start by marking each board with a piece of painter’s tape near the edge. When I get to cutting, there’s going to be a soooo much saw dust on the floor that the blue tape makes it easier to keep track of what gets yanked. AND to make it easier on myself, I picked the longest board and left it in place. That’s a short cut that I can live with. The only reason we’re removing these boards is because they are all cut to the same length and we need to vary that so it doesn’t look like we added it.
To remove the boards, I used a circular saw with a new, sharp blade. I set the blade depth to 3/4″, which is the thickness of the floors and I make two passes through the board I’m removing being careful not to cut into the following board. Once those cuts are made, the center section can be cracked out with a pry bar or a hammer. If the center section pulls out OK, the un-nailed edge of the board will pull out with ease. To get the remaining section out, I used a thin chisel and hammered it down through the tongue, splitting it. If it splits, it pulls out easy.
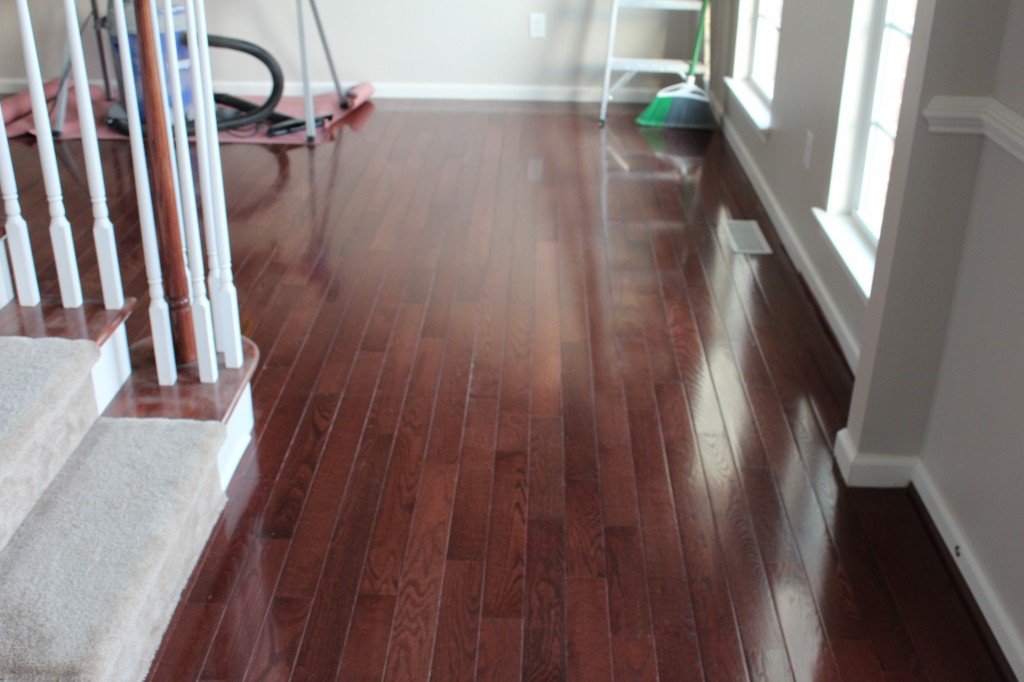
After all the boards are out, you’ll need to vacuum! The rest of the way is easy going. I just added boards like I did in yesterday’s post until I had one board section left. The last board space was 1/16″ too short and had two tongues. Thus, my last boards needed to be cut to drop into that space. I used my table saw and it was fairly simple. If anyone wants to see what that looks like, let me know and I’ll modify a board and take some more photos. That last row of boards needs to be nailed in from the top because you don’t have access to the side of it. Oh and the 1/16″ is so small a difference that you can’t tell. I will need to go back with a stain pen to color up the edge I cut, but I’ll get to that later.
Plus, I have to add the quarter round piece, but I’ll get to that when we add it to the family room.
Overall, we’re very happy with them!
If anyone if considering this project and you have ANY questions, don’t hesitate to ask!


