Now to finish up our drip irrigation system installation…
We just got more 1/2″ supply line a few days ago, so I’m going to finally get back to work on it. I actually bought another 200 ft of hose just in case, because I’m not interested in running out again. Irrigationdirect.com sells the supply line in 100ft and 500ft increments at a low price, but the shipping cost is about $20 a pop (free shipping for orders over $119). It certainly pays to order extra material from the get go!
Starting this job where I last left off… digging another PVC conduit under the sidewalk.
Once the PVC is in and ready for the line, I pull a good amount of 1/2″ tubing through and leave both ends long. I’ll attach an elbow to one end and continue down the flower bed. The other end will be finished later.
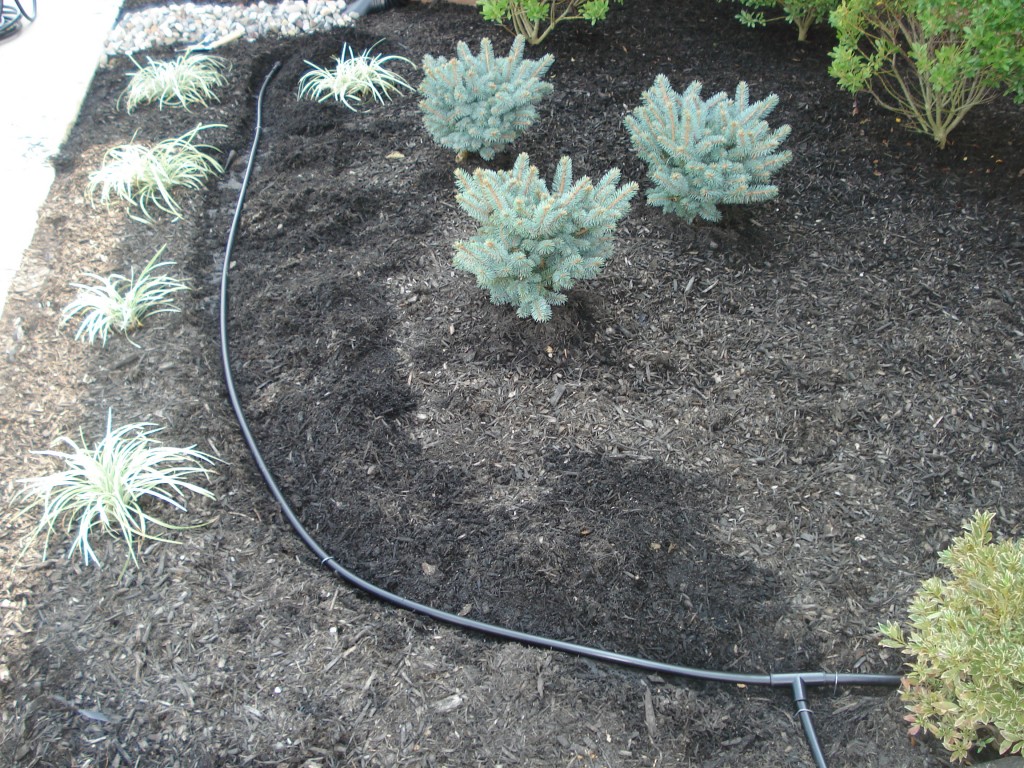
I used a small garden style hand shovel to clear a path through the mulch and pinned the tubing down using landscaping fabric pins. I tried to keep the supply line about 6″-8″ away from each shrub.
Now that I’ve reached the end of the house, I’ll add an elbow and run a hose over to the spigot. But first, I’ll finish the other end of the hose under the sidewalk.
The hoses meet with a tee and then continue along near the grasses.
 Now onto the spigot connection!
The connection at the water supply starts with a split. This allows the use of a garden hose while the drip system is connected.
Next comes the hardware. The control timer goes first, followed by a vacuum break, then the filter, then a pressure regulator and lastly, an adapter fitting. I’m also running a long section of hose down the side of the house since this will all be flower beds some point this month. That way, the drip system is already in place for it!
Now, I’m ready to test the system for leaks and add nozzles. However, I don’t want to be trying to program the timer for the test, so I’ll just remove the controller temporarily and once I’m happy with the pressure and the nozzle adjustments, I’ll put it back on.
To check for leaks, turn on the water and examine all the fittings. It’s unlikely the hose will leak at any other location unless it was punctured accidentally. Since there were no noticeable leaks, I’m going to check to see if I’m getting enough water out at my furthest point. I do this by removing the end cap from the hose.
Success! Now I’ll replace the cap and start adding my nozzles. The tiny drip nozzles are inserted into the 1/2″ tubing with a barbed 1/4″ end. The hose needs to be punctured so the nozzle can be inserted. Luckily, I have just the thing!
This hand tool punctures the tubing perfectly and is also available from drip irrigation suppliers.
After the hole was punched, the nozzle is pushed into place and I turned the water on to check the flow. Not too shabby! Now I have to install them all.
For plants that are away from the main water supply line, you can use 1/4″ extension lines. These small hoses attach to the main run via small barb fittings and can run directly over to the targeted plant. At the other end of the 1/4″ line, another nozzle gets attached. In this case, we used a nozzle that flows 1 gallon an hour on our walking stick.
Once ALL the nozzles were in place, it was time to give it a test. Unfortunately, I didn’t realize, but the nozzles have adjustable flow rates. Most were set to max, but after some adjustments, they worked perfectly. Here are the photos of the nozzles in action!
After all the nozzles were adjusted, the timer gets programmed and installed. It runs on 2 AA batteries. It comes with a weather tight rubber cover to keep it dry and functional. All done!
Read Part 1 of our drip irrigation installation.
Read Part 2 of our drip irrigation installation.