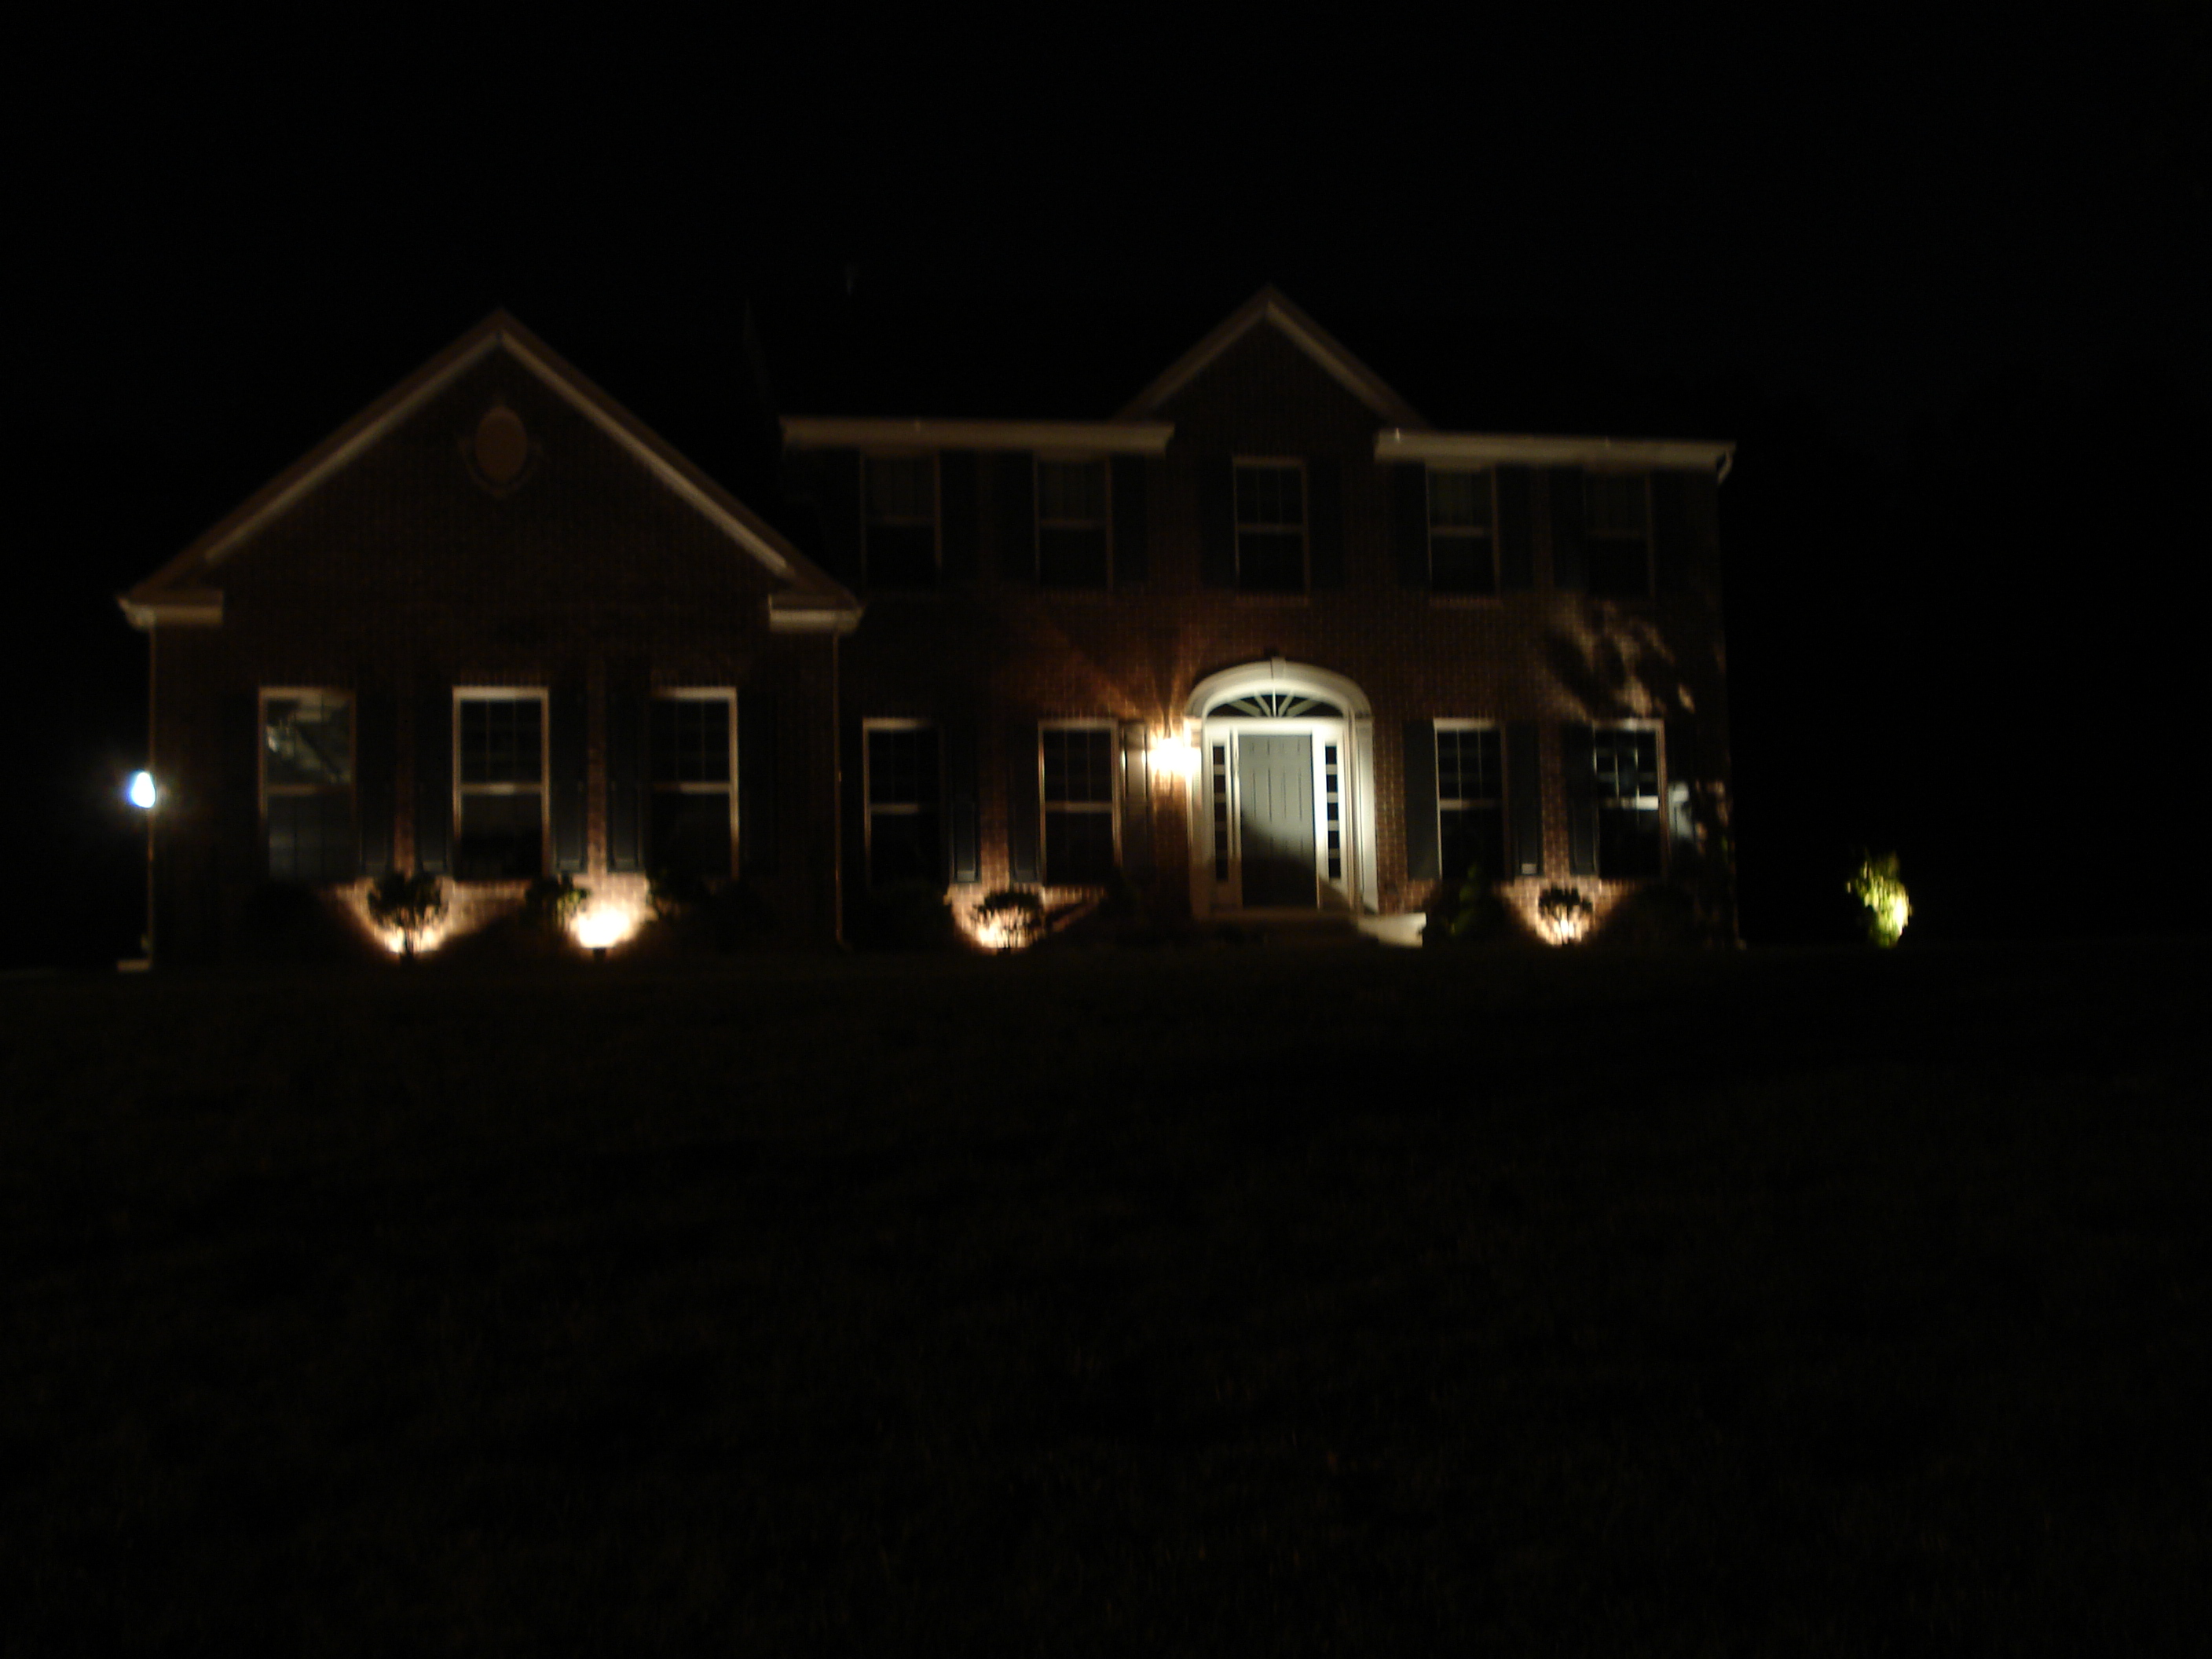
So last time we worked on our landscape lighting project, we were able to get the transformer installed and the four flood lights connected. After a brief test with an extension cord, we still have some adjustments to make. It’s always a good idea when doing a project like this to stop and see how the progress is coming along. There were a couple problems we noticed the first time we turned the lights on:
1. The four flood lights didn’t look bright enough and didn’t illuminate enough of the house. There are a few ways to correct this and we’ll discuss that below.
2. We could use a few more lights. Too much of the house is under lit. We’ll add a couple spot lights to correct this deficiency.
First we’ll show you our spot light install. We purchased two inexpensive 20 Watt halogen spot lights from the local building supply store. We positioned one on the corner of the house to uplight the Walking Stick and the other to light the front door. We could probably use a few more, but we can always add them at a later time. Adding lights to an existing system is as easy as splicing into an existing wire or simply running a new one to the transformer. For our new spot lights, we ran one new wire for both lights.
Here’s the one…

Positioning the front door spot light
Here’s the other…

The spot light for the Walking Stick.
To provide some further clarification into how to remove the insulation and splice the wires, below are some photos and some quick instructions. As always, make sure the power is off and unplugged to the transformer when you add any circuits or make any changes to the lighting.
1. After the lights are anchored into the ground in the locations we selected, I ran a wire from the front door spot light to the walking stick spot light. I then ran another wire from the walking stick spot light to the transformer.
2. Now we can prep the wires and splice at the first spot light location.

The wire is split with a pair of wire cutters and pulled apart.

Using a pair of Super Sevens to strip the wire leads.

The exposed leads. Notice the bottom wire has some stamped writing on it. That wire will be my “black” wire and the other my “white.”

The wires from the front door spot light spliced into the wire running to the other spot light. These wire leads now get covered by an exterior quality wire nut
3. Now this process can be repeated at the other spot light. However, at that location, I have three wires to splice, because I also have my wire that runs to the transformer.
4. Since the last time I worked on this project, I bought some Romex connectors to help secure the cables penetrating into the transformer. We’ll remove and reinstall those wires to get the Romex connector in place.

This is what a Romex connector looks like. It goes by several names.

The wires come out and get run through the Romex connector. The Romex connector has a lock nut which goes on the inside of the transformer. The other side has a couple screws, which when tightened, hold the wires in place.
5. When I was reconnecting my wires into the transformer, I had the opportunity to make some changes. First, I have to land all my “white” wires on to the Com1 slot. I installed my new spot lights on to the lowest voltage setting, 12 volts, because both lights are fairly close to the transformer. Then I installed my next closest lights in the 13 volt slot and the remaining circuit on the 14 volt slot. By increasing the voltage on those existing flood light circuits, I can be sure that if they aren’t lighting the house up enough, it’s not due to a lack of voltage.
6. At this point I’m ready to close up the transformer. The wires are carefully tucked inside and the water-tight door is shut. These boxes feature a side lock to keep it secure. I’ll be going back in this box soon enough to install an electronic timer, but that will have to wait until I install my exterior outlet.

The transformer with the door closed.

The wires are cleaned up a bit by using zip ties.
Now we can move onto correcting the problem with the flood lights. We noticed during our first trial run that they didn’t seem to be lighting up enough of the house. The first thing I tried besides playing with the angle of the light housing was the light filter. The lights come from the factory with a cloudy glass filter installed. This is supposed to soften the light out a little bit, but it can diminish the effective volume of the light as well. So, we swapped ours out for a clear glass insert. Luckily, it only takes a minute.

Flood light with the cloudy filter.

Clear filter installed.
Now that we got that squared away, the best solution to our under lighting problem seems to be moving the lights closer to the house. This can also be done quickly and easily by just pulling on the light housing out of the ground or using a crow bar to pry on the stake. The light can then be swiveled off the stake and the stake can be reset into a new location.

Before moving the flood lights closer.

After. Lights are now closer to the house. If only by a few inches.
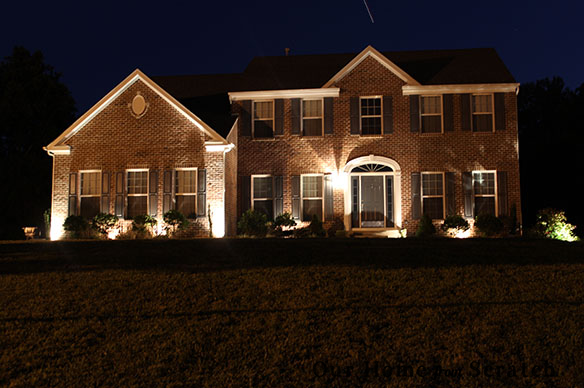
So moving the lights closer, changing the glass insert and upping the voltage all seemed to work well. The completed landscape lighting setup is pictured below, but there is still more work to do, although the bulk of the work is done. It only took about 4 hours to get to this point.
Next time we’ll be installing an outdoor receptacle to provide power to the transformer and we’ll also be installing the lighting timer. Also just added to the list: a drip irrigation system for our front plants because they keep dying!!
Disclaimer: Our Home from Scratch is meant to be an informative website detailing our adventures through home improvement projects. While these projects are often instructive, they may contain mistakes or errors. This website should not be used as a sole source of technical information for home improvement projects. Any projects attempted similar to those depicted on this website should be done with the aid of professionals and with the utmost caution. Always follow local building codes. Neither the operators nor owners of Our Home From Scratch website assume any liability for any injury, death or damage resulting from attempting something seen on this site.


