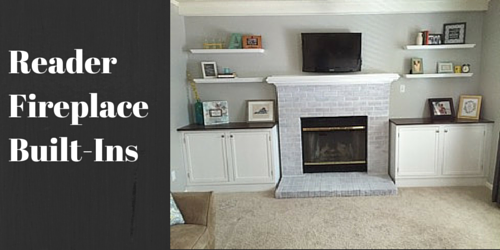
In today’s post, we’re talking to one of readers, Matt from Virginia. Matt recently finished his own fireplace built-ins using our Large Built-in Plans and we’re talking to him about his experience. There’s a few nuggets of wisdom here.
Matt ended up taking our free plans and making some modifications to the dimensions to accommodate his living room. Along the way he painted the fireplace, added floating shelves and mounted his flat screen tv.
Here’s what Matt’s living room looked like before the project:

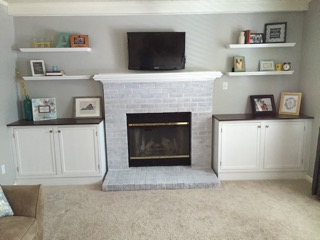
Now here’s the after. Looks killer!
1. You based your cabinets on the Large Built-In cabinet plans. Did you have to make many changes to the design or the dimensions to get them to work in your space? Was that difficult to do?
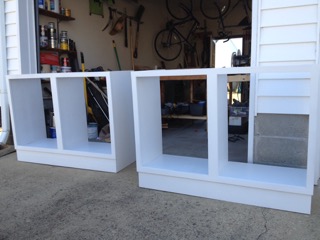
I had to change the plans to accommodate two different sized cabinets. The left hand cabinet is 48″ with the right hand cabinet being 51″. It was not difficult to change the plans. A little time consuming to verify measurements and check over everything twice, but rather easy. Having the plans actually saved time, because I had something to reference and/or use as a guide.
2. What was the hardest part of the project?
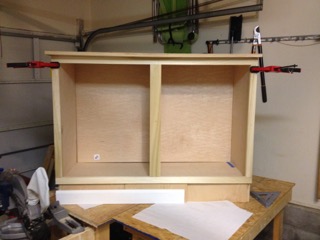
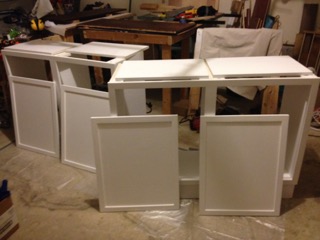
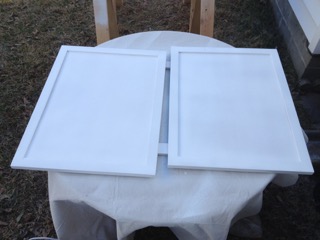
Hardest part of the project was the amount of time it took to finish. The first problem was the plywood was cut to the wrong size at the big box store that I went to, so I had to further modify the plans versus returning the wood to the store. This only set me back and added additional time to the project. Secondly, I cut the face frame short on both cabinets – this proved to be challenging as it made hinge selection difficult. I ended up using 3/8″ hinges and hollowing out the sides of the cabinets to accommodate the hinge. Finally – I have never made inset doors. This for me was by far the hardest part of the project. By nature I am a perfectionist and getting the gap to line up without having a jointer or planer was very difficult. The gaps on the doors to this day are not a perfect 1/8″ all the way around
3. How long did it take you?
It took 8-9 months to finish the project. I worked mostly on weekends or in the mornings before work to get the project done. This was building the cabinets, painting the fireplace, running cables through the wall to mount the TV above the fireplace, installation of floating shelves and repainting the living room.
4. What kind of finishing process did you follow? What primer and paint?
I sprayed the finished using a HomeRight Finish Max Fine HVLP Paint Sprayer – Behr Premium Plus Paint in classic white and Zinsser Bulls Eye 1-2-3 Primer. In total, it took two coats of primer and two coats of paint. The process also included tips from your site on painting cabinets. I used 150 girt and 220 grit sand paper initially on an orbital sander to get everything smooth prior to painting, with a light 220 grit sanding between coats of paint and primer. The top was stained with American General Java Gel Stain and finished in Min-Wax Polyurethane – I sprayed this from a can for a satin finish.
5. What are you using the cabinets for?
The cabinets are mostly for housing the cable box and electronics along with my kids puzzles and board games, pull-ups, etc.
6. What are future projects are you planning around your home?
Future projects are bathroom remodels – one which is already complete. I have two more bathrooms to finish out. The two remaining will get new floors, vanities, mirrors, etc.
7. If you had to do the project over again, what would you have done differently?
If I had to do the project over again, I would have used pocket holes to put the carcass of the cabinets together. I ended buying a dado blade set off of Ebay that came in handy, but I already had a pocket hole jig and that may have saved me some time. I would have also opted for overlay doors vs inset, as I think overlay doors would be more forgiving.
Great advice from Matt after his cabinet build. You can see the reflection in his countertops from across the room. Nice! Thanks for sharing your project with us, Matt.


