In this post, you’ll learn:
– How to organize your office cables with inexpensive hardware
– Tips for using a hole saw for large diameter holes
Now that we’ve actually been using our new home office for a few weeks, we’re starting to really enjoy the space. On top of that, we’ve noticed a few areas that aren’t quite as functional as we’d like them and in this post, you’ll see how we fixed those issues.
Office Cable Management
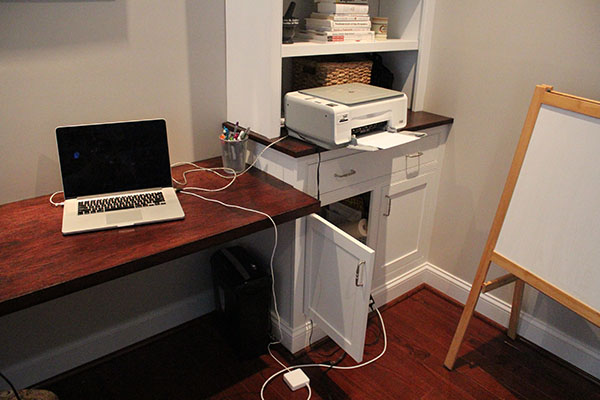
Let’s start with the biggest issue so far: cable clutter.
There’s a simple reason for this mess: the closest outlet for the computer, printer and paper shredder is inside the cabinets. There’s an outlet in each one, so we have to run the cables into the cabinets from the front.
The outlet locations were intentional. I wanted to make sure they were inside the cabinet and not under the desk. If they were under the desk, then I’d have cables more visible from the room entrance and I didn’t think that would be very attractive. I also didn’t want to loop the cables from under the desk onto the top of it.
So here’s what we did.
I pulled out my 2-1/8″ hole saw and drilled some holes.
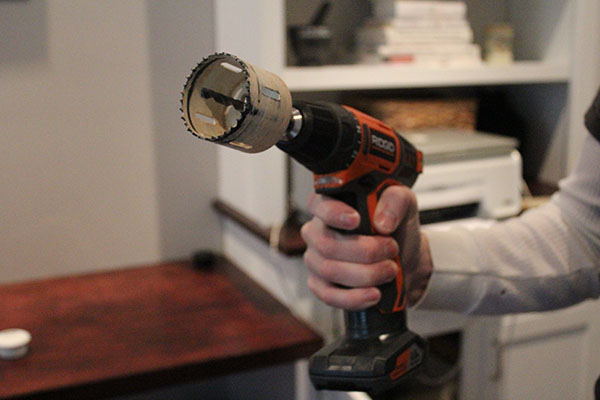
If you’ve never used a hole saw, I recommend the ones where there’s a longer center drill bit in the middle. It allows you to locate your hole more accurately without the bit wandering around as these bits tend to do.
When you use a hole saw bit, it helps if you try to wobble the drill a little as you push down.
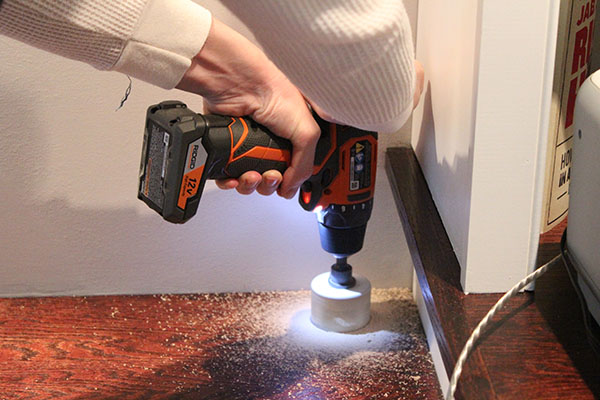
Once the hole is drilled, I’ll pop in one of these desktop cable organizers (affiliate link). Actually called a grommet.
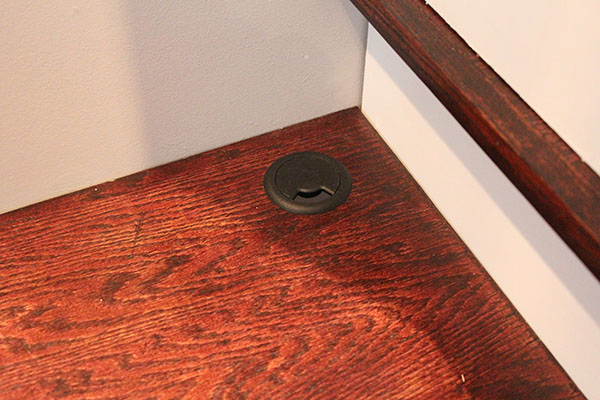
The grommet gets held in place with a little adhesive caulk, but if I used a 2″ sized hole saw like I should have, it wouldn’t need the glue. It would fit snuggly without it.
After the hole is drilled, the hole saw will look like this:
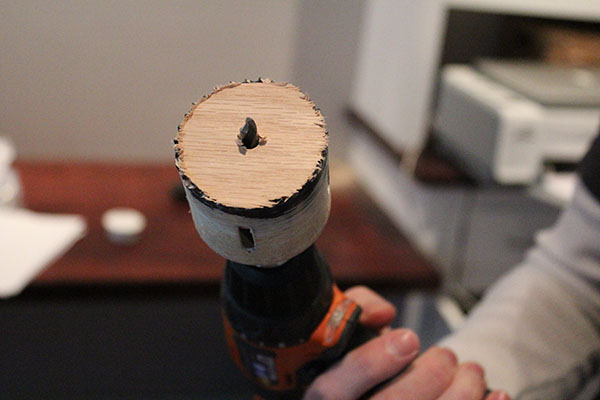
You’ll have a wood plug in the drill that you’ll need to remove. The hole saw actually has these small slits in the side where you can stick a flat head screw driver and pop the plug out from behind. You can also run the drill in reverse and tap on the side of the bit. Either works.
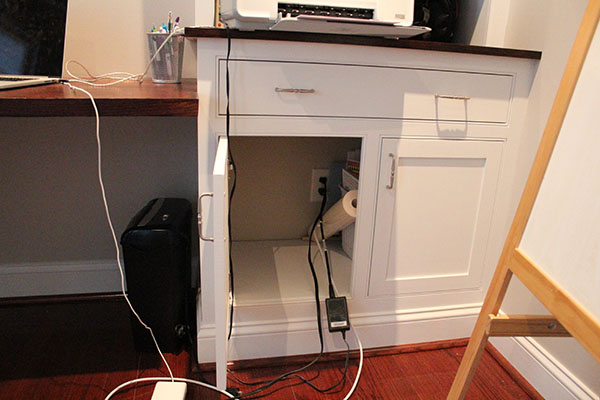
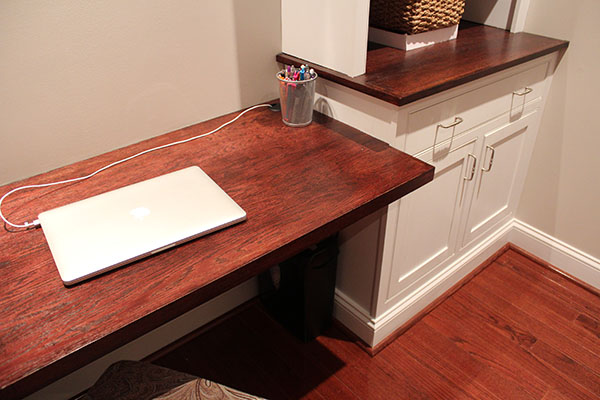
In addition to the grommet in the desktop, I added one to the side of each built-in cabinet.
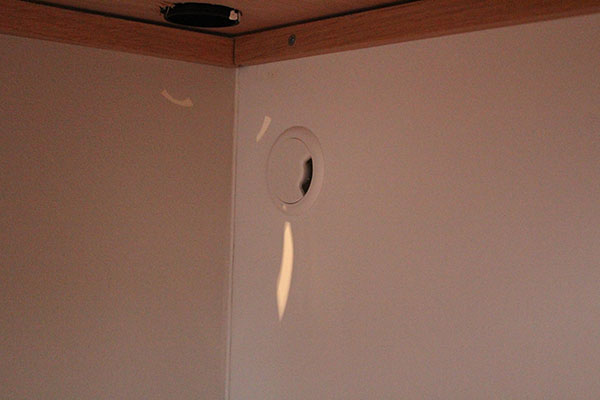
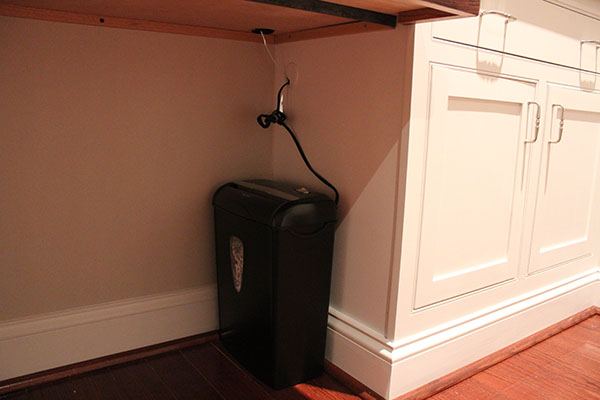
These side grommets will allow me to run my desktop cable into the cabinet. It’s also perfect for our paper shredder.
Inside the cabinet, I mounted a power strip with a built-in surge protector.
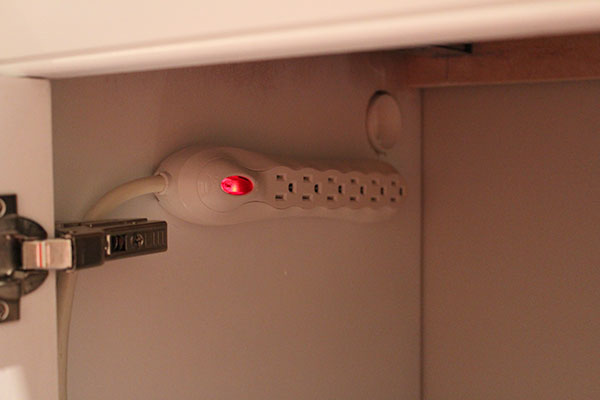
So now our office cable situation is under control.
Much, much better.
Thanks for reading. If you like our office remodel series, including this post, please share on social media. Later this week I’m going to give you the details for what we have in store for 2015.


