So, last week as you may recall, we added a reverse osmosis system (ROS) to our kitchen sink. How do we like it so far? We love it. The water tastes great and we don’t have anymore plastic water bottles collecting dust all over the house. Wasn’t terribly difficult either, although there were a few tricky steps, like drilling through the stainless steel sink and adding a section of pipe for the drain.
Now, I’m generally a cautious guy. Whenever I mess with plumbing, I usually keep an eye on it for a little while to make sure it doesn’t leak. With the water supply lines, you usually don’t need to do that. They are pressurized and they’ll either leak immediately when the water is turned on or not at all. They CAN have a slow drip, but even those usually materialize sooner than later.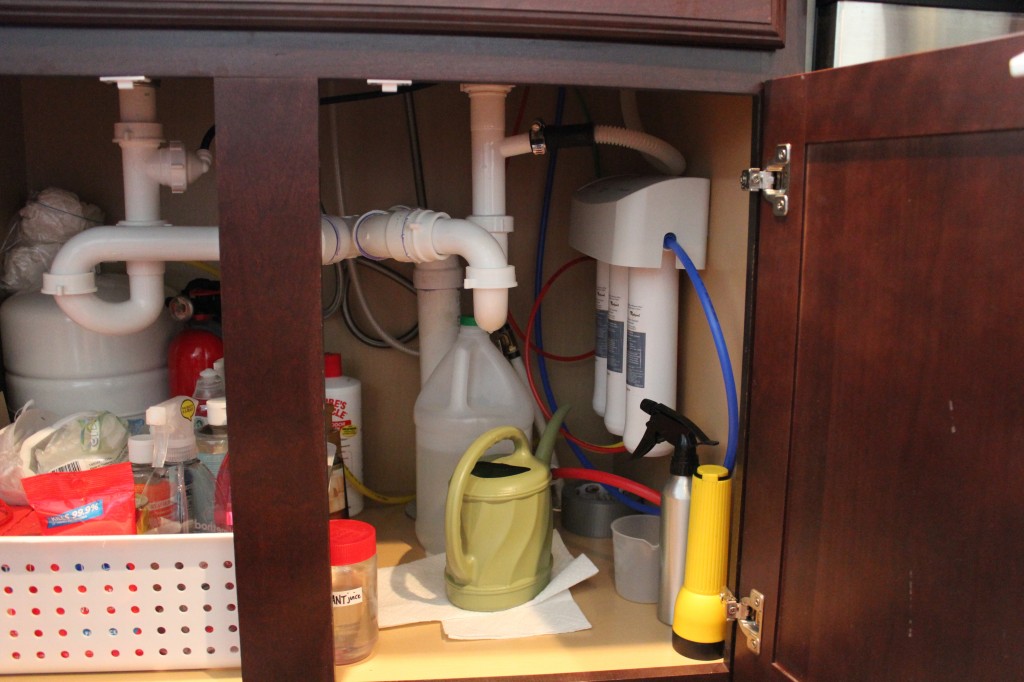
The drain pipes on the other hand, can take a while. They aren’t under any pressure and leaks can be painfully slow to develop. The photo above is our kitchen sink the day after I installed the ROS. See that paper towel and the water pail? Yep. We sprung a leak. The entire left side under our sink had a nice puddle of water in it. The culprit? The right side p-trap. What’s weird about that? I modified the left side p-trap in our ROS install and didn’t even touch the right one. Apparently, I must have bumped it or something when I was messing around with the left side.
How to Fix a Leaking Sink
After a close inspection, I was able to feel a lot of water around the topmost p-trap fitting. So, the first thing I did to remedy this whole situation was to just put some muscle into that fitting and crank it down tight to see if that helped. Since this is a slow drip, I put a dry piece of paper towel under the p-trap and left it alone for a couple minutes. After a little while, I noticed the paper towel had some wet spots. Crap.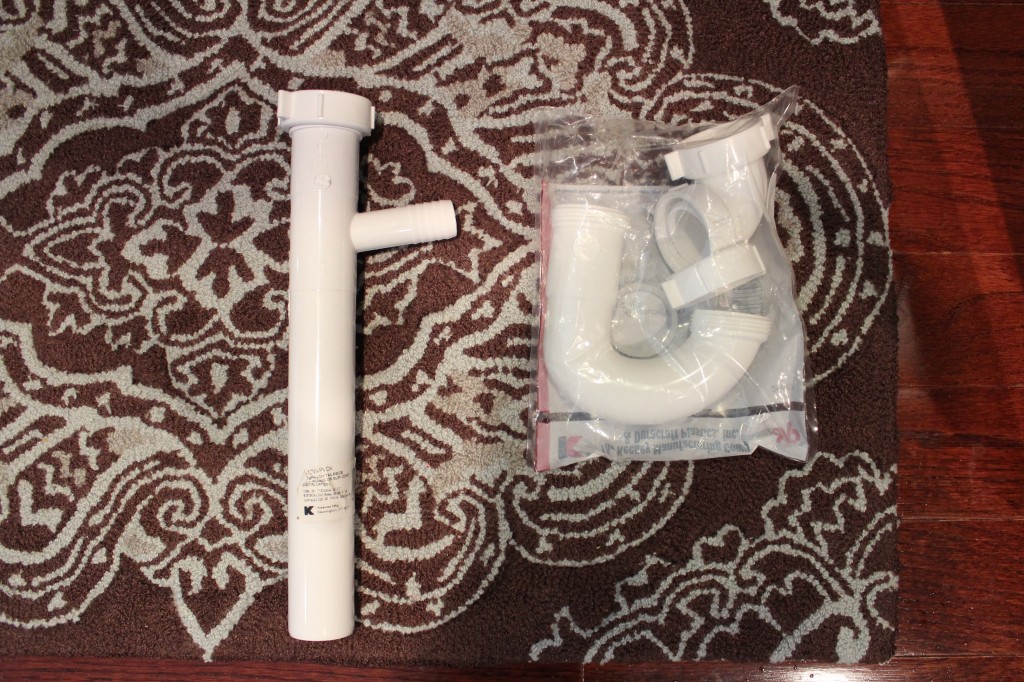
The only real option I have at this point is to replace the p-trap and the maybe the tall pipe that has the dishwasher port on it. They readily sell these at home supply stores and they’re very inexpensive. I paid under $10 for both of these parts.
I started the fix by removing the old p-trap. It comes out very easy. You just loosen the two nuts that hold it in place. They’re almost always hand tight. You don’t really need to use a wrench for any of this.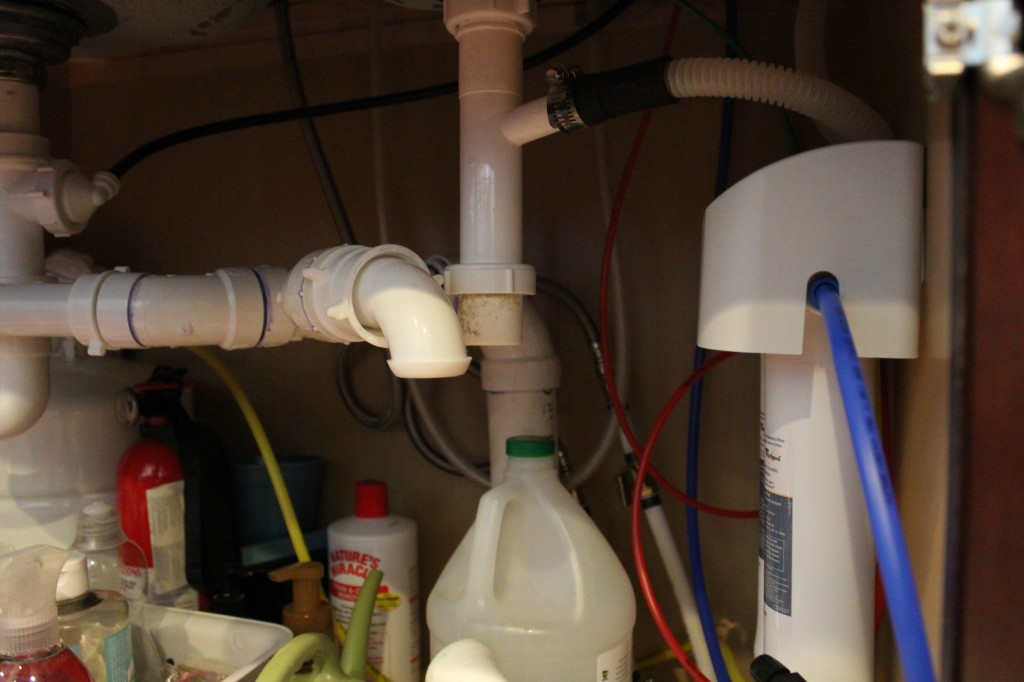
That long pipe came out next. Same deal as the p-trap. Once it was out, I laid it next to the new one and marked the new one so it had the same length. To cut it, I just used a pair of tubing cutters, but you can also use a hack saw.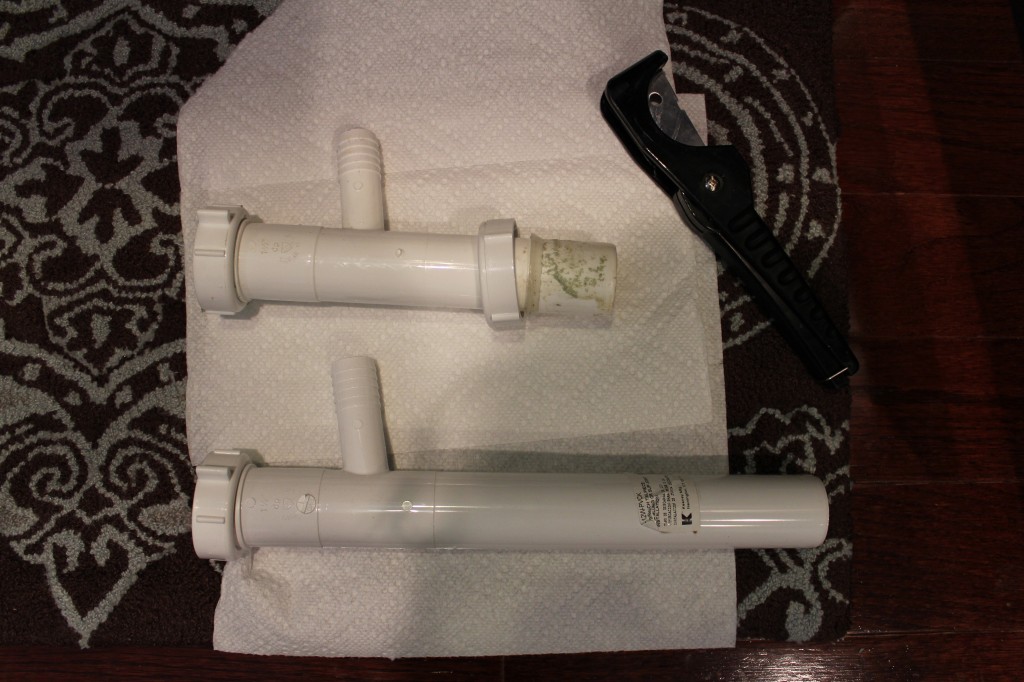
With the straight pipe cut to the correct length, it gets installed the same way the old one came out.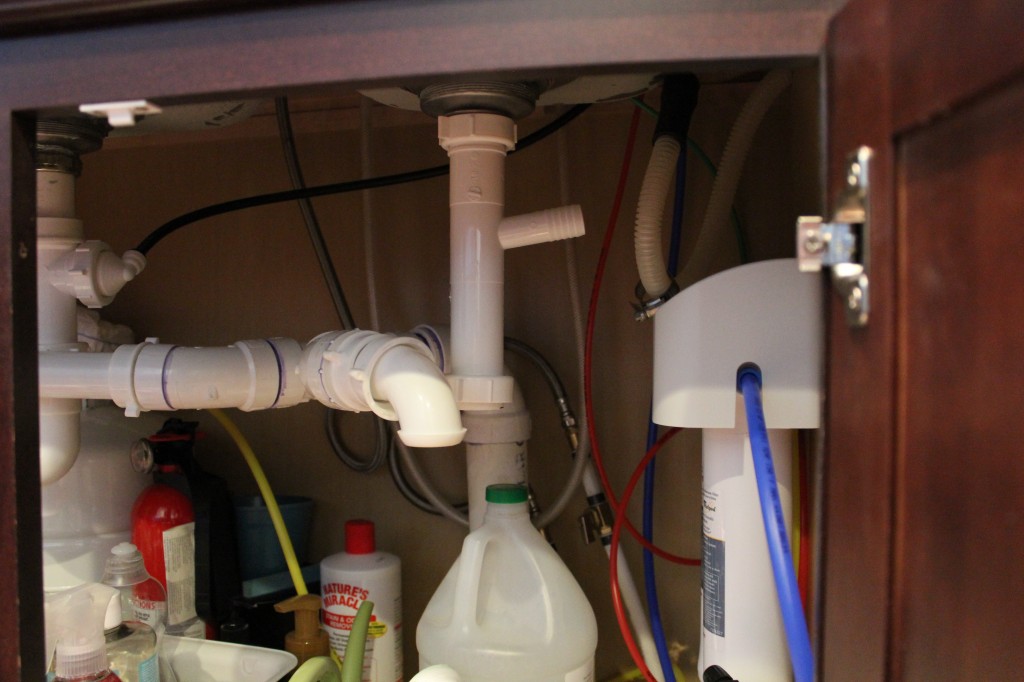
With the straight pipe in place, the new p-trap is up next. Very simply installation.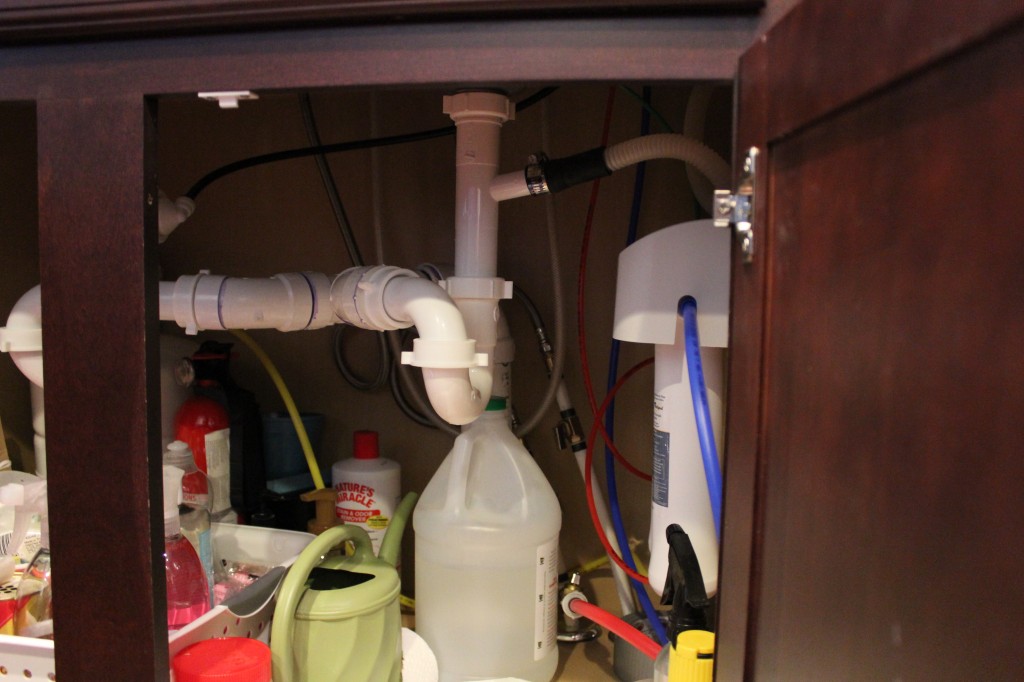
So our finished photo looks identical to our first photo. Only difference is this one doesn’t leak. To be sure we corrected the problem, I left another piece of paper towel underneath the sink. This time, I left it under there for a couple days. No drips!
What was wrong with the old one? Hard to tell. It’s possible it got bumped and then maybe messed up one of the seals. Who knows? I’m not losing sleep over it.
So, that wasn’t very exciting, but hopefully you learned something about your sink!! Fix ay problems at your place lately?


