One of the perks of moving into a new development two years ago has definitely been the wonderful neighbors we’ve met. Since the neighborhood is fairly small, it’s been pretty easy to meet all of them, which is a big change from when we were living in the city. We regularly hang out with a bunch of them, especially in the summer. A lot of them have very young children, so we’re excited that our daughter will have friends close by to play with.
Another perk to having great neighbors is getting them to help you with home improvement projects! Case in point: Mike and Dana (M&D) are neighbors from down the street and they asked us for some help hanging their flat screen TV set. Of course we agreed. They even sweetened the deal with free dinner beforehand (as if they had to). Dana made a great chicken dish.
I know Mike doesn’t consider himself terribly handy, but I think he would agree that mounting a flat screen TV is not very hard and could probably be done in under an hour. It definitely adds a sleeker look to any room and can help eliminate TV stand clutter. Plus, all the cool kids are doing it.
We started by clearing a spot behind the TV stand and then marking the center of the wall. M&D wanted to get the TV as close to the center of the wall (left to right) as possible.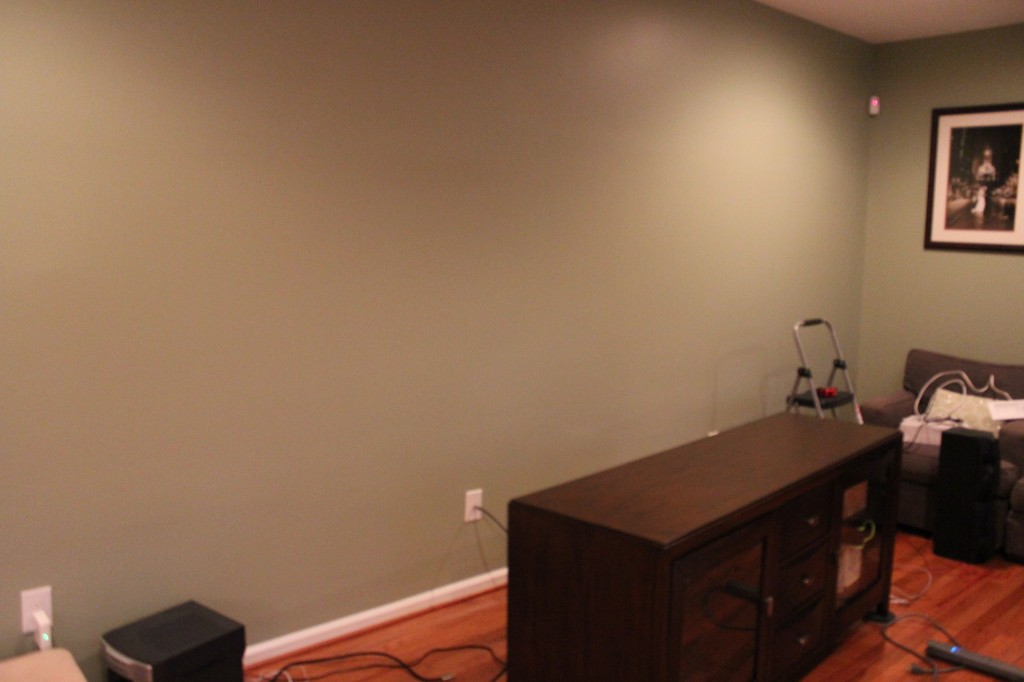
The mount Mike chose is a Sanus model and he bought it from Best Buy, but he’s pretty certain you can pick one up cheaper from other vendors, like monoprice.com. The mount is essentially a three piece design with two brackets that get fastened to the back of the TV and a larger bracket gets mounted to the wall. The bracket comes with the necessary fasteners and gets lagged into the wall studs. The manufacturer also supplies molly bolts in case you don’t want to or can’t mount the bracket into a stud. Call us crazy, but we both thought that hanging a nearly 100lb plasma screen TV to the wall without hitting the studs was a bad idea. Molly bolts are nice, but let’s save those for hanging artwork.
Once we knew where the TV was going to be centered, we tried to find the studs. We literally had three different stud finders and they weren’t really working very well. There was also a LOT of lousy stud finder jokes. A LOT. Luckily Mike had picked up this magnet stud finder set from Lowes. I’ve never seen this before, but it’s a brilliant idea.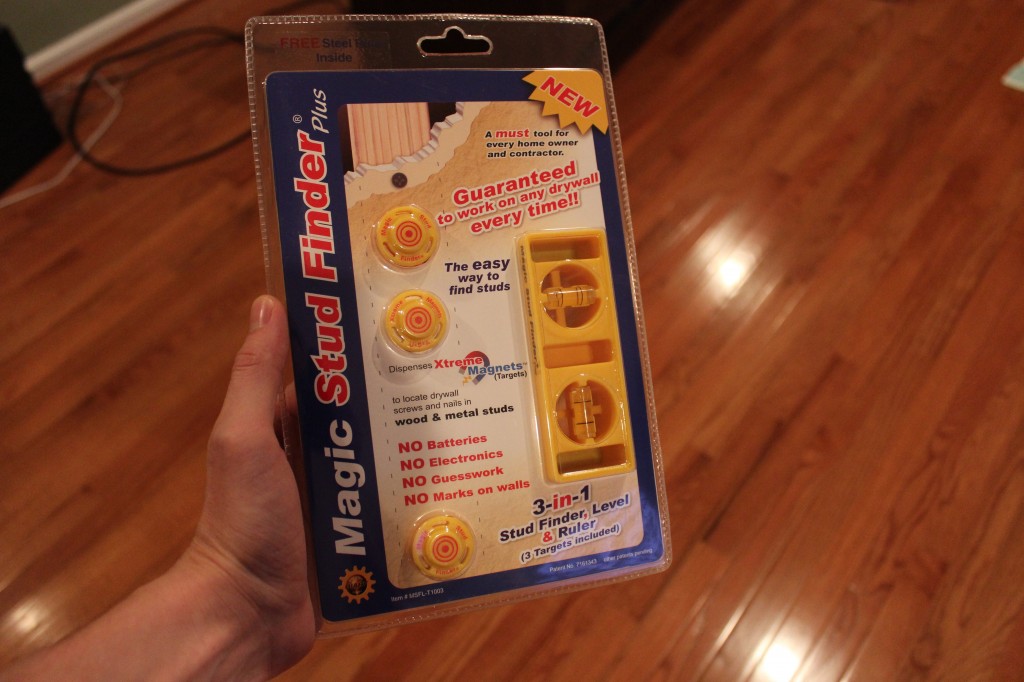
This package comes with a few small, but powerful magnetic, plastic disks. These disks can be dragged across a wall until they ‘grab’ a drywall screw or nail. If you find a drywall fastener, you essentially find the stud.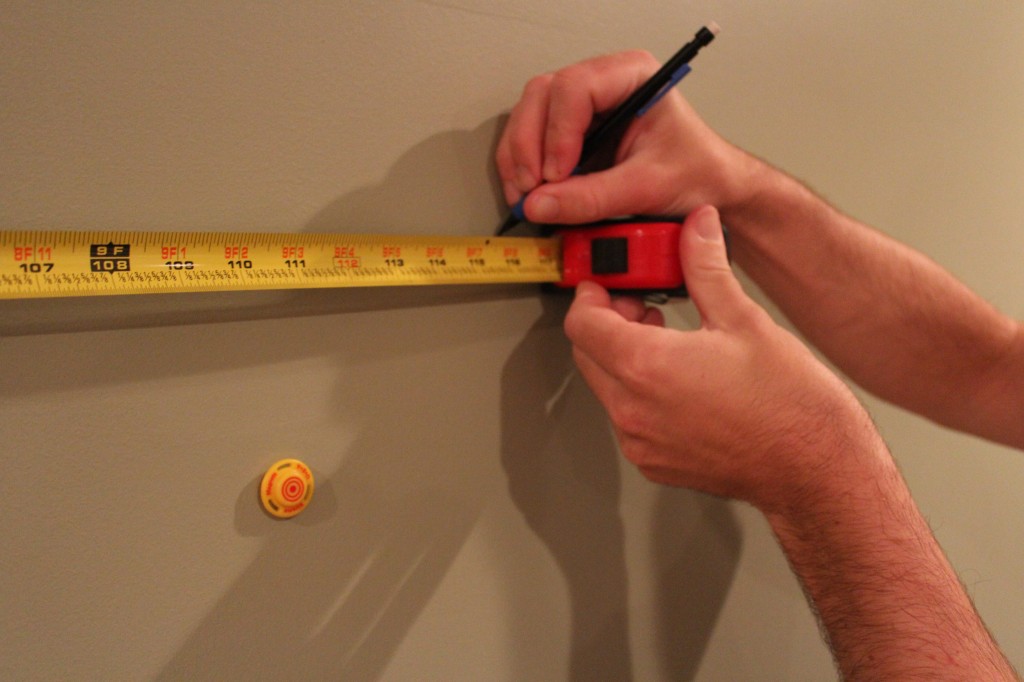
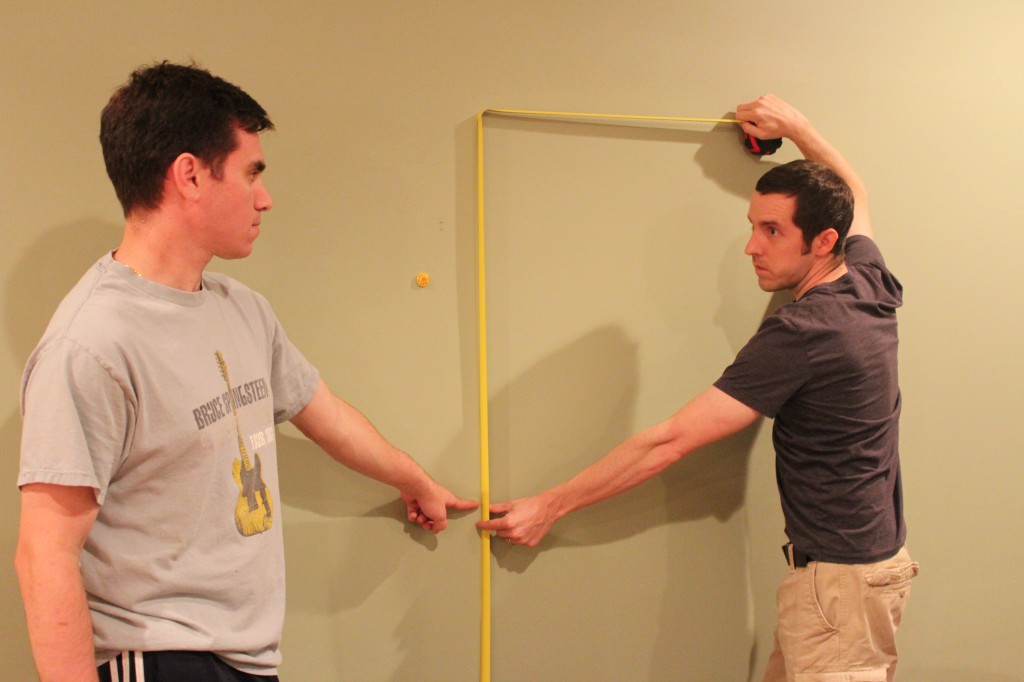
Now that the studs were located, we centered the mount on the wall, leveled it off and then marked the walls for our lag bolt holes. Mike then got drilling. He only drilled two holes to start.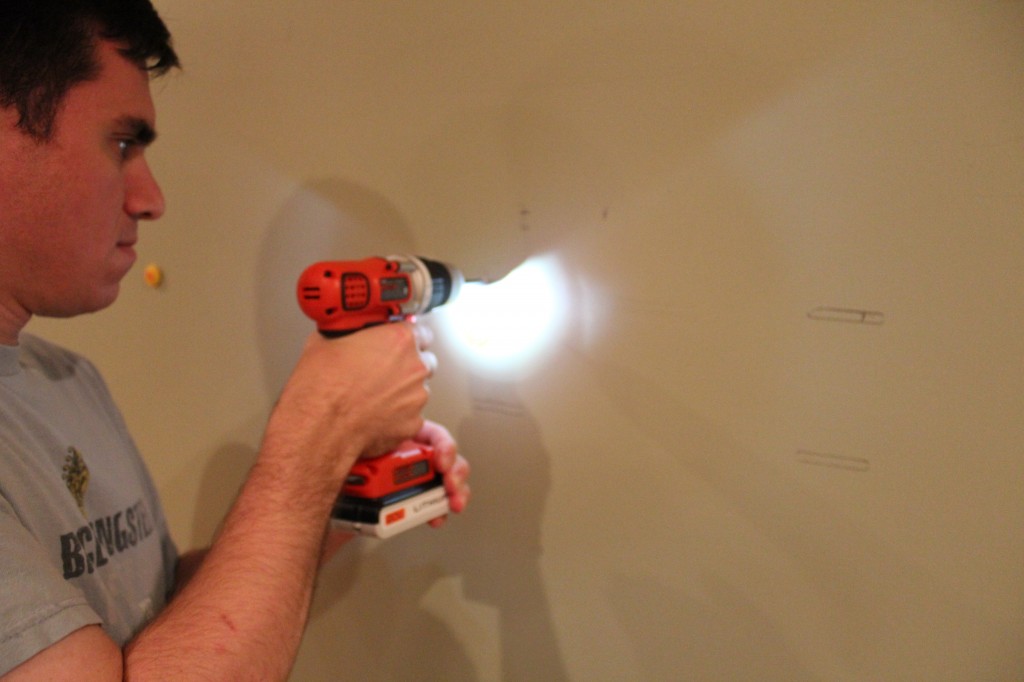
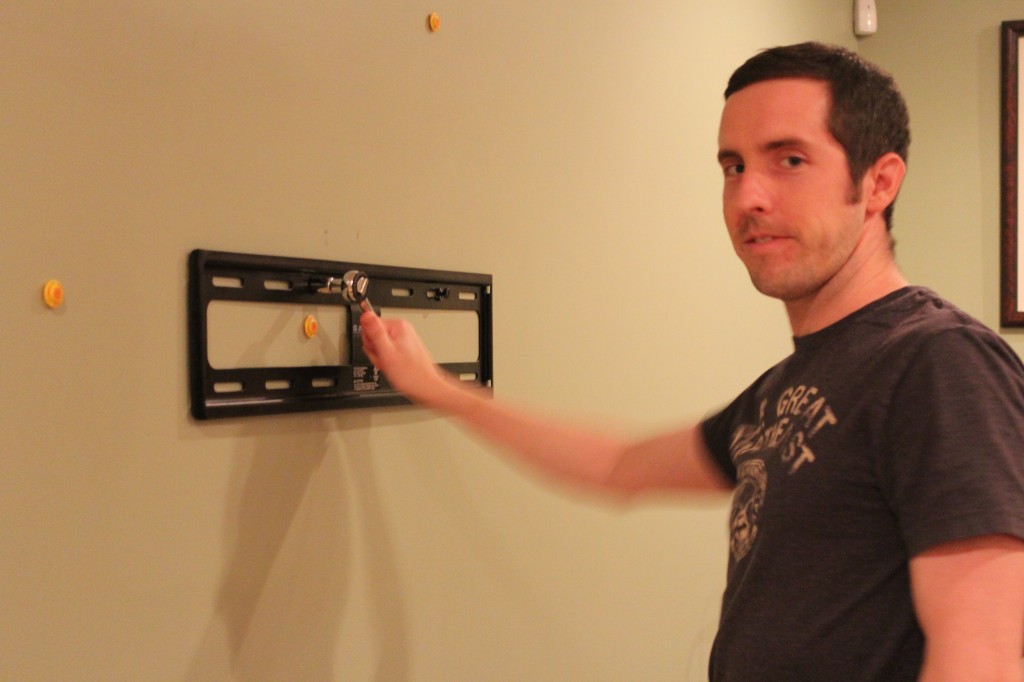
When the left holes were drilled, we put the bracket on the wall then leveled it off. With the bracket leveled, we drilled the right most holes and tightened the bolts into the wall.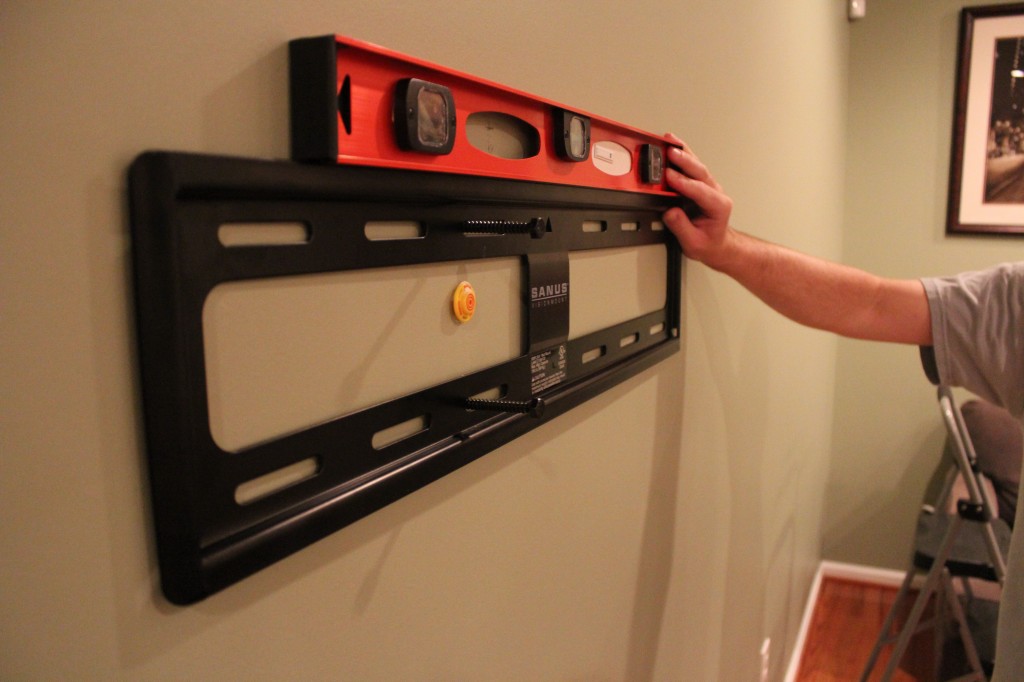
With the mount secured to the wall and the brackets attached to the TV, we lifted the TV up to make sure it went on okay.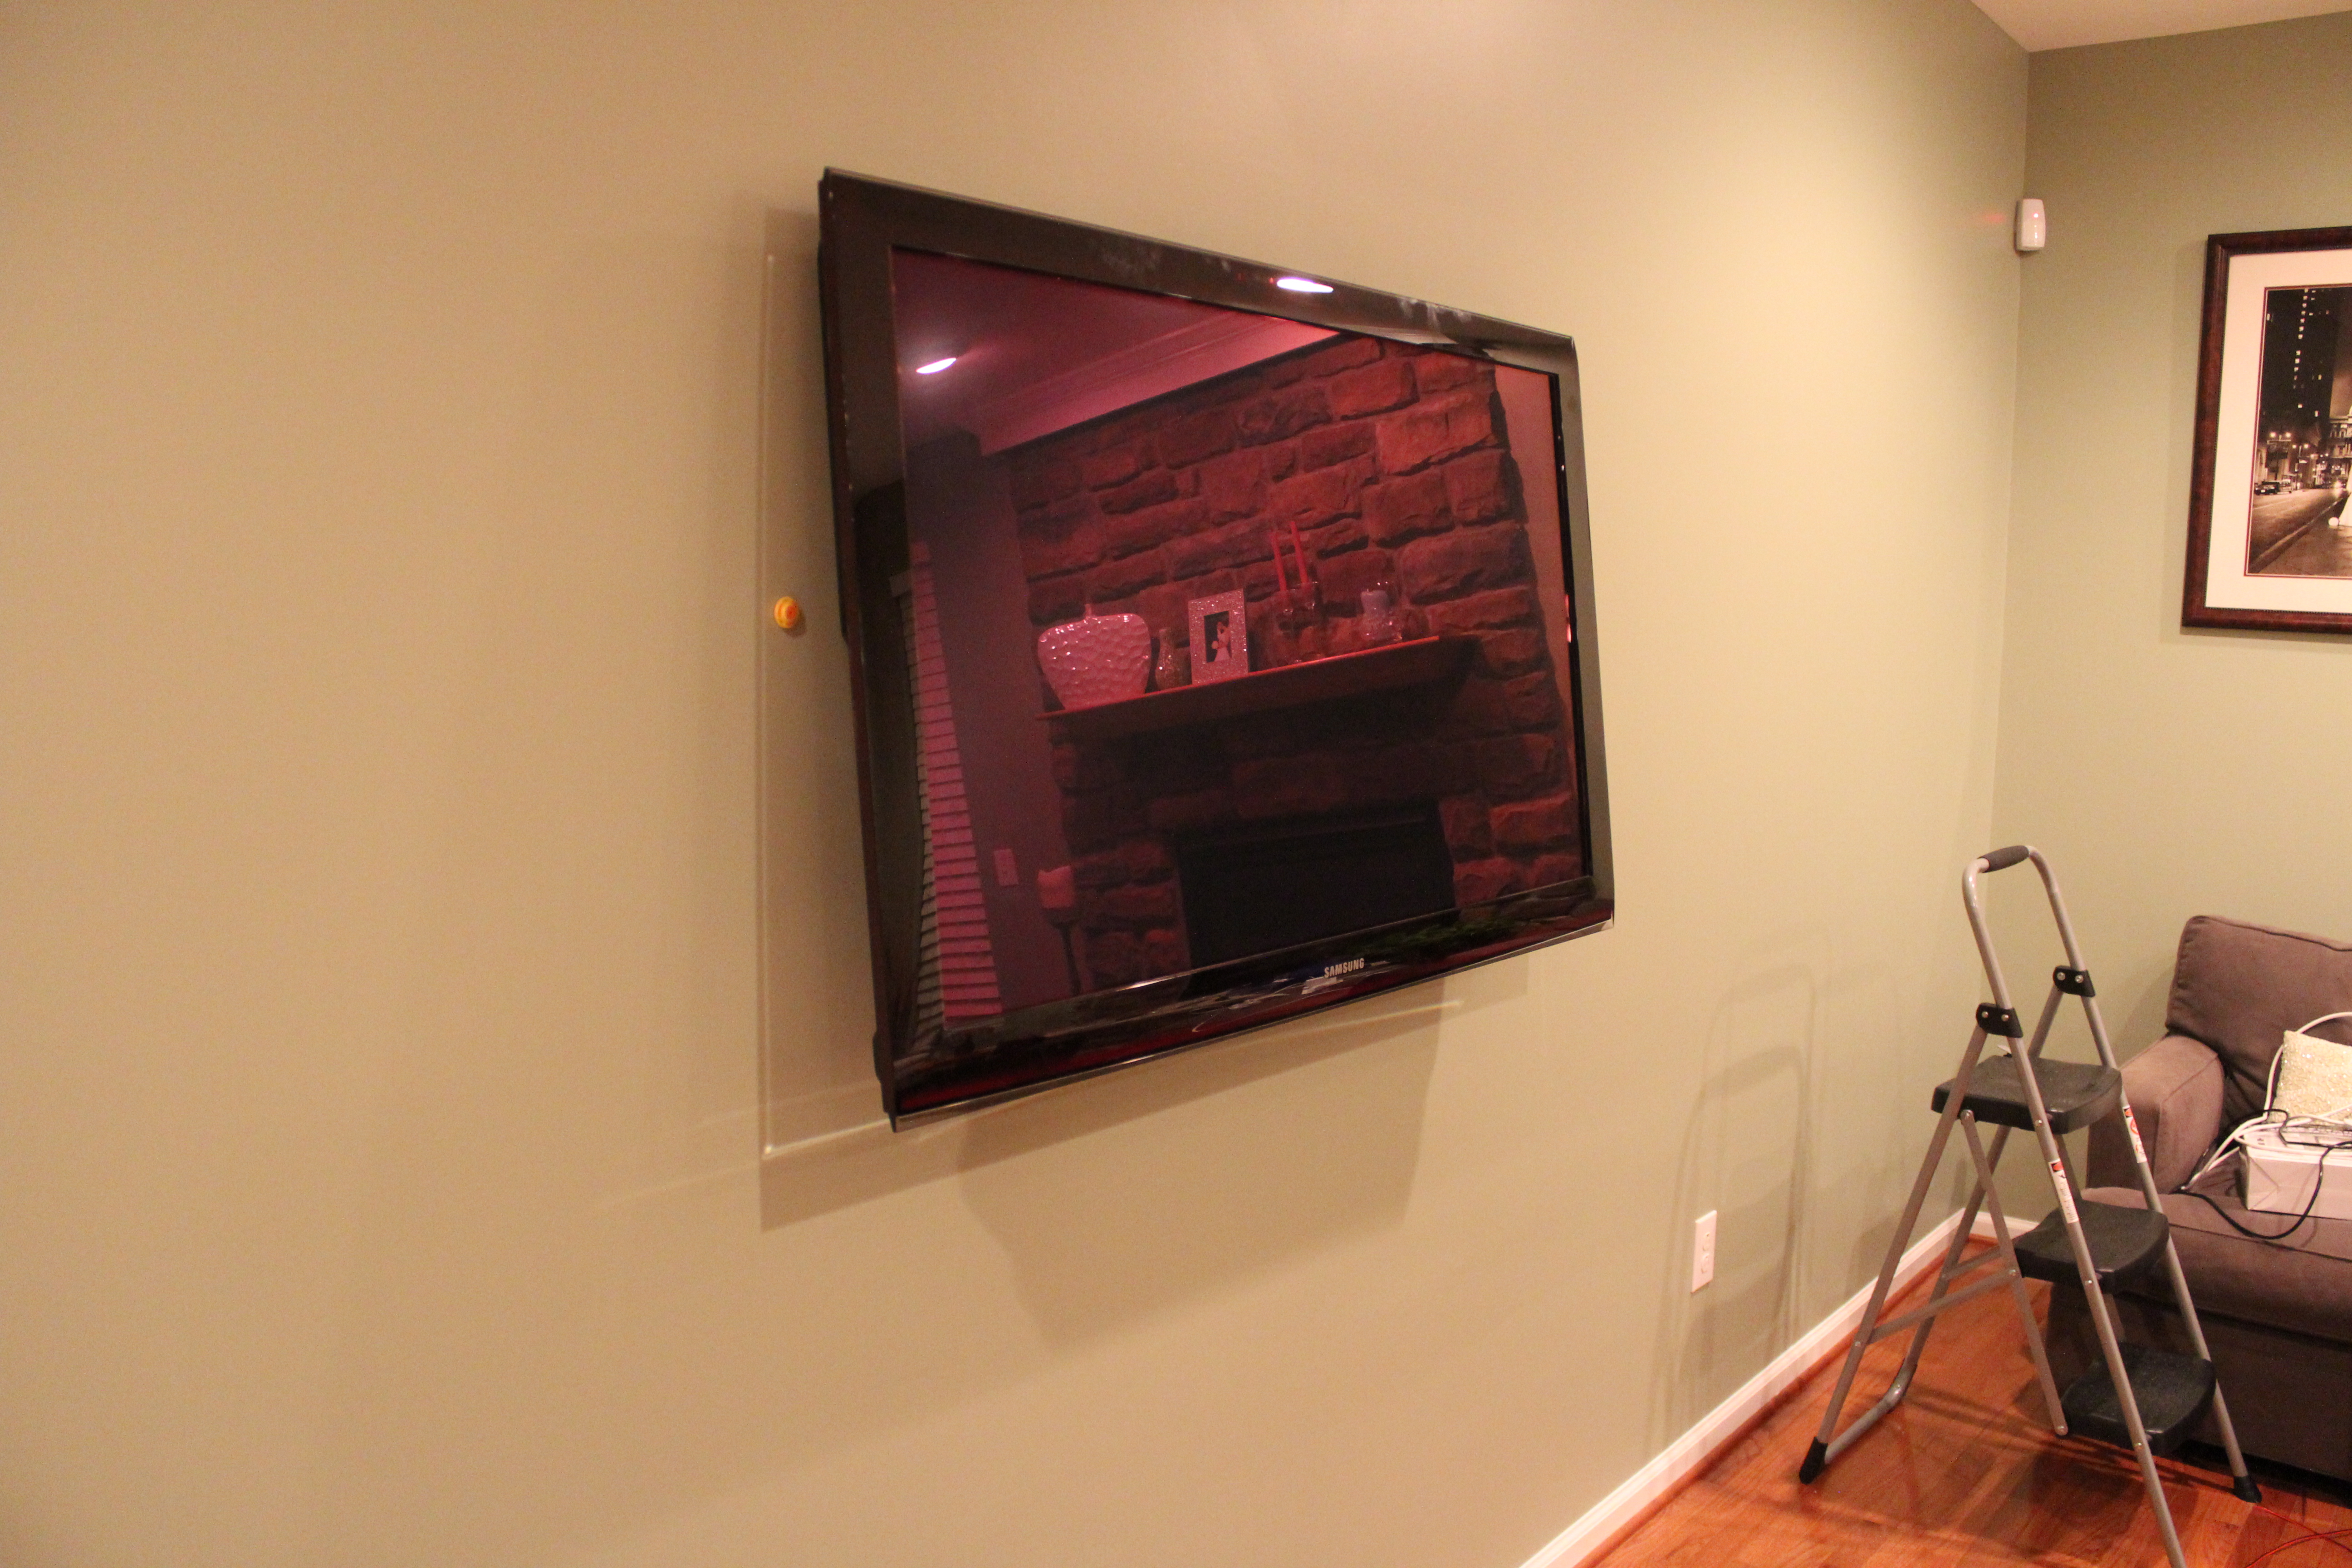
Success!!
Next up, we are going to add a special outlet box system to completely hide the TV’s cables. We’ll discuss hiding those wires in the next post.
Do any of you have your TV’s mounted to the walls? Would you like to or do you prefer it on the stand? We don’t have ours up yet either.


