Hope everyone had a great weekend! Lisa, the baby and I went up to Northeast PA on Friday evening to visit my mom and to spend some time at the local church bazaar. We’ll be posting about that stuff later this week… CAUTION: There will be pictures of delicious ethnic food. Consider yourself warned.
Saturday was my 33rd birthday!! Yikes. Getting knee deep in the 4th decade of my life here. Crazy. To celebrate, I took it easy, playing some video games and getting Thai with the family for dinner. If you’ve never had Thai food, you need to try it. I just had it for the first time in May on a work trip and I’m officially addicted. The Thai sweet iced tea is unbelievable. I’m also a big fan of Thai curries and the sticky rice. Two thumbs up.
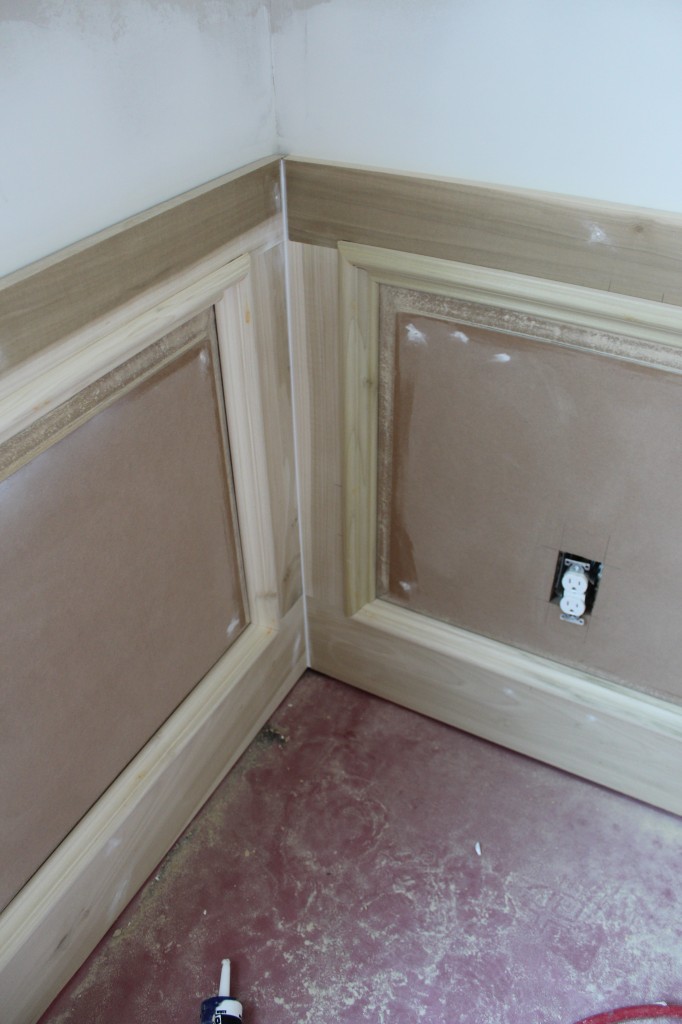
Yesterday I managed to sneak in a little bit of house work. I caulked half of the dining room wainscoting. I’ll finish the rest of it later this week. My window sill router bit arrived in the mail early, so I may get to those caps as well.
Caulking is almost always a necessity when dealing with trim that will be painted. It’s usually applied right before you paint to close up any gaps that might otherwise be visible. You normally wouldn’t use it on stained projects since it doesn’t absorb stain. Painter’s caulk comes in a variety of colors and there are companies online that can ship you a color matched caulk if you really need it..
Whenever I use painter’s caulk, I try to use a product that has silicone in addition to the normal latex. The silicone gives the caulk some added flexibility, which means it will shrink and expand along with the wood. You won’t have to reapply it in the future or hopefully, ever again. It’s only a little more money than the plain latex painter’s caulk. Bathroom and kitchen caulks are mostly silicone. The more silicone though, the harder it is to paint.
For filling wider gaps, like in my wainscoting corners, I cut the top of the caulk tube further down the tube to give me a wider nozzle.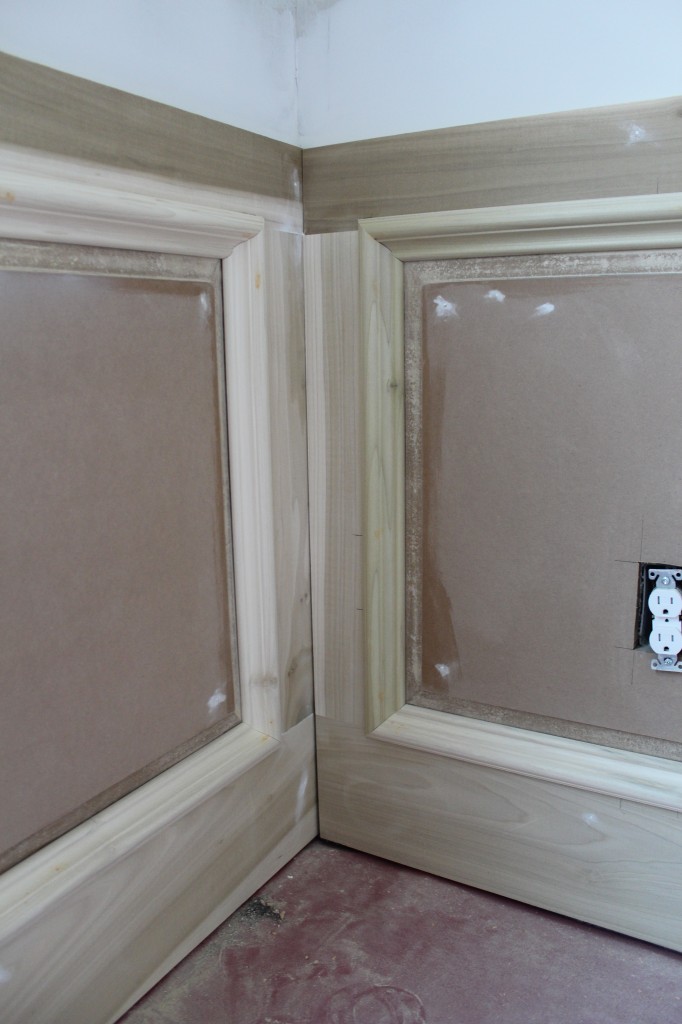
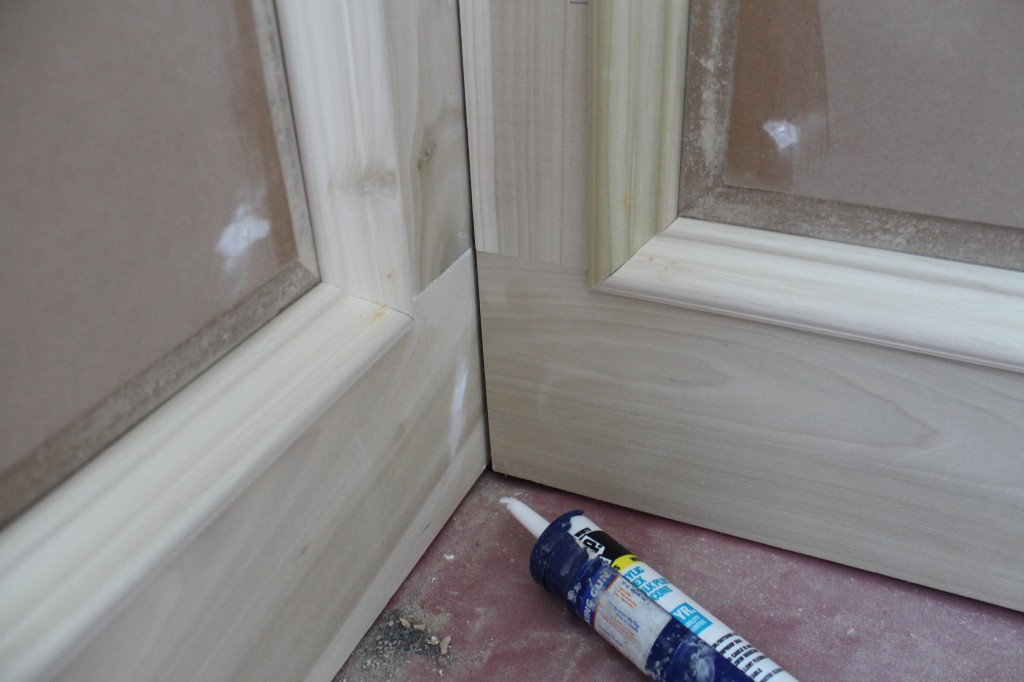
I try to squeeze the caulk gun with an even amount of pressure over the entire seam and I judge my application speed by how much is coming out, that way the corner gets an even amount without it getting all over the place. I’ll follow the caulk gun with my finger to even out the bead.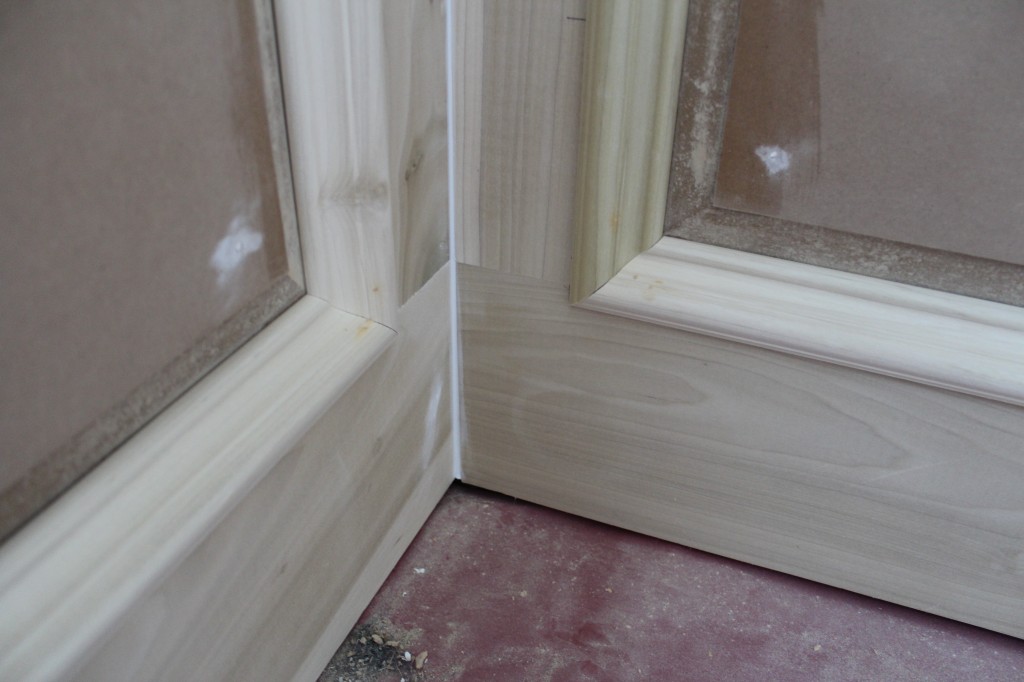
For smaller seams, I’ll cut the caulk tube to a fairly small diameter. It’s easier to junk smaller seams up with caulk, so a small nozzle makes it easier to deliver the perfect amount and it helps to avoid a mess.
Here’s a helpful tip: Carry some paper towels with you to catch the excess caulk from the gun and to wipe off your fingers. I usually go through a lot of paper towel when I do a large room. Now matter how careful you are, it tends to get all over the place.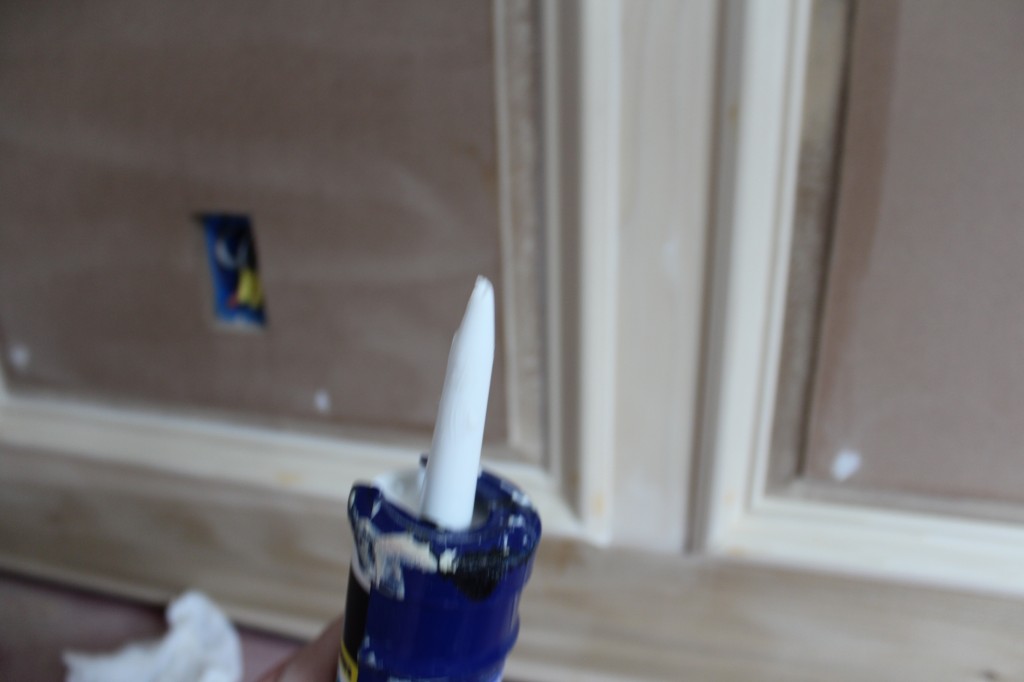
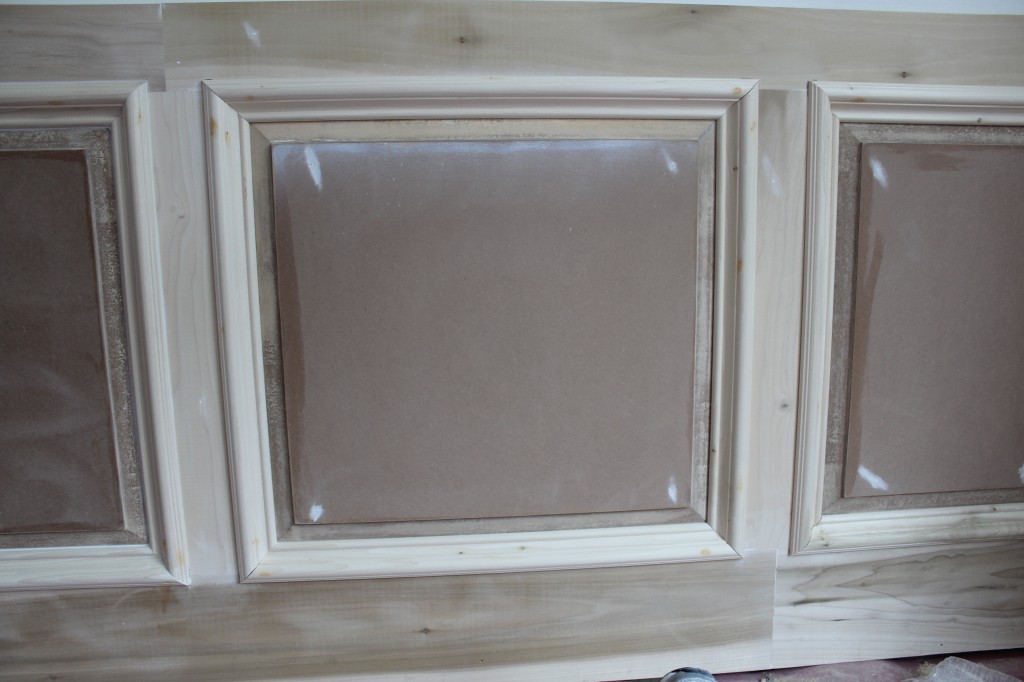
The molding on the left in the photo below has just been caulked. The molding on the right has not.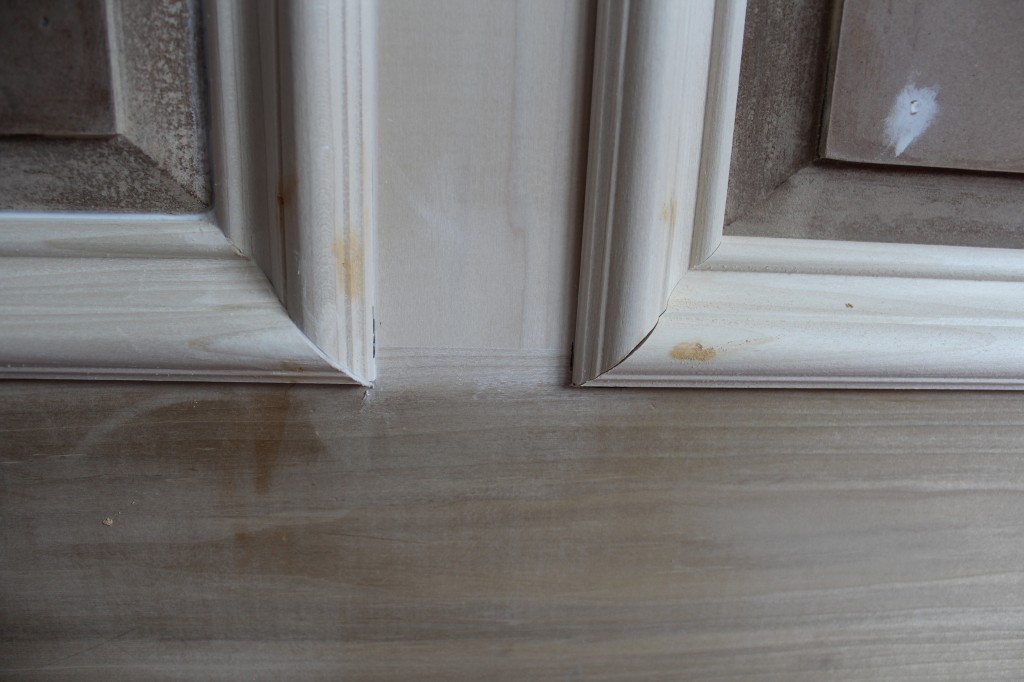
You can see a small seam on the right molding. That will need to be filled before it can be painted. You can’t assume the paint will fill those small gaps.
Here’s a close up of that un-caulked trim.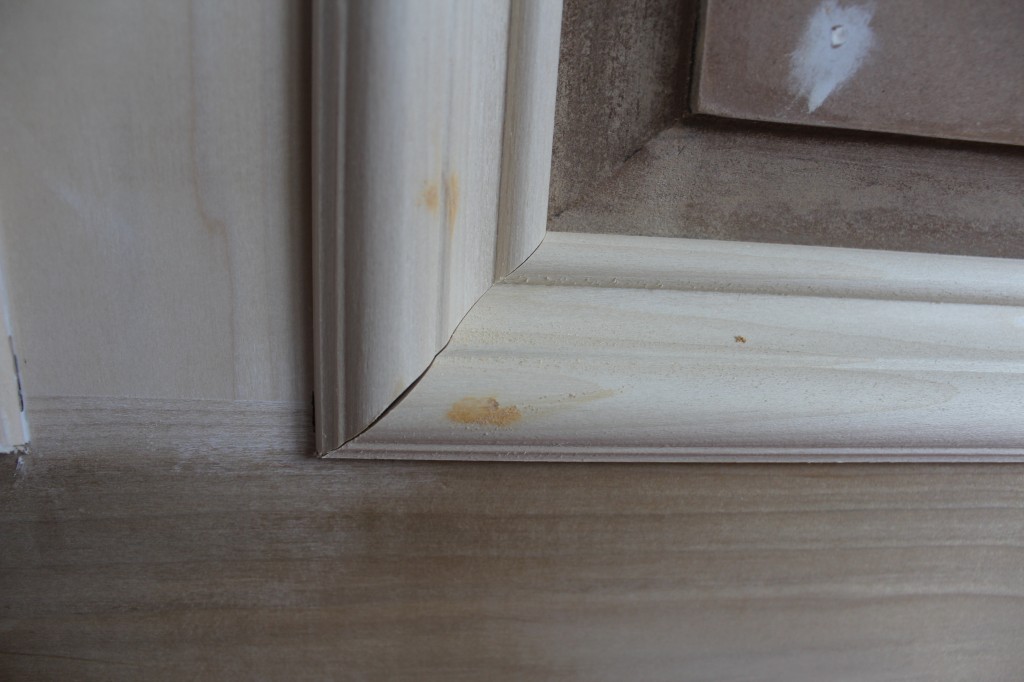
If you’re not a fan of using a caulk gun, you can just put a dab of caulk on your finger and rub it into the seam. Once it’s filled, I’ll go back with a little sandpaper and sand it very lightly to knock down any high spots from the caulk. Then it’s ready for paint.
You know you’ve done a quality job with the painter’s caulk if you can’t see it when it’s painted. You want the caulk to be invisible. Ideally, you won’t need very much of it. If you have large seams between molding cuts, it may be a better idea to try re-cutting them than loading them up with caulk. If you’re having trouble identifying a tough angle during a trim install, you can try this t-bevel method we posted about some time ago.
How was your weekend? Did you get any work done this weekend or did you lounge around?


