Now that the weekend is over, it’s back to work on our sliding drawers! I hope I’m not dragging this out too much for you. Ideally, it would be nice to have one post that showed how to make a sliding drawer from start to finish, but I feel that there is a lot to mention in terms of general construction methodology that I’ve never discussed to date. So, in my next carpentry based project, I’ll try not to repeat myself and maybe things will go faster! But, for now, it’s gonna have to be War and Peace. I AM planning on doing a summary post and including some neat calculators that automatically give you dimensions of your cuts so if you try to recreate this project the planning will be easier.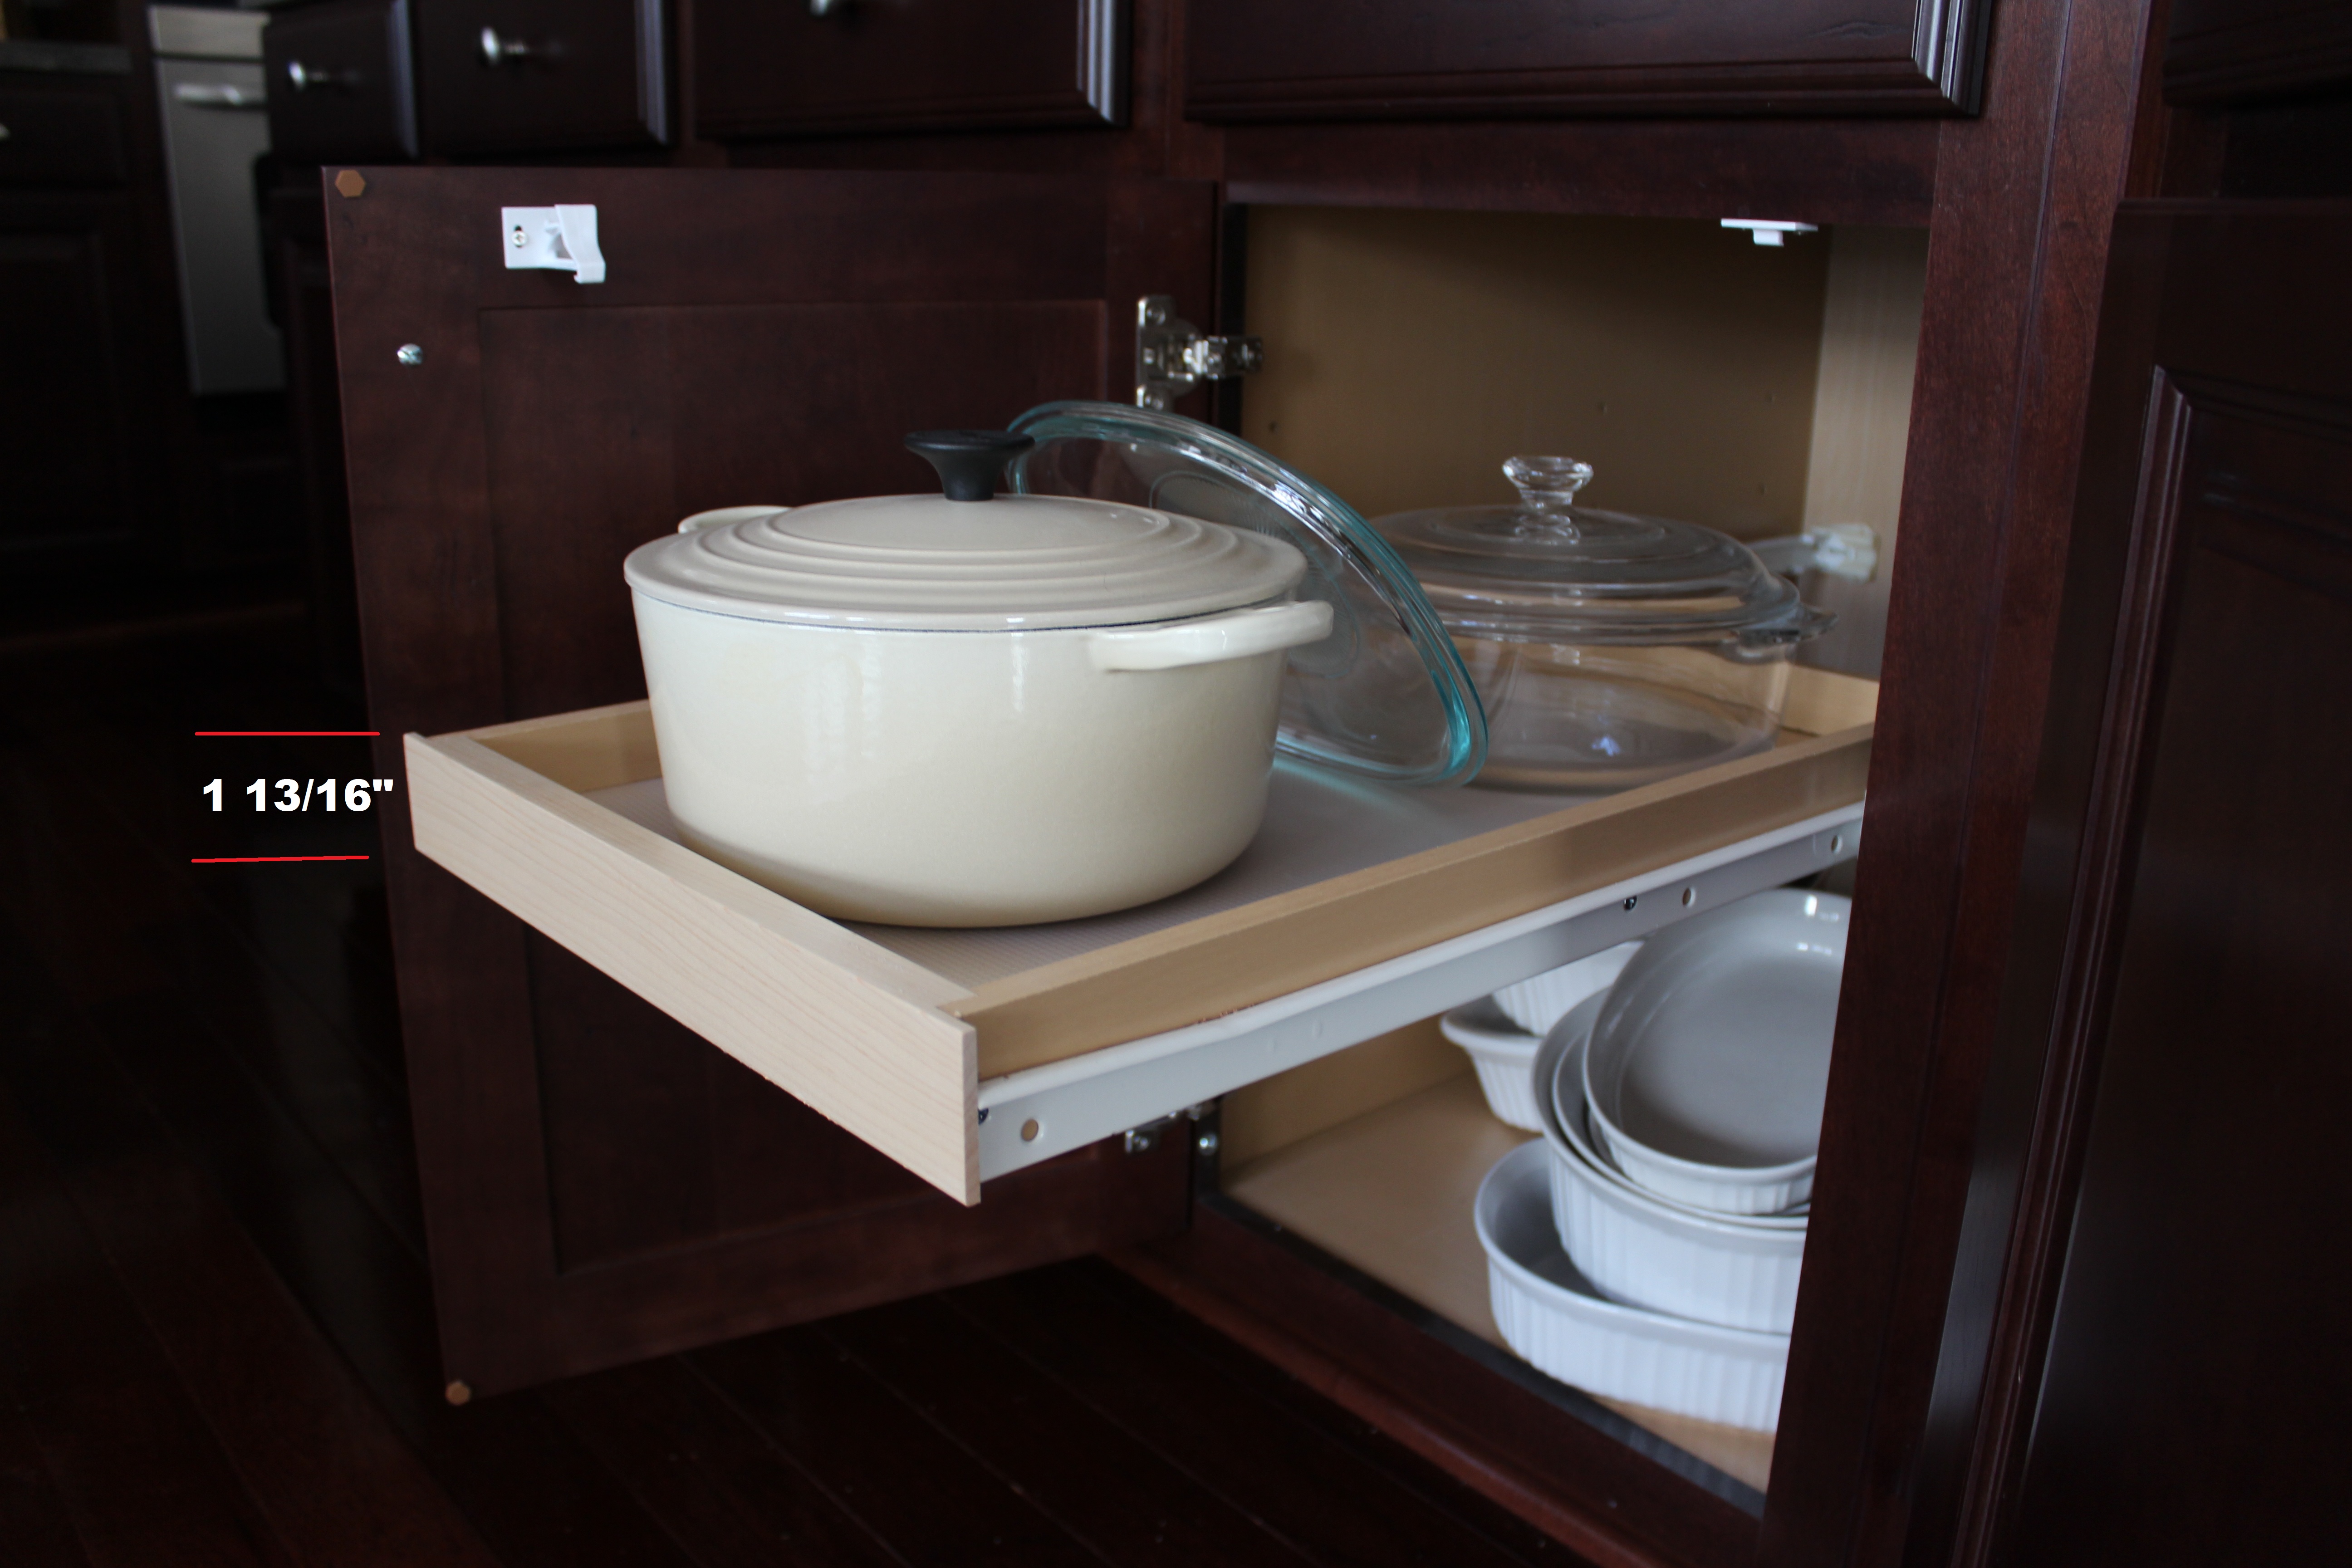
Last time, we got our dimensions and bought our maple hardwood and the thin plywood. So now we’re ready to measure and cut. Since the drawers we’re making are all 1 13/16″ wide, we’ll start with that cut. Remember, we’re only sticking with this weird dimension because we’re trying to match what we already have. If you attempt this project yourself, you could use whatever width you want (within reason).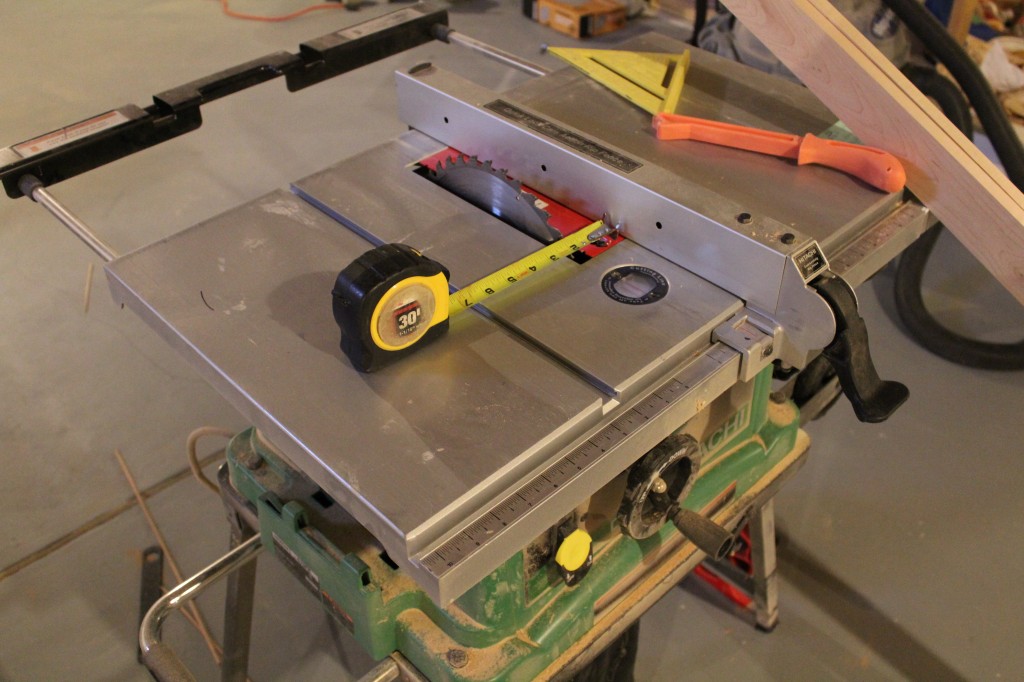
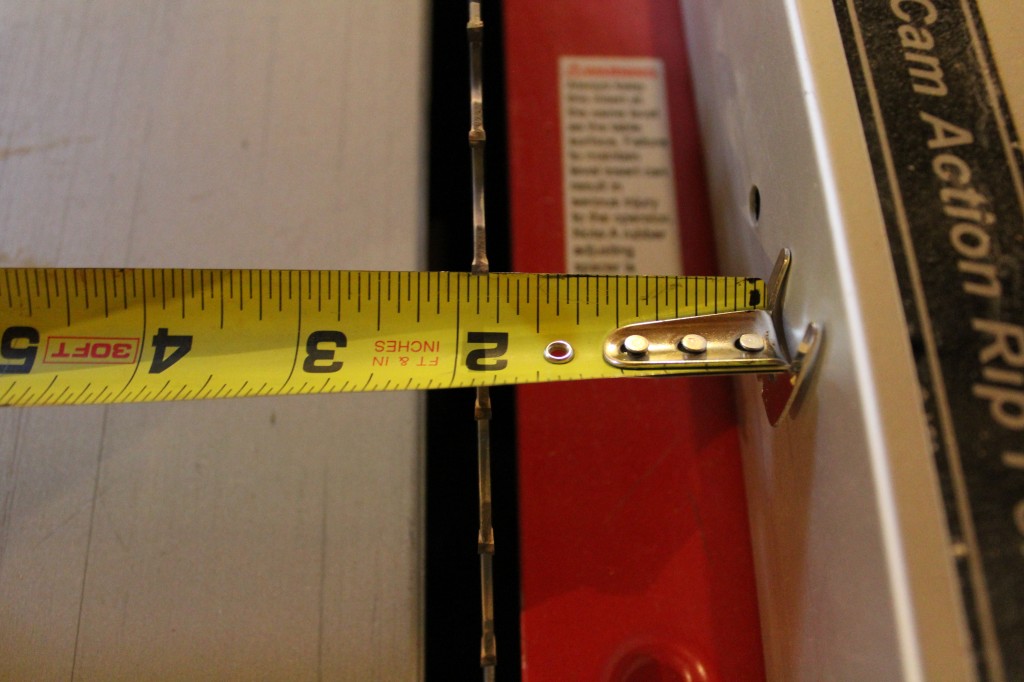
The lumber we bought (1x3s) comes 2 1/2″ wide, so to trim it down to size, we’re going to use the table saw. Table saws always come with a tape measure mounted in the front for accurate cuts. The problem with this device though is mine isn’t really calibrated well so I just end up using my tape measure instead (table saw is unplugged). You want to make sure you’re measuring from the fence to the right edge of the blade, not the middle of the blade. We’re keeping the part that’s in between the fence and the blade. Everything from the blade over gets removed. If we were keeping the other side, which you also can do, we’d have to measure from the left side of the blade away from the fence.

 _
_
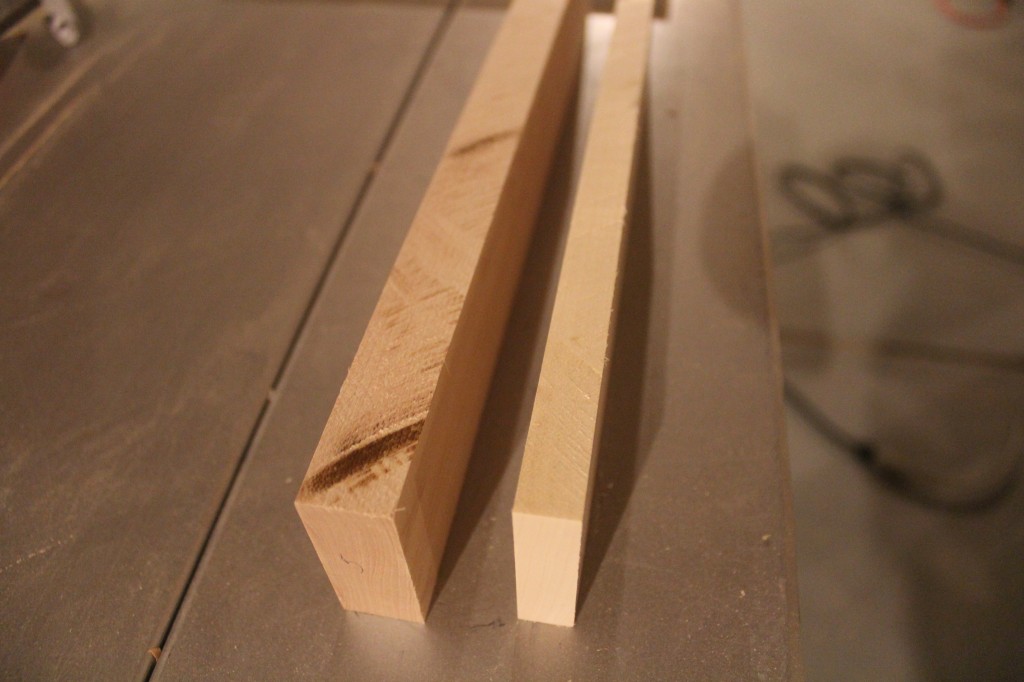
Once the fence is set for a 1 13/16″ cut, I turn on the saw and rip my boards. When using a table saw, you want to follow certain general safety practices that I’m not getting into, but you can watch some great animations here that get into the basics. While the board is being cut, you want to make sure it is tight up against the fence and that it stays that way as you push it through. If the board moves around a little bit, that’s okay. That kind of movement will result in an imperfect cut or some burning that can either be sanded away or removed with something more heavy duty like a hand plane or a thickness planer. Plus, we can always face the rougher cut side down when we build the drawers anyway.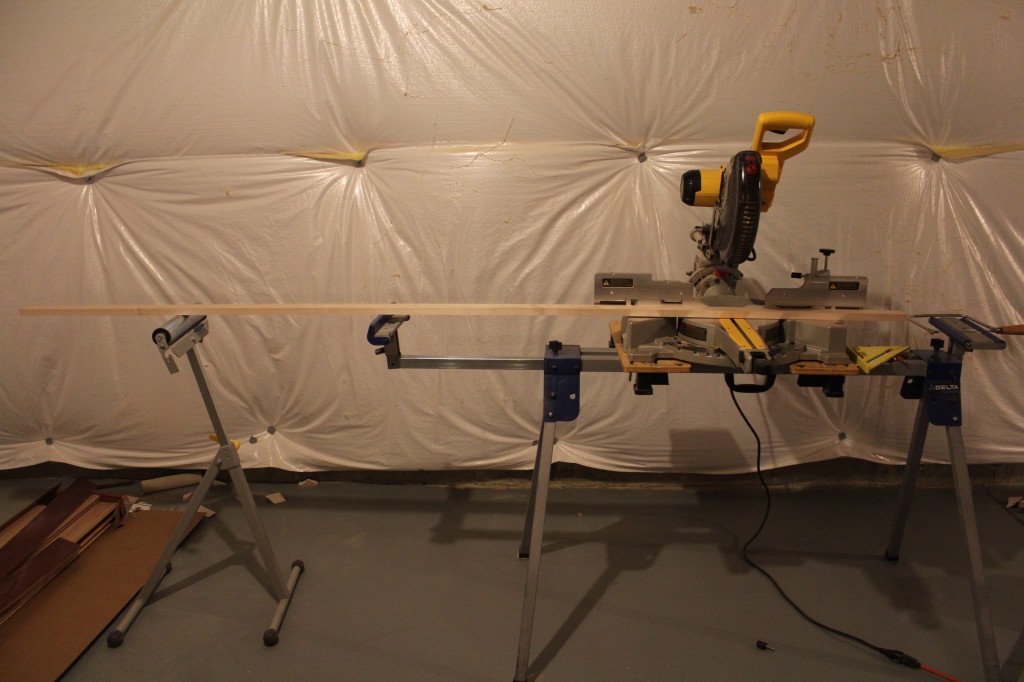 _
_

Now that all the boards we bought are the correct width, we can cut them to their appropriate lengths. We’re going to make those cuts on the miter saw. Whenever I’m making cuts on the miter saw (or any tool for that matter) that require some degree of precision, I try to use a thin a line as possible to mark my length. Pens and pencils are fine, just make the mark lightly so as not to leave a big fat line. Giant sharpies are out! When I built my kitchen cabinets way back when, I used a box cutter to mark the length. I’ll also use a speed square to make sure the line is straight and true.
Before you make the cut, you need to line up the saw with the length you marked down. You don’t want to cut right through the middle of the line. Ideally, you want to just clear it with the blade so you leave the tiniest bit of the pen or pencil mark on the wood. You don’t want to leave the entire line either though. This is where patience really pays off. I’ll take maybe 30 seconds before each cut and make sure I’m lined up exactly where I want to be. _
_
For the side pieces, I stacked two boards and cut them at the same time. I made sure the ends of both pieces were dead flush first though. You only need to mark the length on the top piece if your ends are flush. By doing the sides this way, we can ensure that they’ll be exactly the same length for each drawer. If the side lengths are off from the left side to the right side by too much, the drawer can get crooked when we assemble it.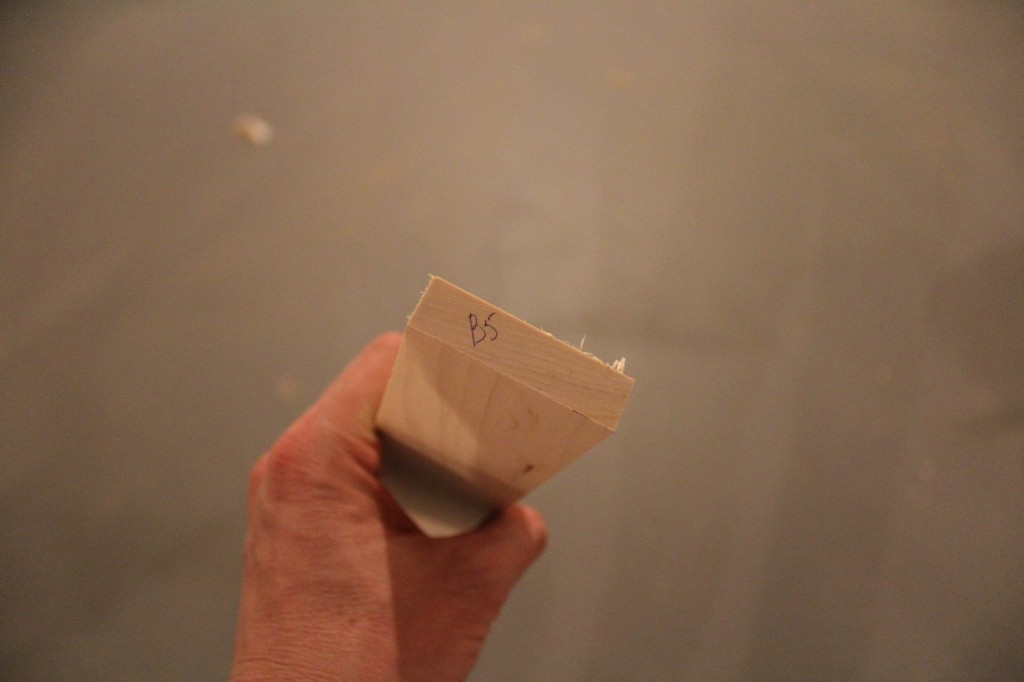 _
_
After you cut the lengths for each individual piece (or the sides that were cut together), make sure you mark the boards somehow to identify which cabinet they go to and what part it is (back, front, side). You can use a piece of masking tape or just write right on the board! We are going to sand these so, it should come off if you write lightly. _
_
Once all the lengths have been cut, it’s time to machine the grooves and rabbits so they can fit together. We’ll save that exercise for another post since it involves me flapping my gums for another 800 words or so!!
How was your weekend? Lisa and I took the baby to the Camden Aquarium with some friends! We had a great time.


