Back to work on our drip irrigation installation…
To see Part 1, click here.
So today I got an early start on the front flower beds with the goal of finishing up as much as I could until more drip irrigation hose arrives next week. I’ll leave a small bare batch un-mulched so I can bring the 1/2″ hose over to the bed from the other side of the walkway.
Before shots…
First job this morning was to get the small grasses planted and continue with the landscape fabric.

In the picture above you can clearly see the 1/2″ drip irrigation supply line draped about 8″ away from each plant. There is a tee behind the dwarf spruce. Later, I’ll run 1/4″ lines from the main 1/2″ run over to the small grasses. To get the curve right, I used hold down pins to keep the 1/2″ line from moving. On this half of the bed I’ll run my main drip hose under the landscape fabric, but the other bed, I’ll run it over the mulch and cover it after it’s all in.
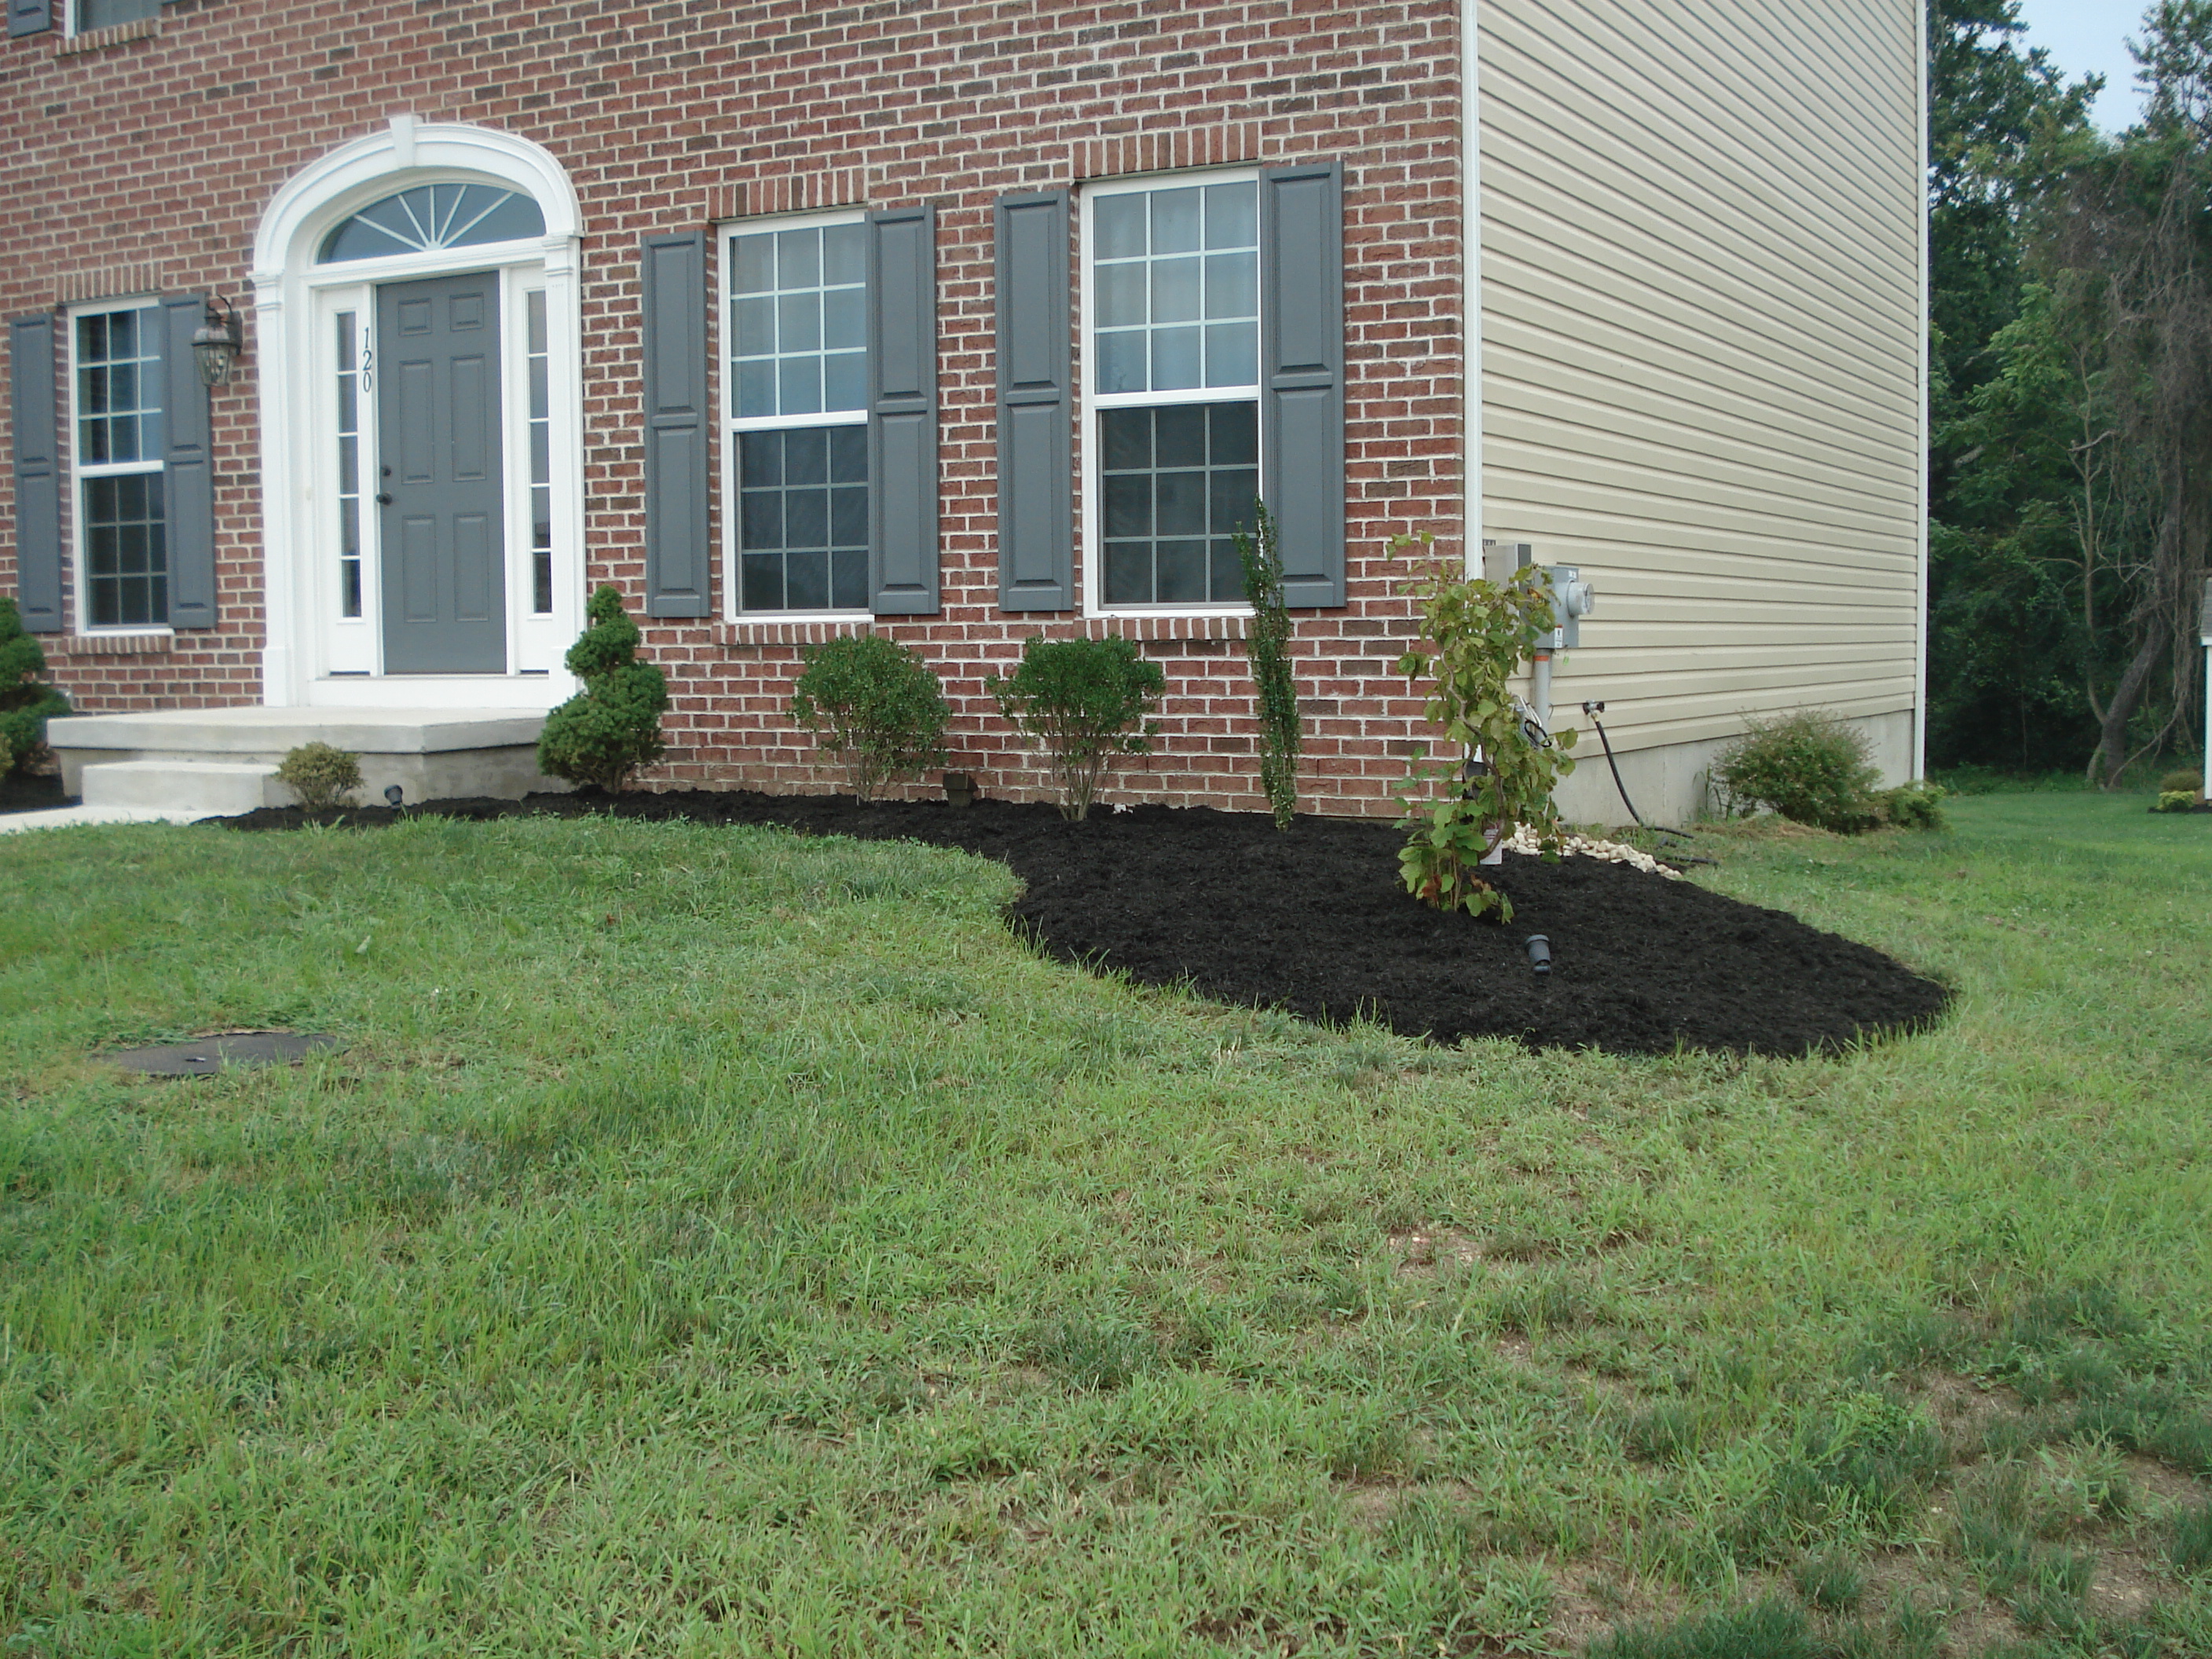
After about 4-5 hours of work, I got the entire front mulched (except for a small, necessary bare patch).

All finished. Admittedly, our flower bed is low-key and kind of boring. We get it. However, we’re really not green thumbs by any stretch of the imagination, so we’re taking baby steps for now. I think we’ll be adding levels of complexity as time goes on, but for now, I’ll be thrilled if nothing else dies!!


