For our first actual work-in-progress post, we’re going to be showing the landscape lighting we’ve installed. Adding landscape lighting is extremely easy and can be done in a couple of hours. It definitely has a big impact on the appearance of your home for the relatively small amount of effort. We’re still a few days away from completing this project, so keep in mind it still needs some bells and whistles.

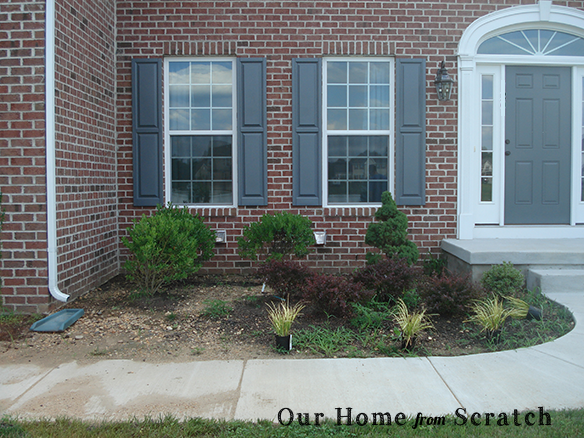
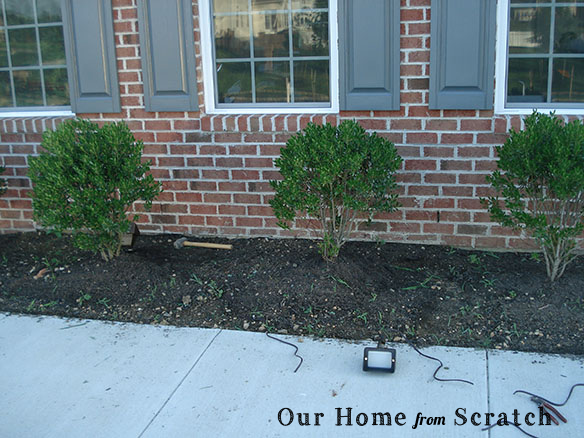
For our home, we decided to install four flood lights and two spot lights. Two of the flood lights will be installed in front of the garage between the windows pointing directly up. The other two will be in front of the office and the living room, also between the windows. We decided to add a couple spotlights to highlight the Harry Lauder’s Walking Stick as well as the front door. The spot lights are not yet installed.
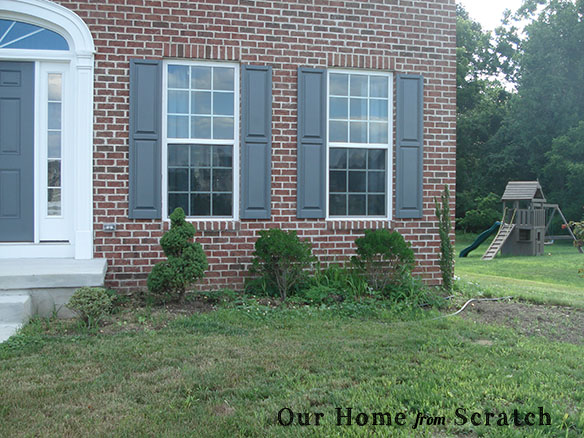
The right side. Also shabby.
We purchased all of our material except the spotlights (late add) from www.landscapelightingworld.com. They have an excellent selection of low voltage outdoor light fixtures and accessories including wire and transformers. Speaking of transformers, we purchased a 300 Watt unit. To determine the size of the transformer you’ll need, you just add up the wattage of each individual fixtures. The four flood lights are 20 Watts each plus the two 20 Watt spotlights equal 120 Watts total. That leaves us with 180 Watts to spare for increasing bulb power or adding addition fixtures in the future. John would add another four or five fixtures, but I’d prefer if you couldn’t see our home from space.
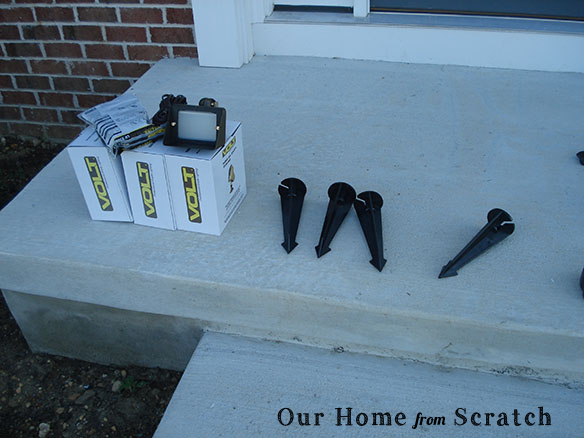
The flood lights and the hammer stakes.
The installation process is a snap, but be sure to refer to the manufacturer’s instructions for how to proceed. Here’s what worked for us…
1. After you’ve selected your fixtures and locations, locate the furthest fixture from the transformer and work back towards the transformer. You don’t need to install the transfomer at this point, you just need to know where it’s going to be located.
2. Nail the hammer stake into the ground with a small sledge hammer or other general use hammer. John found a small 8 lb sledge worked well. The stake is threaded to receive the light fixture. Most light fixtures have an angle adjustment knob, so you can adjust that later as needed. Once the stake is in the ground attach the light fixture by spinning the fixture onto the stake being careful not to twist or damage the cable. If you haven’t applied mulch to the flower bed yet (like us), but plan to, make sure there is sufficient room between the bottom of the fixture and the ground for mulch. If you need to pull the stake out of the ground you can do that too.
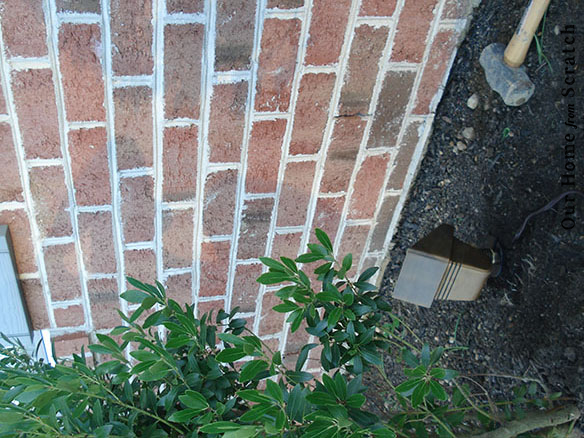
First light fixture installed.
3. Now take the cable and stretch it out. Run it on top of the flower bed towards the transformer. Don’t start burying the cable yet. You don’t need to bury the cable until your finished adding lights and all the connections are made.
Onto the second light
4. Move onto your next fixture and repeat step 2 and 3.
5. Now you’re going to join the wires from the first and second fixture. Run the cable from the first fixture to the second if you haven’t already. Cut the second fixture’s cable leaving about a foot of slack. Cut the first fixture’s cable so that it ends up roughly where the second fixture is cut. Now run a third cable from that location back to the transformer. This third cable will bring the power from the transformer over to these two lights.
6. Now to prep the cables for splicing. Low voltage lighting cable looks like a standard interior lamp cord with two wires crimped together. Using a pair of wire cutters, snip the cable between the two strands and pull the strands apart. Only pull them back about 2-3 inches and strip back the the insulation about an inch. Do this for both cables.
7. To splice the cables you’ll need to twist the exposed ends together using a pair of pliers. Before you do any twisting, however, you’ll need to identify which side of the wire is going to be the power supply and which is going to be the common. For this application, it won’t matter which one you select, but you need to stay consistent throughout the rest of the lights. Just like in home wiring, there is a black wire and a white wire, you need to keep the black wires together (generally) and the white wires together. For landscape lighting, since there is no black or white cable, you need to improvise. I like to use the side of the cable that has printed type on it as the “black” cable and use the plain side as the “white,” but it’s totally up to you. Twist together the “black” cables and separately, twist together the “white” cables. You’ll then need to insert them into wire connector or wire nuts. These wire nuts will keep the splice together and protect the connections from the elements.
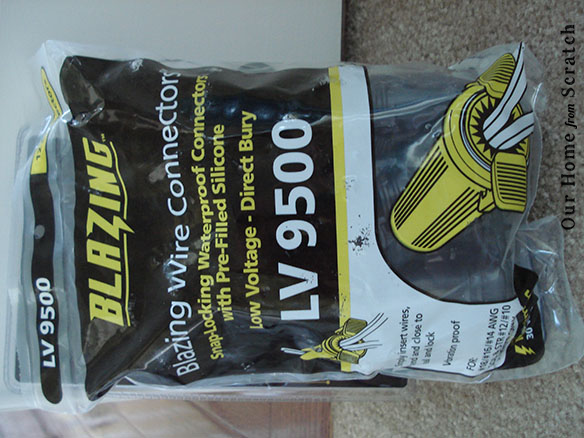
The wire nuts from Landscape Lighting World.

8. So now that those two lights are done, we can move on to the other two lights. Instead of splicing the next two lights in together with the first two, we’re going to leave them on their own circuit. The only reason we do that is if we ever want to add lights in front of the garage, we don’t want to worry about there already being too many fixtures on that circuit. Repeat the above process for any other additional lights.
9. Now if you have to run your wires across a sidewalk or or a walkway to get to the transformer, you’re going to have to run the cable underneath it. This is also a fairly easy process. You’ll need a piece of PVC pipe about 1″ in diameter slightly longer than the walkway you’re going to tunnel under. One of the ends should be cut at an angle.
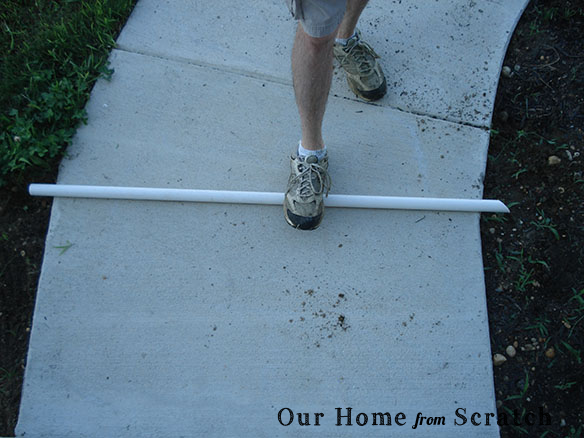
The PVC pipe. Note the length and the bias cut on the one end.
10. Dig out a trench to one side of the sidewalk a little bit longer than the PVC pipe and about 4″-5″ down. You just want to be able to clear whatever foundation material that may exist, such as crushed stone. You’ll also need to dig a small area on the other side of the sidewalk where you think the other end of the pipe will pop out. After the trench is dug, lay the pipe in the trench with the angled end towards the sidewalk.
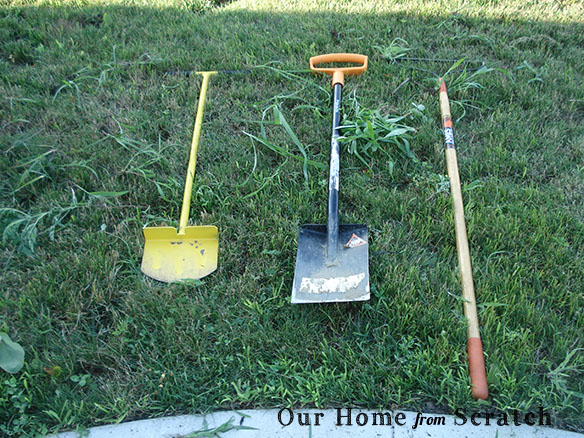
Some of the tools we used during this job. The first is a garden edger.

The PVC pipe layed down prior to tranch digging.
Using the edger to dig the trench worked great.
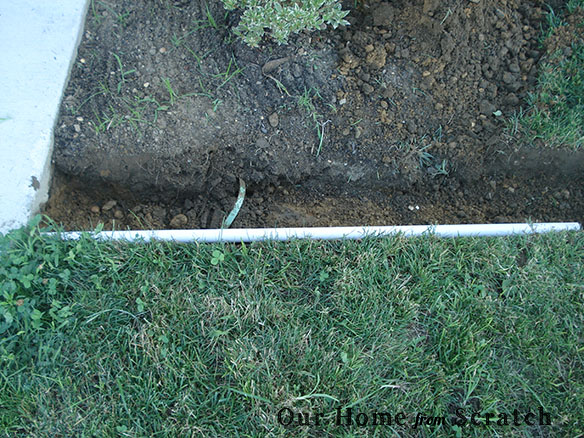
The PVC pipe layed in the trench. I think you know where this is going…
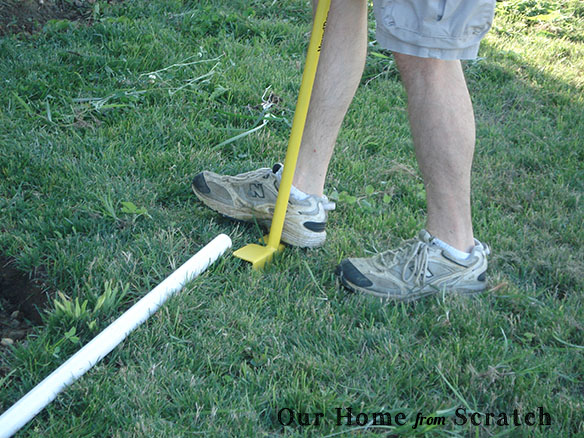
11. Now hammer that pipe into the space under the walk until it comes out the other side. You can expect a lot of mud, dirt and rocks to accumulate in the pipe. You can clear that out by ramming a smaller pipe into it until the debris comes out the other end.
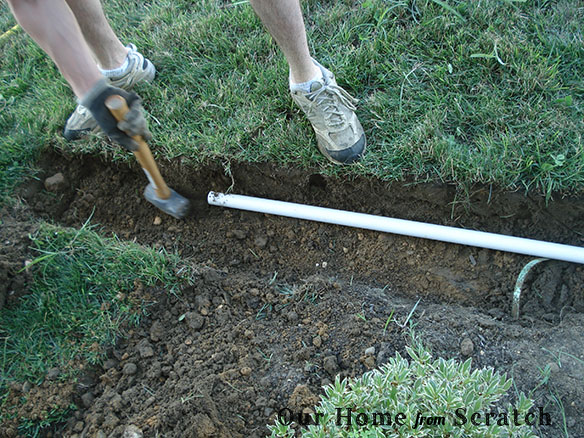
Stop, hammer time.
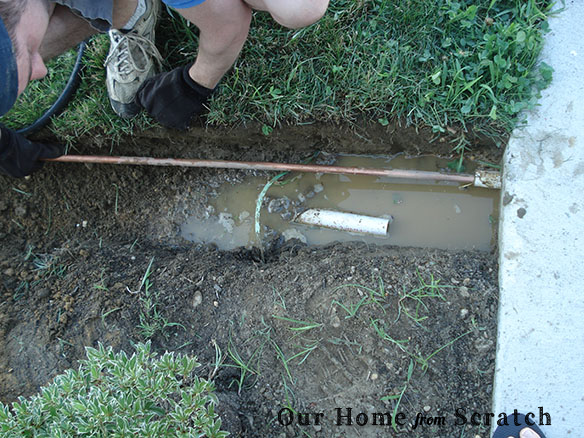
Running water through the pipe was a bad idea. The smaller copper pipe worked great though.
12. Now you can feed the wires through the pipe.
Next time… spotlights, transformer installation, setup and improving the look.
Check out Part 2!


